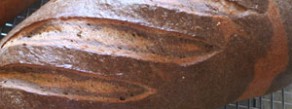
 Yeah!! Rye bread!
Here we are at recipe #19 in The Bread Baker’s Apprentice Challenge and finally into my fave type of bread. Rye breads are flavourful, strong breads with distinct character that can stand up to almost any combination of bread and food, from cheese to soups to basic spreads, without being beaten down. Even with that, there are still many different varieties that allow for a certain amount of nuance in the flavour as well as texture.
So I was looking forward to making this one, even tough I’d just finished making a couple of loaves of the Back Home Bakery’s Sour Rye last week. But its pretty much all gone now. Time for a new loaf — or two in this case as Reinhart mentions this recipe makes 2 or 4 loaves. This is also a recipe that can be made in just one day so that’s a bonus as well. Mixing two colours of the same dough will offer a nice visual too.
I’m up for it, so let’s go!
As noted, this bread is made with two different doughs, although aside form adding some colouring to one, they’re actually identical. If you therefore want to make this but are OK with skipping the fancy looks, you can just double the Light half.
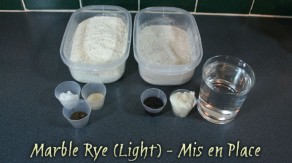
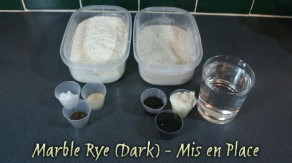
Our ingredients include: Bread flour, Rye flour, salt, instant yeast and caraway on the dry side, then molasses, shortening and water on the wet side. The ONLY difference between the light and dark dough is adding the colouring. The book suggests caramel colouring but I have no easy access to that. Alternatively, Reinhart suggests using cocoa or instant coffee although it adds a certain bitter flavour, he notes. Since all it needs to do is colour the dough, I chose to use some professional Americolor® brown food colouring gel I have for cake decorating, as I know it has little to no flavour. Otherwise, I would have used cocoa or instant coffee.
Let’s mix the light dough.
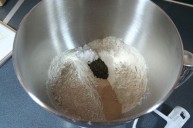
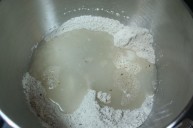
Add the dry ingredients to the bowl, stir then add the liquids. Mix with a paddle until the dough has formed a rough ball.
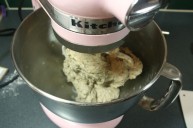
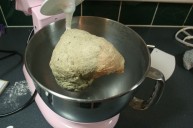
Switch to the dough hook and knead for four minutes or by hand for six. Place kneaded dough into a lightly oiled container, flip to coat, then cover.
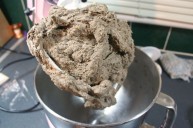
I used the machine to knead for the 4 minutes but when it was done, I checked the dough and it totally failed the windowpane, so I kneaded by hand for another three or four minutes. This isn’t a terribly stiff dough so it was pretty easy. It passed the windowpane test so was ready to bulk up.
Time for the dark dough.
Same steps, except I added the colouring with the liquids. Mix with paddle until it forms a ball, knead by machine or by hand until it passes the windowpane, place in oiled bowl, ready to bulk up.
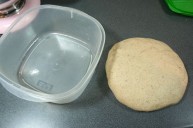
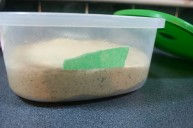
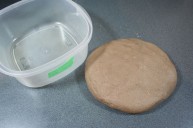
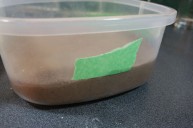
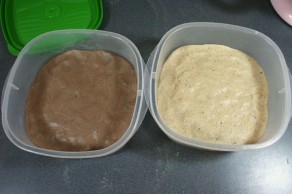
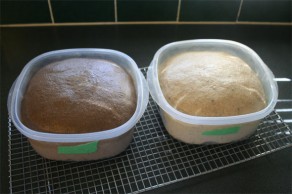
You can see from the photos there’s a fair difference in the colour of the two doughs. These are set aside, covered, to bulk ferment for 60-90 minutes. In this case, they got 60 minutes then went into the fridge — it was about 12:30 p.m. at this point. They had about 8 or 9 hours of surprise nap time and were taken out at about 9 a.m. the next morning. They had very nicely doubled and had gotten a bit of retarding to help develop the flavours in the process. That is not a step in the book; you’re supposed to do this bread in one day. I just happen to start up way too late so the flavour development is just an extra bonus.
You’ll notice the lighting change here as the sun beams on the counter this early in the day so I had to draw the blinds. Hope the photos aren’t too dark.
Here you get to decide what style you want the loaves to be. Out of “Marbled,” “Spiral” and “BullsEye,” I picked Spiral.
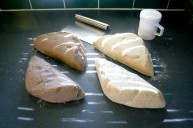
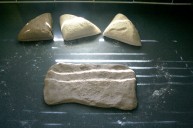
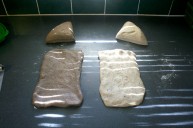
I turned out the two doughs and roughly split each in two, and then cut each triangle in two again (not shown). Taking two small triangles from each, I began to stretch them out to about 8″ x 5″ rectangles. The book suggests using a rolling pin but frankly, I didn’t see that as necessary; just a gentle stretch did quite well.
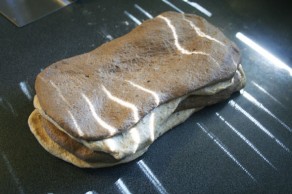
For the first loaf, I stretched all four pieces out and simply stacked them. I then shaped that pile into a batard. This loaf ended up with the lighter dough on the outside.
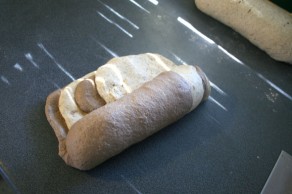
For the second loaf, I took the remaining 4 pieces, stretched then stacked but in an overlapping fashion. I rolled this into batard a well, and the overlap gave an interesting colour mix on the end.
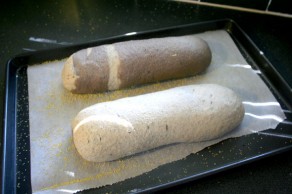
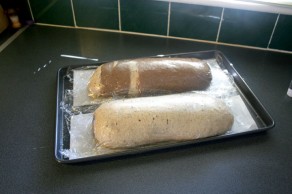
The two shaped loaves were then placed on a parchment* lined pan sprinkled with coarse (palenta) cornmeal. They were given a quick spray of oil then covered with plastic wrap and allowed to rise until doubled, about 60-90 minutes. These took the full 90 minutes but they rose up really well.
*Two points to note regarding the parchment:
- Sprinkling the cornmeal on the parchment didn’t work very well because my parchment comes off a roll so retains its curl, it doesn’t lay flat. The cornmeal pretty much all went to the sides. Still, I got enough under the loaves to give them a good coating, even though I had to adhere it on there by hand. Someday I’ll get it together and buy a stack of flat sheets.
- Although the parchment sheet was big enough for the two loaves, I decided, based on previous experience, to slice it in two once the loaves were on it so that they could each be moved about separately if needed. And they did, halfway in the baking, so that was a helpful move.
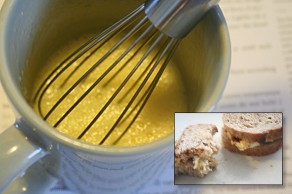
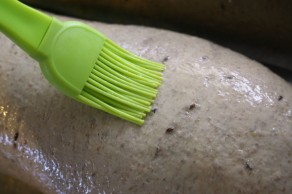
With the loaves risen and the oven already preheated to 350º, the next step is applying an egg wash. So I whisked up an egg with a teaspoon of water and brushed the glaze onto the loaves. (I also used the remaining egg to make a quick sammich while the bread was baking, using up the last of the previous Sour Rye. Yum!)
Now this nest step is NOT part of the recipe as given by Peter.
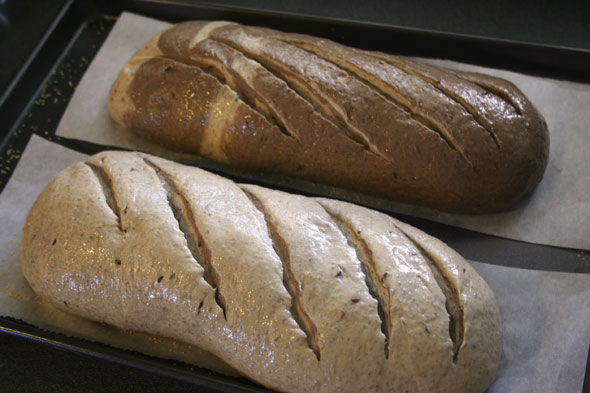
The book doesn’t mention anything about slashing, although I do know, based on the Sour Rye bread baked previously, that there’s a fair bit of expansion or “Oven spring”. I didn’t want the loaves to burst so I decided to go ahead and score these anyway. So once they were egg glazed I got out the ol’ slashing knife and tried to give the loaves an interesting design that would allow the marbling to show off as well as giving them a good way to allow expansion.
AndI got to practice my very n00bish slashing technique in the process.
So from here, the loaves went into the pre-heated oven. There was no mention of steam use in this recipe and I pondered doing so anyway but decided to try and stick a little closer to the actual recipe. So 350º, no steam and bake for about 45 minutes with a 180º spin at about 20 minutes in. (This is where the split parchment came in handy, allowing me to move the loaves separately.) And at 45 minutes, I took the loaves out and they had reached an internal temp of 190º. They were done.
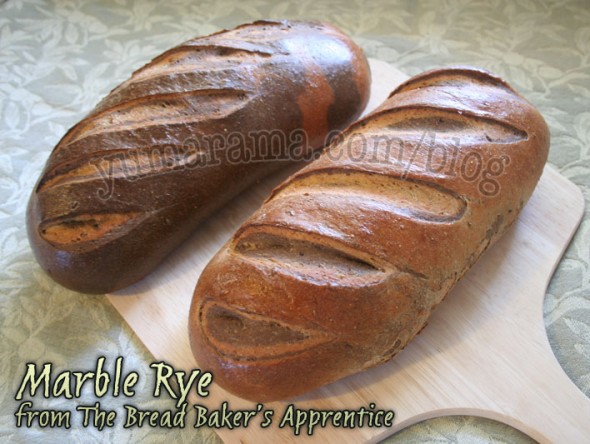
And here they are:
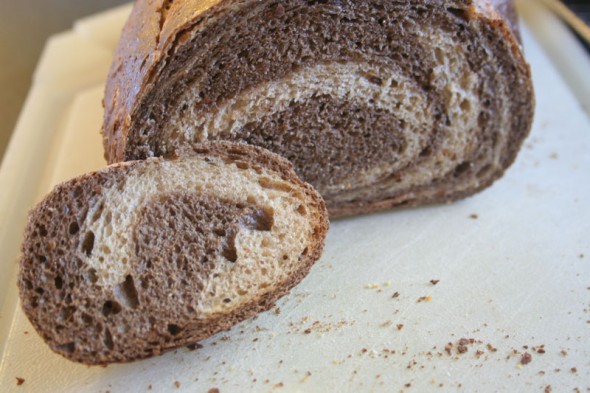
Pretty darn nice looking! After cooling for an hour, I got to slice one up and check the crumb:
It’s a nice, even crumb with just a few slightly larger bubbles. The crust is thin and a little crispy (fresh from the oven, at least). The flavour is nice although not terribly strong in rye tones even though the dough is 48% rye and the dough did get an overnight rest in the fridge. I don’t know and cannot tell if the overnight retarding made much difference as I don’t have a “control” loaf to judge it against. And of course, there’s no discernible difference in taste between the light and dark areas, it’s simply a very nice visual add-on.
Visually, it’s very pleasing.
We had some with a turkey and mashed potato dinner and even Punkin liked it. Had an extra slice of it, in fact.
My own observation is that, for my liking, the crust isn’t developed well enough. I think having steam in the baking would have helped give the crust a little more body. While the bread sits in a plastic bag for the next couple of days, the crust will lose what little crunch it has now. This isn’t a terrible issue but it would have been a little better, to my mind at least, if the crust, where a fair bit of any bread’s flavour comes from, was a little more robust.
Overall, I think this is a good rye bread that isn’t too strong in character and is suitable for those who like a little variety but don’t want a bold flavour.
Some of the other bakers blogging this bread:
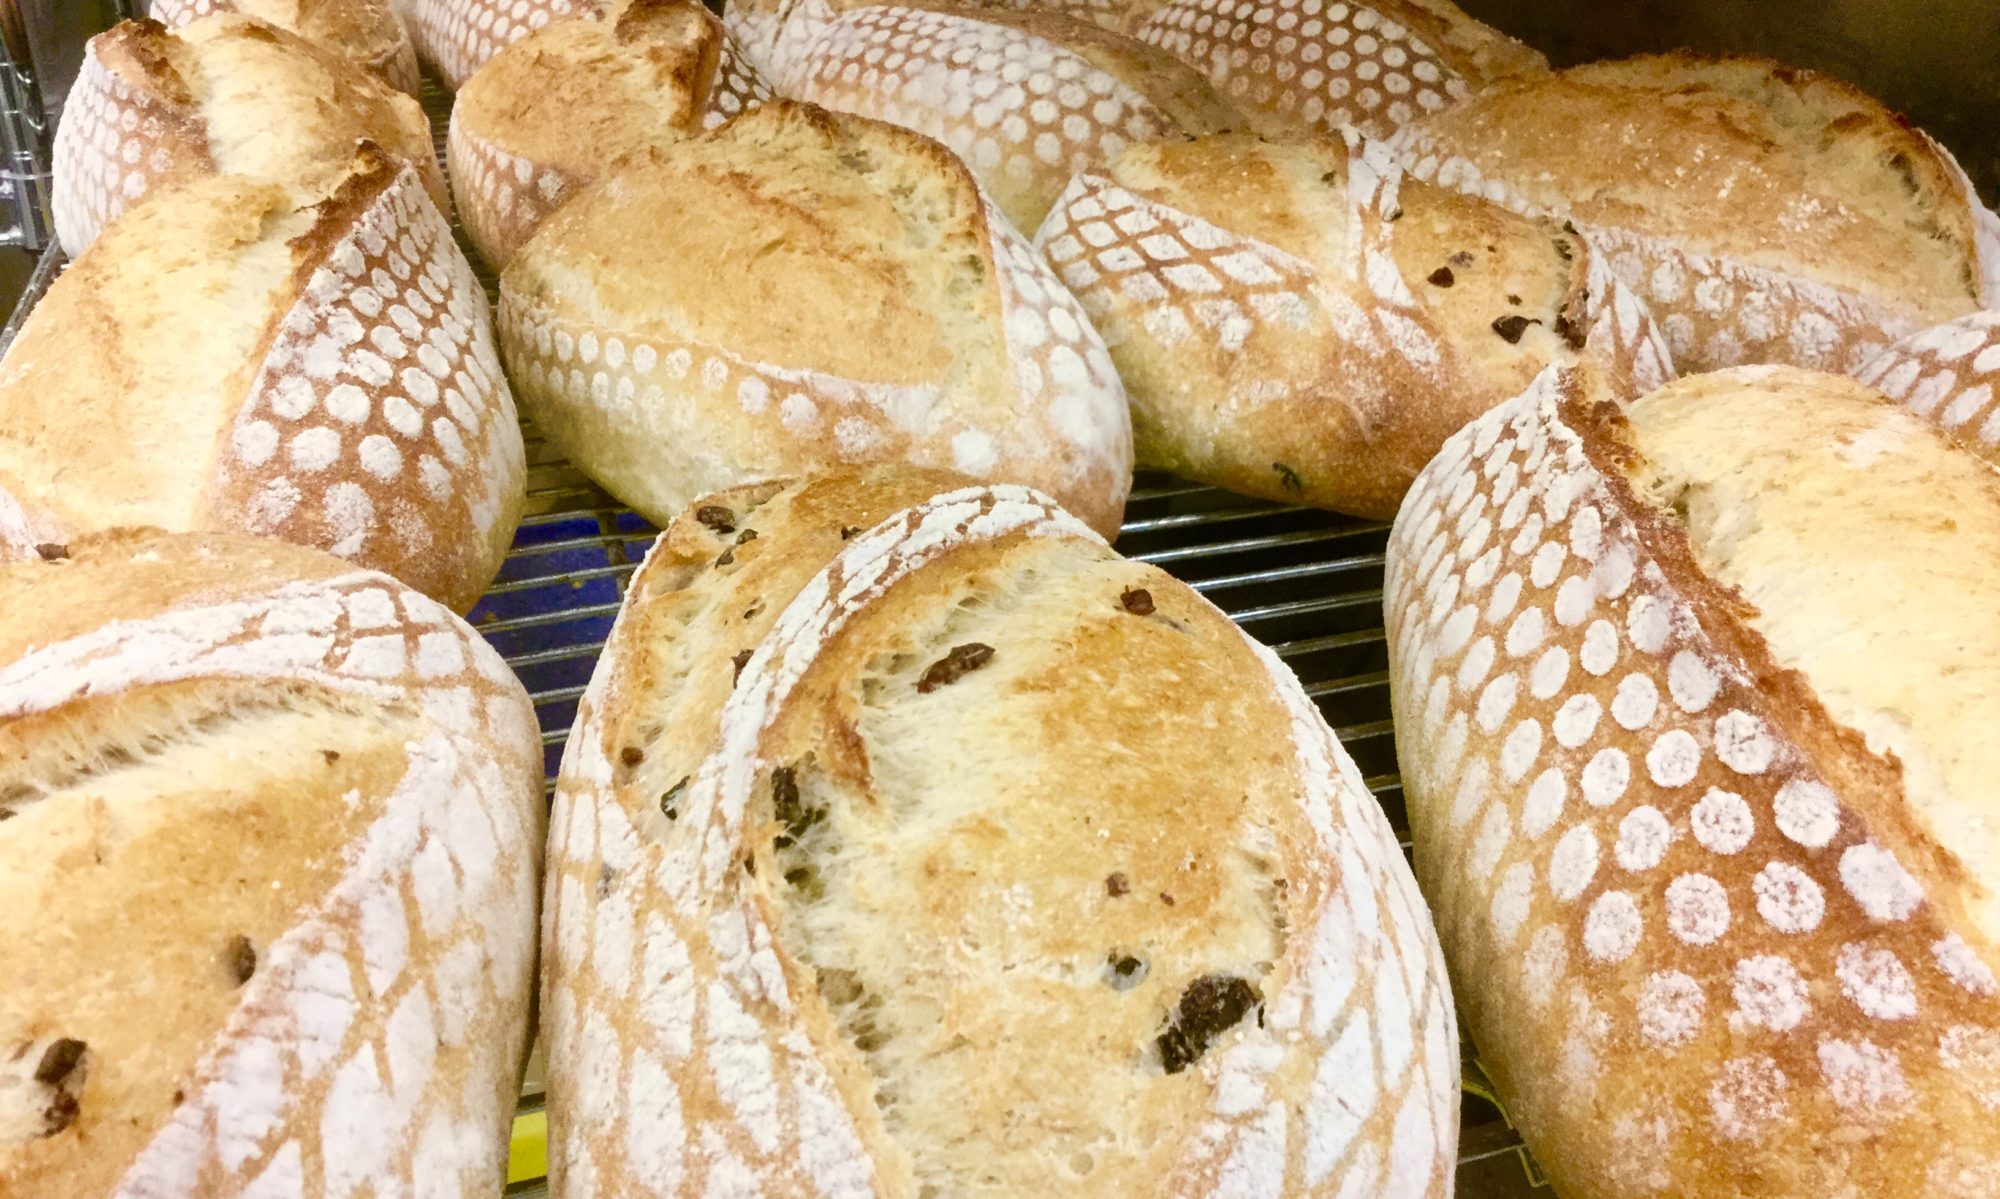
Mags from Other Side of Fifty made one panned and one free standing loaf
Oggi of I Can Do That did both a spiral and a marbled version
Deb at Italian Food Forever said this was her first ever rye bread (and I’m terribly jealous of her backdrop)

Love the slashing. Those loaves are stunning! Thank you for including my marbled rye post in with your links to other bakers.
These look so pretty! Your slashes are very assertive, too. I need to channel some of that – mine are much too wimpy.
Thanks for all the details. Great hint about the parchment paper. I couldn’t find the flour and am waiting for my KA order, which includes a lame. I jumped ahead to the multigrain and have a new favorite.
I agree with the others: those are some seriously beautiful slashes! Just about to make this bread – never thought of just using food coloring gel – great idea.
Your breads look wonderful. Once again I have learned a few new tips from you. Great idea to use food colouring gel instead of the caramel flavouring. Wish I’d thought of that. I also loved the ides of cutting the parchemnt. So simple but brilliant!
The slashing is GREAT! Good job!
Your loaves are gorgeous! I tried this recipe today but I am not happy with the results. I am a novice bread maker and have just begun to venture out from my one bread recipe, a whole wheat one that I learned in cooking school. One of my instructors praised Reinhart’s book the Bread Maker’s Apprentice. This is my second recipe I’m trying from the book.
I found the dough to be incredibly stiff. It didn’t seem pliable or supple at all. I searched on the internet trying to figure out what I had done wrong or if this was normal and stumbled across your site and a couple others. Another site adviced holding off on adding all the flour because she’d found she needed to add more water so with that said. I started again, this time adding the flour very slowly to the liquid mixture and yeast. The bread taste good but the light part of the marbling is not as light as the pictures of seen, I guess I didn’t incorporate as much flour.
What was the texture of the dough when you initially had it set to rest? I didn’t do the windowpane on my first attempt. I know it wouldn’t have passed. The dough felt smooth but it was sooooo stiff.
Hi Antoinette,
Since this bread was made over a year ago, I can’t honestly say exactly how the dough was. Since I made no particular mention of the dough being too stiff, I assume it was “normal”. Note that I do point out the machine kneading did not do the trick and that I did hand kneading as well.
As you state that you have an instructor and took classes, I will assume that you measured the ingredients by weight and not volume (cups). Otherwise, I’d say “weight your ingredients” because it is much more accurate. However, every bag of flour will be a little different and yours may simply have been very dry and absorbed all the water. Once you’ve used up the current bag, you may want to try another brand and see if it changes the dough. You have to feel confident to adjust somewhat; recipes are more guidelines to get you a dough that works; if you need to add water or flour or a little more time, you can do so. Of course for the new baker, this may seem counter-intuitive if you are following a recipe.
I do believe that most new bakers will tend to make their dough dryer because they use more flour to “keep it from sticking to their hands” or get it to where they want in the early stages, or simply by putting too much flour on the counter when kneading, not realizing the flour will continue to draw moisture so “sticky” dough at the start eventually becomes “tacky”. And unless you are making bagels or some other specifically “stiff’ dough, a softer, tacky dough is what you generally do want. Then there are the “wet” doughs like Ciabatta but that’s the other end of the scale.
My suggestion then would be that if you liked this bread and wanted to give it another go,
Bottom line: keep at it! If you’re just getting into bread, it is often suggested that you pick a relatively simple bread and produce that over and over until you have the basic techniques so well ingrained that you can almost make it blindfolded. The aim is to not jump from one recipe to another as you’re learning because the dough will always be different and you will have a harder time figuring what a minor change here or there does if the dough isn’t constant. What happens if you add more water or more flour? What if you give it an autolyse or don’t? What if it proofs at a low temp for a long time? If the bread you were doing was constantly changing, you couldn’t really track what subtle changes these made as you’d be aiming for a new bread each time.
Still, in almost all case, even the failure are edible whether they’re perfect or not. So go forth and bake and don’t worry too much about getting it “perfect”. “Good” is still good. Perfect will come in time.