 Mark’s mom, a.k.a. “Grandma Chicken” (so nicknamed because her kitchen is festooned in chicken prints, chicken towels, chicken nicknacks, anything chicken themed…) signed up for a cookie exchange this Christmas, which happened to be taking place the next weekend. Everyone should make a large batch of cookies, all gather together, and share the goods with each other.
 Grandma Chicken
There’s only one slight problem with this plan: Gran doesn’t actually much care for making cookies at all. Chocolates? You bet! She’ll happily spend days, nay – weeks, making fillings and hand dipping hundreds (yes!) of delicious chocolates. Cookies however… uhhh… not so much. Hearing that I was into baking, she asked me to find a good cookie recipe that would impress the neighbour ladies.
I looked up some festive cookies and found three good potentials for the event. We needed to keep in mind that because this was a cookie exchange, the visual appeal had to be rather high.
Once I presented her with these choices and we zoned in on one, she pondered if I would be interested in making them for her. So that’s how I came to make Checkerboard Cookies.
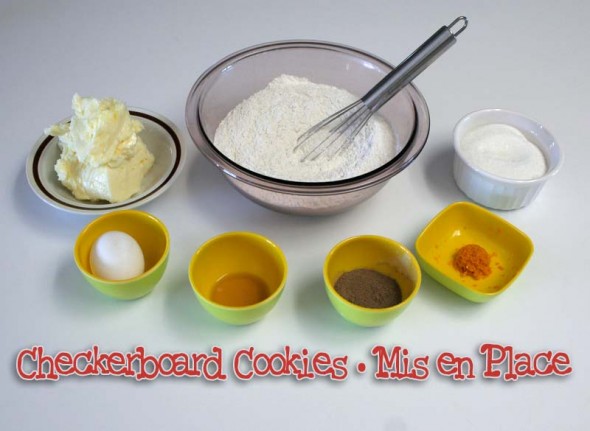
The original recipe I went with can be found on JoyOfBaking.com although I have (of course) made a few changes along the way. But here is my take on it. Let’s start with the Mis en Place.
Checkerboard Cookies Ingredients:
- 227 gr (1 cup) unsalted butter at room temp.
- 325 gr (2 ½ cups) all purpose flour
- 1/8 tsp salt (not shown; Gran had only salted butter so I omitted this)
- 150 gr (¾ cup) granulated sugar
- 1 large egg, room temp. (soak in a cup of warm water for a few minutes if it’s straight out of the fridge)
- 1.5 tsp pure vanilla extract
- 15 gr (2 Tbsp) good quality cocoa powder (Gran has Garibaldi’s) – next time I’d up it to 20 or 25 gr
- 1.5 tsp orange zest
- Optional: 45 gr (1/3 cup) finely chopped nuts like hazelnut or almond, whatever you like. (Because we were making these for a public event, we omitted nuts due to possible allergies.)
Prep:
Get out a cookie sheet or two and make some space for them in the freezer as you’ll need to pop the cookie dough in there for 15 minutes at a time while making these.
Also get some parchment paper ready, cookie sheet sized. You’ll want three or four of them plus one more which you’ll be drawing on.
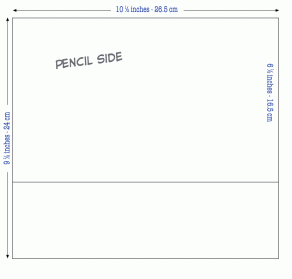
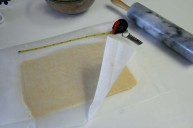
Take that last sheet and in the centre with a pencil and ruler, draw a template as shown here (click to enlarge):
This will give you a guide for rolling out your sheets of coookie dough. The smaller rectangle will be for the dough used for the checkerboard while the larger overall area is for the outer wrap. It will make sense, you’l see. Also, write “Pencil Side” somewhere on it so you don’t mistakenly roll out the dough on the pencil side; you’ll be able to tell by being able to read that. Lastly, use pencil as pen or marker don’t work well on parchment paper. You can use a plain sheet of paper underneath as a guide to get square corners.
On to the actual cookie making!
The Directions
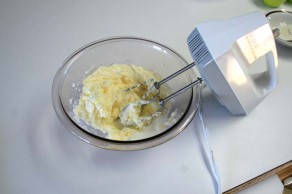
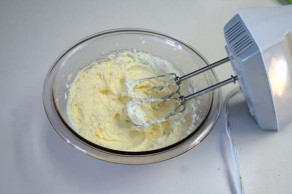
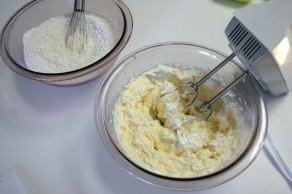
In a large bowl, cream your butter and sugar until light and fluffy.
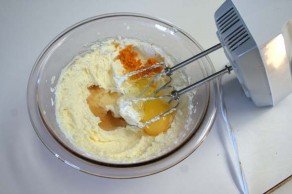
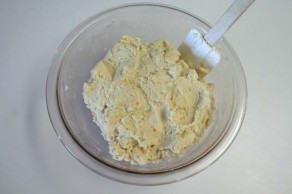
Add the vanilla, egg and orange zest, mix until incorporated. Add the flour in half cup amounts, mixing each in until it has all been added. If you had used unsalted butter, you would have whisked in the 1/8 tsp of salt into the flour before doing this last step.
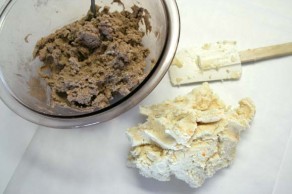
And there is the basic cookie dough. If we wanted to, we could roll it out and cut out cookies right from this point. However, we are gonna get fancy! So we take about half or a tad more of the dough (this mix gave me 750 gr of dough, so I took 425 gr here, leaving 325 gr) and incorporate the cocoa powder into this larger amount. We need more of the chocolate dough because we are also covering the cookies.
If you were adding nuts, you would add them to this chocolate dough now.
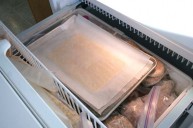
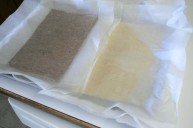
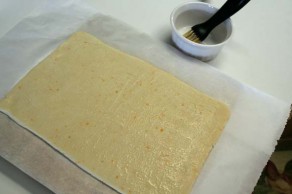
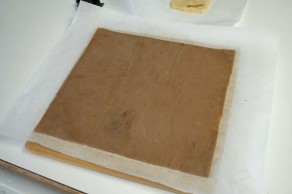
Place the white dough onto one of your parchment sheets and spread out with your fingers until it’s roughly a rectangle. Cover this with your template sheet (“pencil side” up) and roll this out to a bit bigger than the smaller rectangle. You will likely need to trim the excess that goes out beyond the template to fill in the corners. Once your dough rectangle completely fills the smaller template area, carefully peel off the template sheet and replace it with a blank parchment to cover the dough. Then put this dough sheet on a baking tray and place it in the freezer. It should be in there for about 15 minutes.
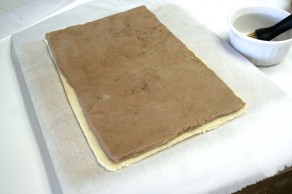
While the white dough is chillin’, repeat this step with the chocolate dough except you hold back about a half cup of it for the wrap layer. So again, put your chocolate dough ball on a blank parchment, pat it out to a somewhat rectangular shape and roll it out to the size of the smaller template rectangle, adding excess bits to the corners to get a little bit passed the template. Now peel off the template and replace with another parchment and slide this on the cookie sheet in the freezer as well.
Once the sheets have solidified, take them out of the freezer and remove the top parchment. Take one of the dough sheets and brush it with a little water to help the next sheet stick. Then place the other dough sheet on top of the first one, pressing it down gently to make sure it adheres nicely. Cover again and return to the freezer for a few minutes.
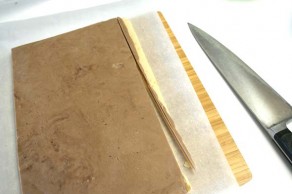
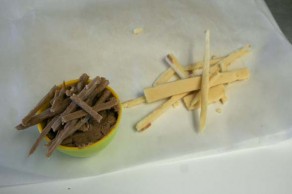
Next, trim the stacked sheets so that they are nice and square edged. You should be able to get this two layer stack to about 6″ x 10″ (15 x 25.5 cm) add the chocolate trimmings to your held back chocolate dough; the white trimming won’t be used here (but can make a few “scrap” cookies later).
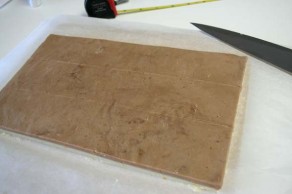
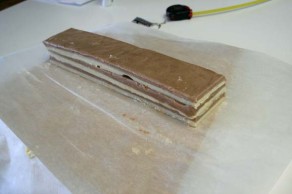
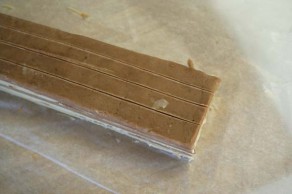
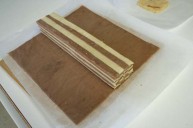
Next, score and cut three equal lengths of the now neatly squared dough. These should be 2 inches or 5 cm wide each. Then stack them on top of each other, brushing a little water between each layer to help them stick. Gently press the stack together, wrap in the parchment and pop in the freezer again for a quick chill.
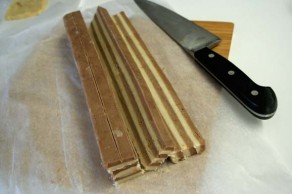
After a few minutes, remove the cold stack from the freezer. Score the stack in two equal parts, then each of those in two again to get four strips. Cut these strips into layered bars.
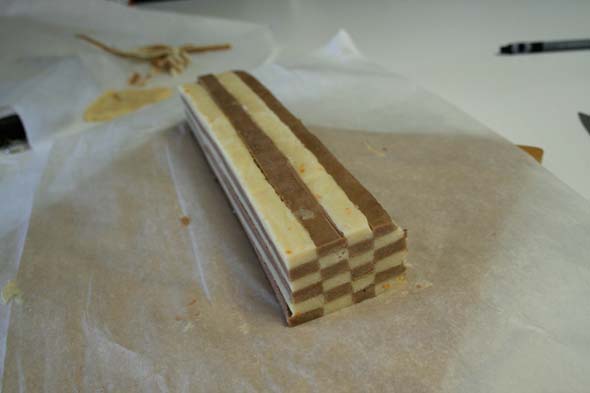
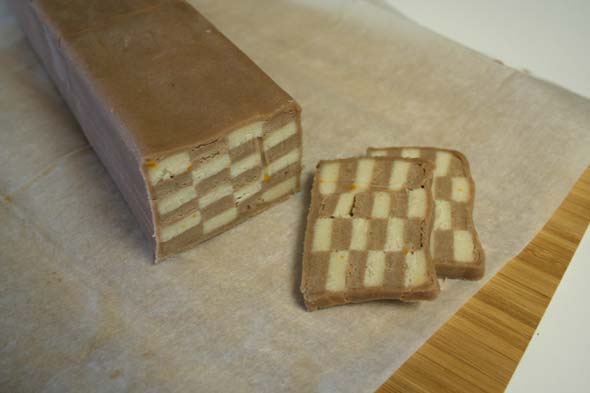
Here is where the magic happens: Put these bars back together, flipping the odd ones over to accomplish the checkerboard design. Once more, wrap in parchment and pop back in the freezer.
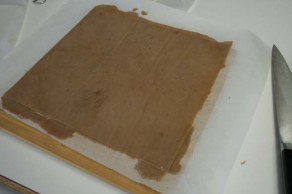
While the checkered stack is cooling again, take the held back dough and chocolate trimmings and, using the template and one of the parchment sheets, roll out a sheet of dough to the larger, overall size (9½” x 10½” or 24 x 27 cm). This will be thinner than the other dough sheets. Trim this sheet square. If it is too soft, you can pop this into the fridge for a couple of minutes or the freezer for just a little bit – you will want it flexible for the next step.
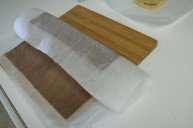
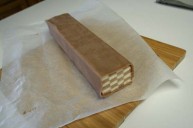
Place the now chilled wrap sheet on the counter and put the well chilled checker dough bar in the middle. Using the parchment to help, wrap this outside sheet around the centre block, being careful not to break the wrapping dough. If it is too stiff, let it sit for a few minutes. Smoothe the outside wrap so it adheres well to the checkered dough, wrap in parchment once more and into the freezer it goes.
At this point, you can leave the dough in the refrigerator (not freezer) well wrapped, for three days and continue with the cookies later if you wish. Otherwise let’s carry on.
Take the cold dough out and unwrap. Slice the dough bar into 1/4″ ( 1/2 cm) cookies and lay on a parchment lined cookie sheet (you’ll likely need two) with about 1 inch (2.5 cm) of space between each.
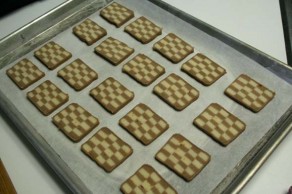
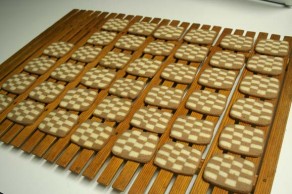 Put the cookie sheets into a pre-heated oven at 350ºF and bake for 5 to 8 minutes just until the cookies lose their sheen and the edges start to brown a little. They will expand slightly. (Toss in some of the scrap cookies now too.)
You should get three dozen cookies from this batch; I actually go 40 although the two end ones were a bit funky looking. They were treats for the baker.
Allow cookies to cool before eating or stacking; they are a little fragile when still warm.
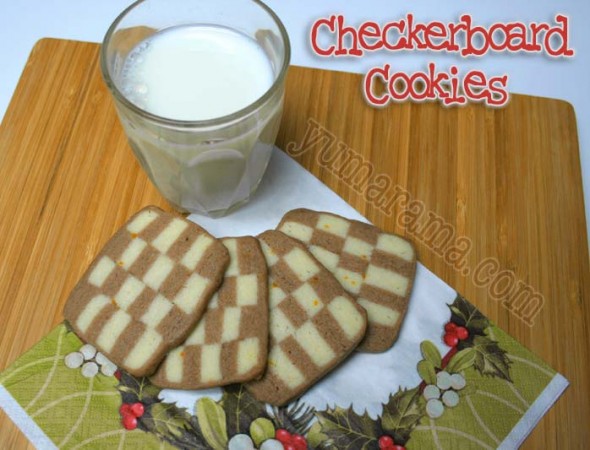
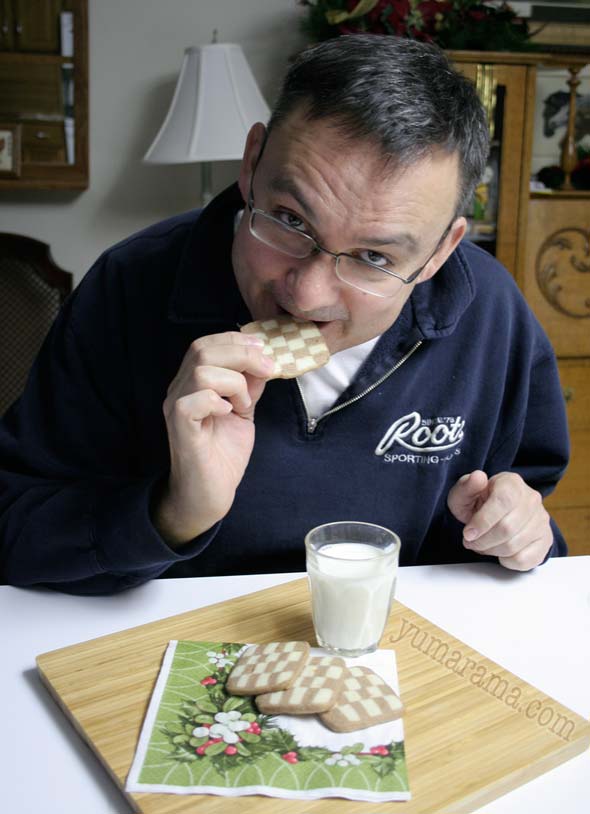
And now, a couple of Glam Shots.
In all, it took me about 2 hours to make these (although that does include taking photos along the way, you may not be as concerned with that). I made a second, double batch (they needed 7 dozen) with pink and white dough and that took a little less time. They are actually easy to do, just take a bit of patience. But they look awesome and taste great!
The cookie exchange is tomorrow so we’ll find out how they did then. I’ll update this post.
Please do try them.
Update:
The cookie exchange is over and the results are… there was no “winner”. Hey, it wasn’t a contest.
There were a whole bunch of great cookies, some fancier than others, all very tasty. Our Checkerboard Cookies were probably the most “fancy lookin'” but the seven dozen different cookies Gran brought back were all really nice.
So now there’s a big bin full of lovely assorted cookies to be given away or eaten in the next several days. Someone get the milk glasses lined up!

Mmmmmm….I want to gather up some white chocolate and semi-sweet chocolate chips and play checkers with these!! Thanks for sharing the recipe!
They are beautiful! Remind me of Battenburg cake, one of our favourites here, curious old fashioned cake that it is. I love the last pic too. And I must work out how to do discreet watermarking too. I really like the one on the cookie board. Is there a particular programme that you use? hugs Joanna
Thanks, everyone!
Joanna:
I use Photoshop for all the photo editing I do. For those who don’t have that, there are free or cheap watermarking programs (even Mac ones!) out there you can get to watermark photos. The results are not quite as configurable as PS of course and you should check out a few to compare as some are easier to use and/or give nicer results than others, but they are out there.
Oh, wow!!!! We can buy these in our bakeries here and I was always wondering how to make them. Thanks for your detailed post!
These look so impressive. Love the step-by-steps!
I have one of those watermarking progs. But I don’t get on with it very well. I think I’ve even got an elderly copy of photoshop somewhere on here too, but am even more pathetic with that (confession). I think I get bored and impatient trying to work out how to use it. I’ve done some tutorials but.. anyway…. I will investigate Picassa. I would love something that resized… thanks again!
and I don’t have an intel processor… so it will all have to wait till a shiny new Mac arrives for Zeb to play with one day….
Then http://www.picnick.com is your friend until that wonderful day Santa/Tooth Fairy/Easter Bunny/Whoever drops a shiny new Mac off at your house!
Thanks for your step-by-step pics, they came in really handy!
My entry is here
http://blessedhomemaker.blogspot.com/2011/01/checkerboard-cookies-job.html
Glad to hear they helped, it is a slightly confusing method just reading the recipe.
Your finished cookies looked great!
I made checkerboard cookies once, a very long time ago. Mine were all wonky! I am so impressed with the beautiful straight edges you got, not to mention your usual play by play pictoral commentary. Just beautiful.
Thank you so much for the amazing step-by-step pics. I’ve been looking for a good checkerboard cookies recipe and instruction but haven’t found any clear instruction on how to EASILY assemle these little gems. I’ll be making these soon for a friend birthday in coconut/ pandan flavor. ;))