 There were no objections to this latest [easyazon-link asin=”1580082688″]The Bread Baker’s Apprentice[/easyazon-link] Challenge recipe. Odd, that.
We’re now on recipe number eight, out of 43 as we work through the entire list of recipes. As already noted in a previous post, I skipped Challah and Ciabatta as I’d already made both of them before.
So here we are at the next one: Cinnamon Buns. OF DEATH!! Ok, that last bit I added myself, simply because, well, I’ll explain at the end although you may well guess before then.
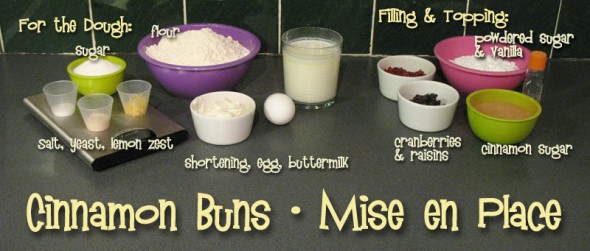
As always, we’ll begin with the Mise en Place where we make certain ahead of time we have all the ingredients we’ll need measured and ready to use.
Oh, before we go on, a little clarification. One reason that’s often given to persuade people to use a scale over measuring everything in volumes (cups, teaspoons, etc.) is that if you use a good scale, it will have a “tare” function which basically just brings the scale readout back to zero. So if you started at zero, added a bowl, you’d tare back to zero then add, say, 174 grams of sugar, then you could tare again (go back to zero) and add 36 grams of water into the same bowl.
“Less dishes to do at the end!” is the argument. Although that is in fact accurate, it’s not really what you would like to do. As you see in all the Mise en Place photos on these blog entries, all ingredients get measured and put into their own separate vessels ahead of time so you do in fact end up with a couple of extra dishes to do. Flour or sugar or other dry ingredient, I just wipe the bowl unless it got actually “dirty”. Butter or milk, obviously, those need washing.
But the “convenience” of adding everything into one bowl as you go along doesn’t, to my mind, outweigh the benefits of doing a Mise en Place and making certain everything is present and accounted for ahead of time and you’re not forgetting to add anything. That is worth a few extra dishes, to my mind.
OK, back to the Step-by-Step and the Mise en Place.
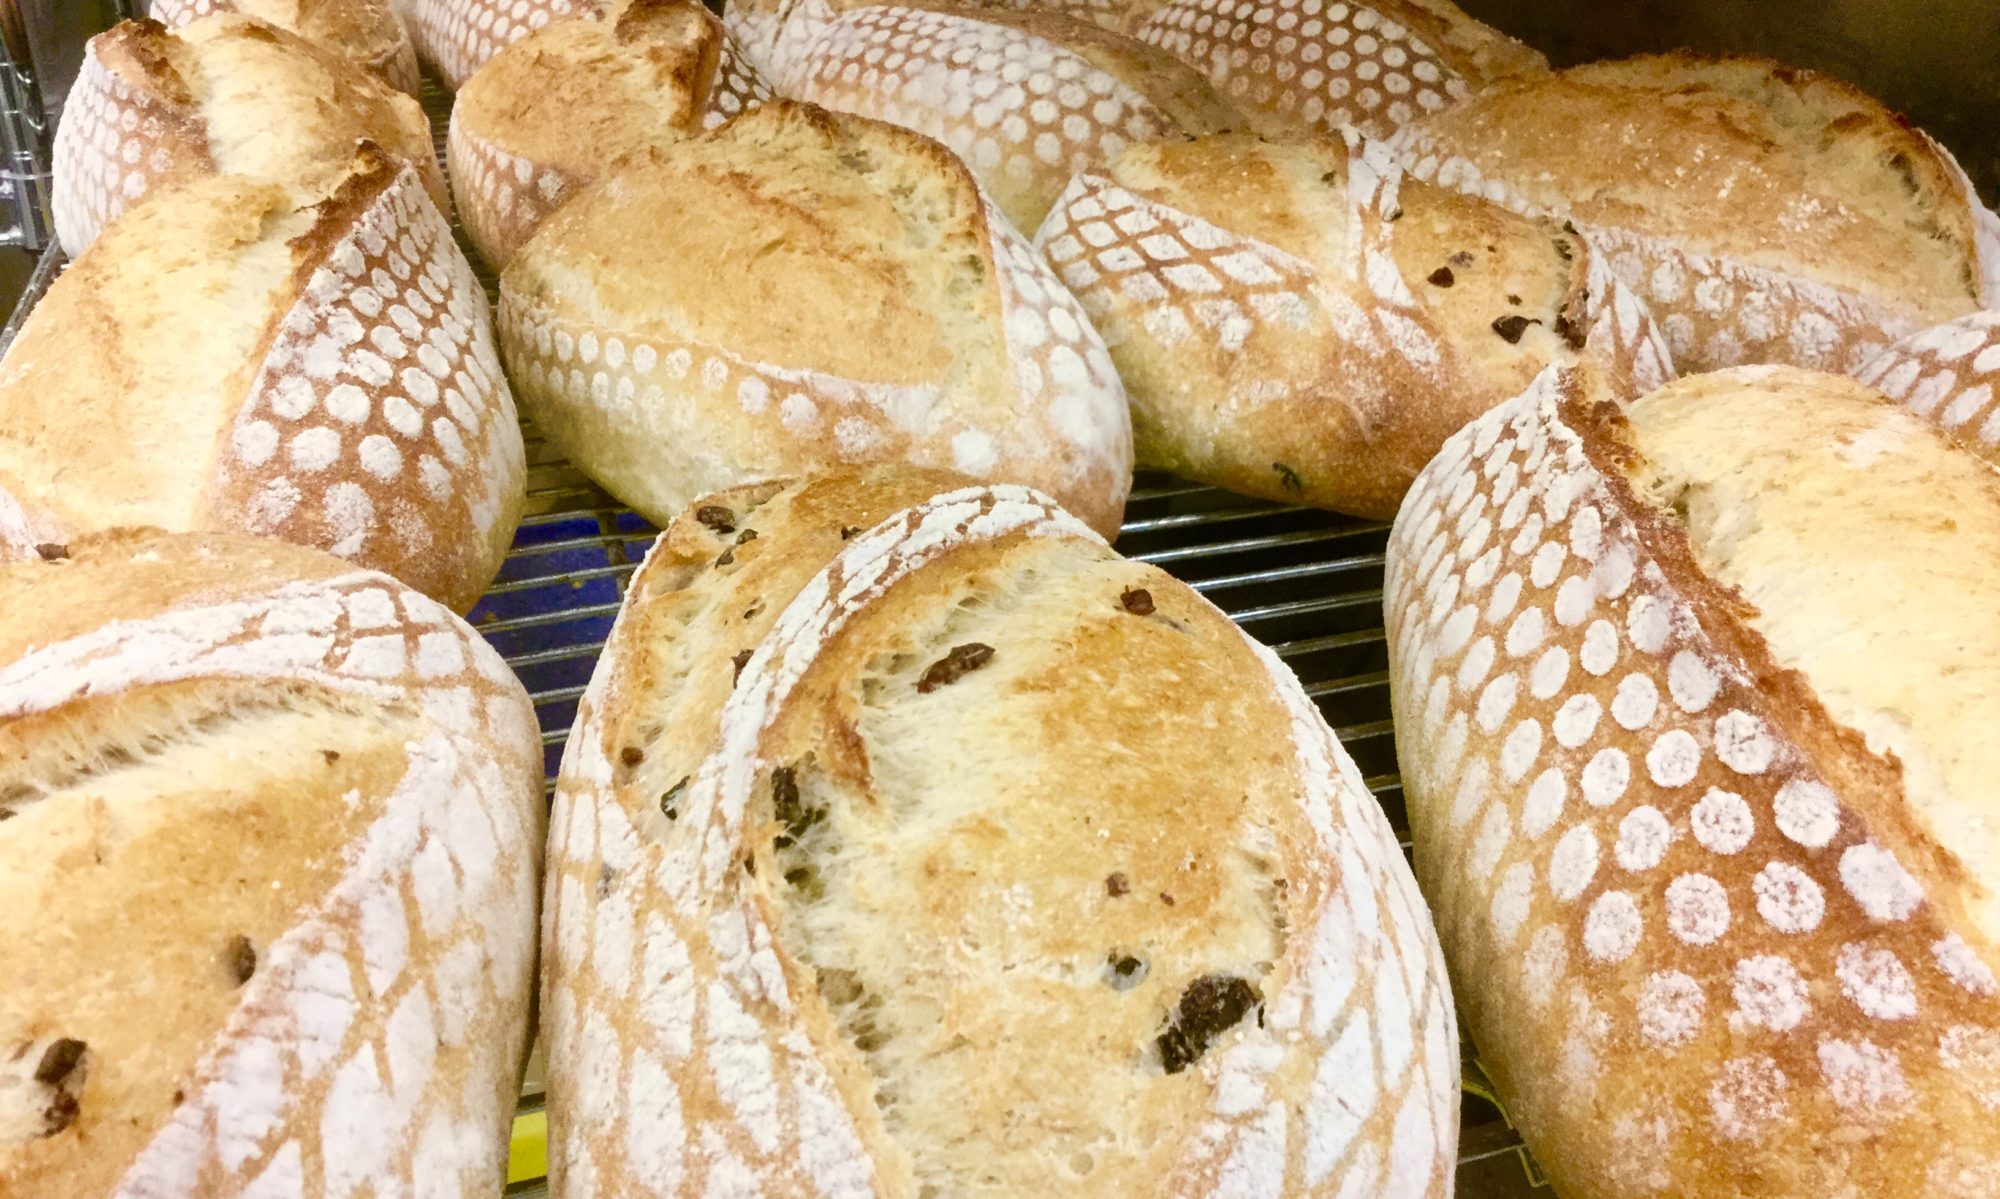
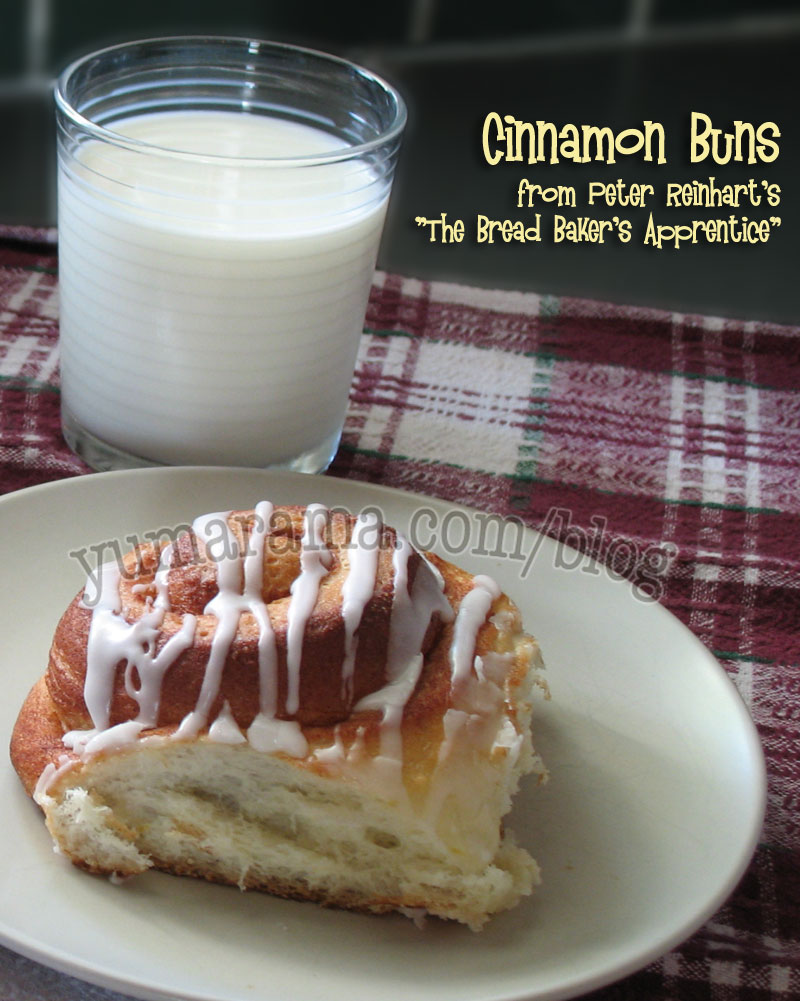
Now for this challenge, we have the option of making one of two possible recipes: buns or sticky buns. Cinnamon buns are the typical rolled confection which you see in the first photo above. “Sticky buns” are similar but baked in a deep pan with a caramel glaze poured into the bottom and add-ons like raisins and/or walnuts sprinkled about and THEN the sliced rolled dough is added. In effect, you’re baking this “upside down” and when done, you invert the whole thing and the caramel is now on top of the buns.
Obviously, I opted for the more traditional rolled version but decided to add cranberries and raisins, I’ll do one on the left and the other on the right so we’ll have two types of cinnamon buns at the end.
The egg and buttermilk are allowed to get to room temperature before we start — or pop the egg in a glass of hot water, nuke the buttermilk for about 45 seconds to help them along.
Buttermilk tip:
If you avoid using buttermilk in recipes because they normally require just a cup or so and you’re stuck with the rest of the carton, remember that buttermilk freezes fine. I previously got a liter of buttermilk for some other recipe and then put a cup of the remainder into freezer bags, and popped them in the freezer (labelled of course). So when I needed the buttermilk here, I just nabbed a 1 cup bag and let it defrost. The recipe called for 1.25 cups so I topped it off with regular milk.
OK, let’s carry on.
This recipe is a one day recipe so I started at about noon and by 4 p.m. had the buns cooling. You can set the buns to proof in the fridge for up to 2 days if you ever get caught by life mid-bun. This will also develop more dough flavour, although with the cinnamon sugar ad icing or caramel glaze flavours so prominent, this isn’t really necessary.
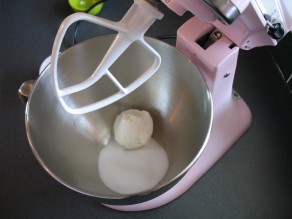
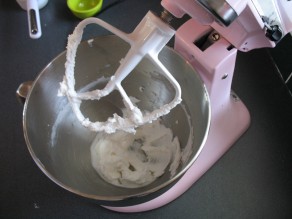
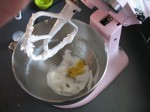
All right: step one: Cream the sugar, salt and shortening.
This step is done at a medium speed. To get the ingredients well mixed took a few minutes and a number of scrapings to bring the paste back to the bottom.
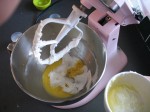
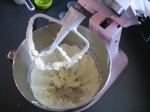
We then add the lemon zest (or lemon extract), the slightly beaten egg and mix until smooth, scraping the sides as needed.
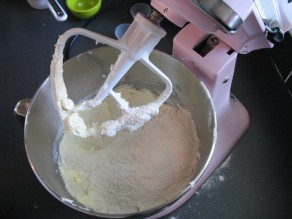
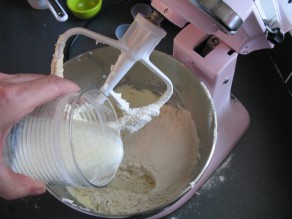
Next comes the flour, yeast and buttermilk.
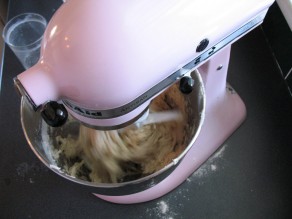
This dough is mixed at speed 1 until everything is wet and the dough begins to form a rough shaggy ball.
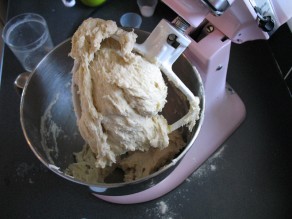
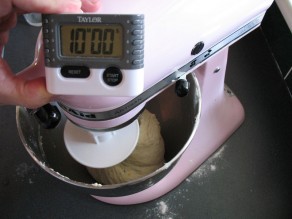
We switch from paddle to dough hook and knead at medium speed (yes, #5) for about 10 minutes. Don’t worry, this is a very soft dough, your mixer won’t be straining on this one.
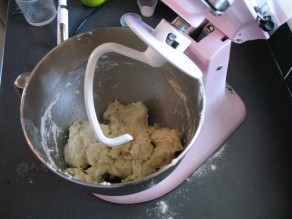
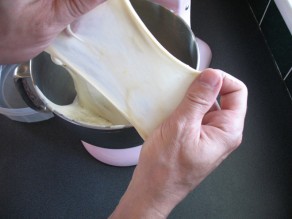
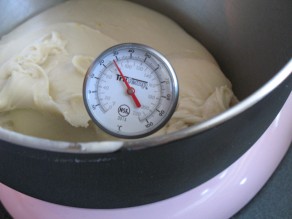
After ten minutes the dough should be satiny smooth, tacky but not sticky. The windowpane test will pass (woah, and how!) and the dough temp will be about 75-81ºF
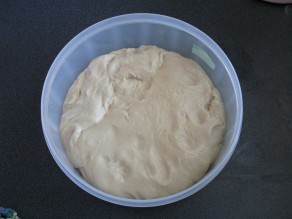
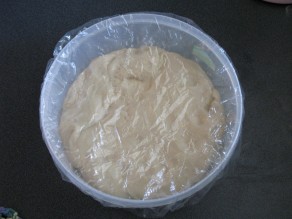
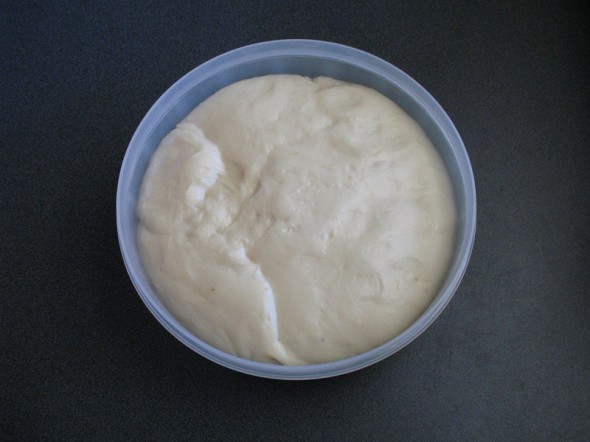
We then transfer the dough into a greased bowl, flip it to coat all sides and cover using our handy shower caps. We let this bulk ferment for 2.5 hours or until it doubles. So keep an eye out.
At just under the 2 hour mark my dough had easily doubled (it was quite warm today). So we can now go on to the next step, forming the rolls.
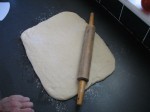
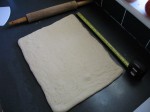
We give the cleaned up countertop a spritz of spray oil and place the dough down. We then roll the dough out into a rectangle, using a little sprinkle of flour to keep the rolling pin from sticking. We should end up with a rectangle 14″ wide by 12″ high. This is for 8-12 buns. For smaller buns, you’d do a rectangle 18″ wide and 9″ high. Yes, I actually got out a measuring tape to check my guessed size was close. It wasn’t. So I tucked the rectangle in a bit and rolled it to the exact dimensions. I also used the scraper to get nice clean edges so the outside buns wouldn’t be all funky lookin’.
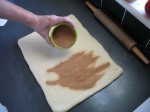
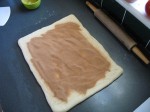
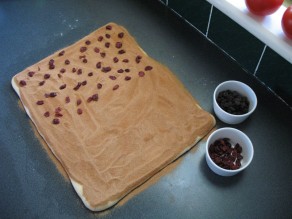
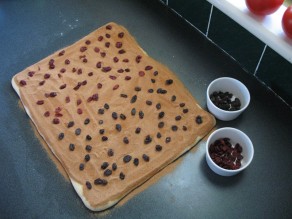
Having attained perfect dimensions, the cinnamon-sugar mix is spread out. Notice a problem in the third photo: I didn’t leave an unsugared edge. I should have left about a half inch or so uncoated dough so when we roll it up, there’s a strip of sticky dough to seal up and keep the rolls sort of in shape. Didn’t think of that then, will know next time, you’ll know now.
The sacrifices I make for my baking pals!
As already noted, I decided to try two flavours on this bun recipe: raisin and cranberry. So I spread out some cranberry on the left and raisins on the right. The book points out you don’t need a lot. I thought this seemed a good amount: abundant but not crazy. Turned out well.
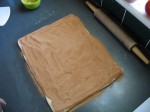
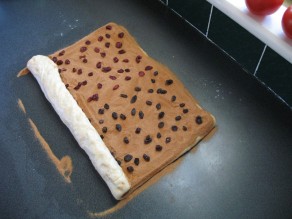
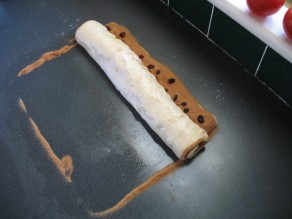
Carefully, because this rather soft dough, I roll up the sheet. Note how the sugar mix is falling off the sides. There is a LOT of cinnamon sugar here. No one is going to say it’s lacking in that sugary filling, this is definitely cinnamon flavoured. No, I’m certainly not complaining, just pointing it out. Compared to other rolls, this one will kick butt.
Also note that when I get the roll up to the top, the missing blank/sticky strip would have been good to have and make sure I could seal the roll together to keep it in shape. It wasn’t a disaster or anything but would have helped a little. OK, time to slice.
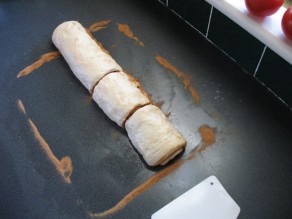
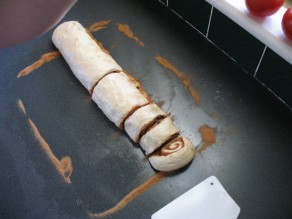
I decided to make 12 rolls out of this so I needed to figure out where to slice. The simple solution was to cut the roll in the center, then cut one half in two and then one of these quarters into three similar sizes. This worked perfectly. I could have sliced in quarter in two and got eight very large buns. But since these aren’t going to be meal replacements, I wanted them to still be an acceptable size. We’ll see how that turned out further on.
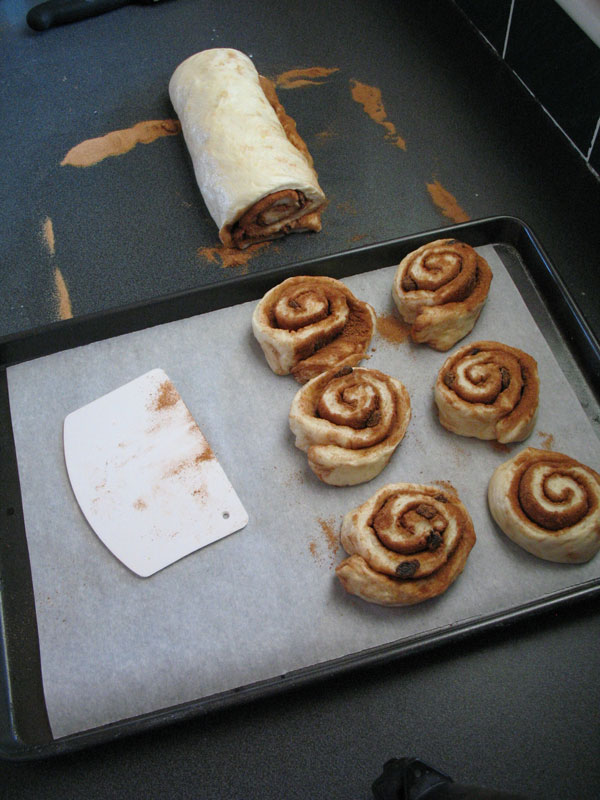
I used the scraper to help transfer the sliced rolls to a parchment covered baking sheet. These are the raisin rolls and they’re placed about 1/2″ apart.
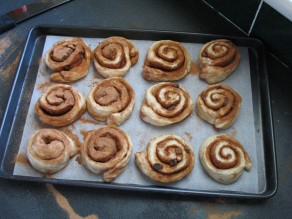
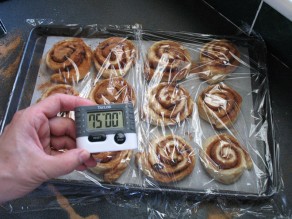
With all the buns now sliced and on the tray, they are now allowed to do their final proof, covered with plastic for about 75 – 90 minutes.
One thing to note on the left hand tray pic: the bottom row has two rolls with the “loose end” to the outside. I’d want to make sure next time that all ends are turned inward so no loose rope is left to possibly over bake. It didn’t turn out to be a problem but it may have if I’d left the buns to cook a little too long, and since it’s an easy thing to fix, I’ll make a note in the book to turn them inwards next time.
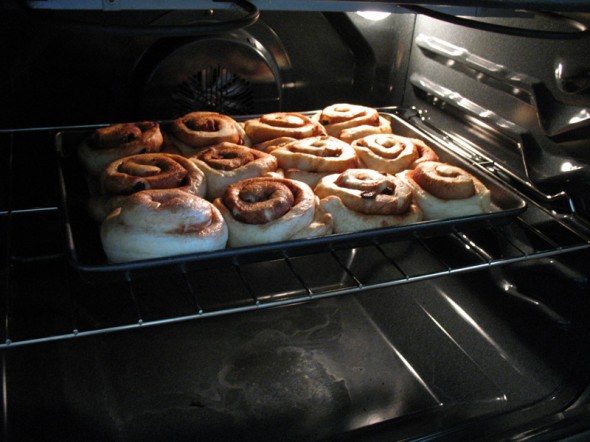
Into the preheated oven the proofed buns go, 350ºF for 20-30 minutes.
At about the 23-25 minute mark, they looked decidedly “golden brown” to me, verging on becoming a little too well done. And because of the sugar content here, I didn’t want to chance getting much darker and developing a burnt sugar taste.
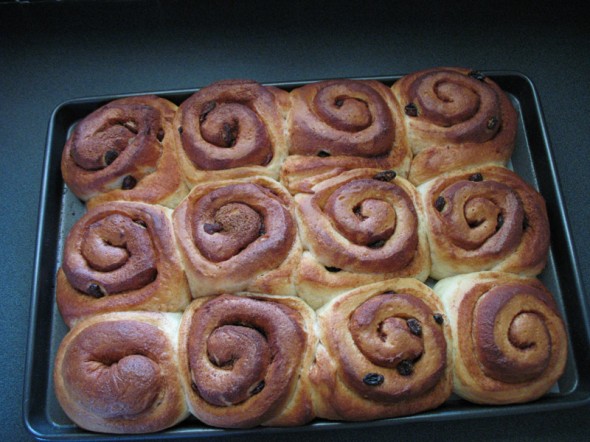
Onto the cooling rack the pan goes (I wasn’t going to take the buns out).
Here’s a bit of an arty shot for your dining and dancing pleasure. Please wait TEN MINUTES to let them cool somewhat before icing.
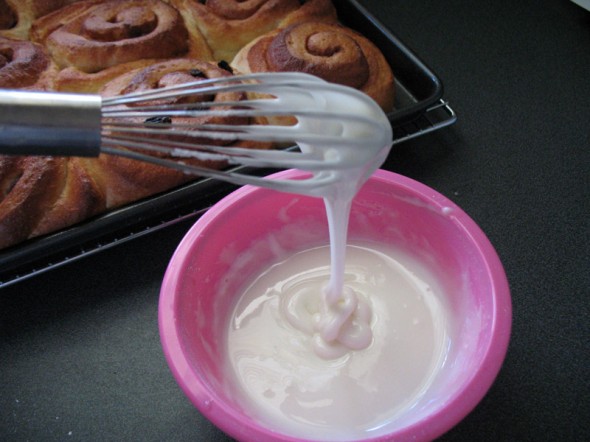
While they were cooling, I mixed up the icing. Although I’d planned on using vanilla, at the last second I decided to carry the lemon zest flavour I’d added to the dough and added about a teaspoon or so of concentrated lemon juice to the sugar. I did not have any lemon or orange extract. It worked fine. I veeeeeery slowly dribbled a little milk into the sugar and mixed it as I went along, I didn’t want to go too fast on the liquid and overshoot the right consistency and end up with very runny icing. I think what I got here worked well.
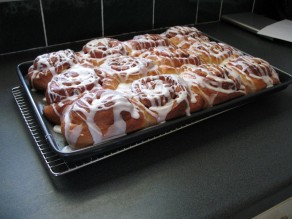
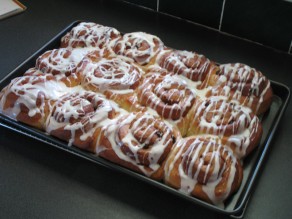
Sorry, Too Few Hands human issues. No pics of actually dribbling the icing on. Besides, it’s clear I’d need plenty more practice to get “really purdy” dribbling skills. Here are a few shots of the final dribbling exercise.
I decided, partway through making a mess of the cranberry half on the left, to make them “swirly” designs and the raisin side more parallel looking. Bah, who cares, they’re all gonna get scarfed anyway.
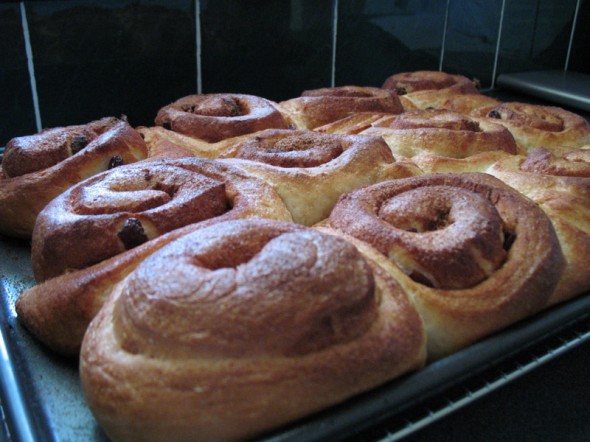
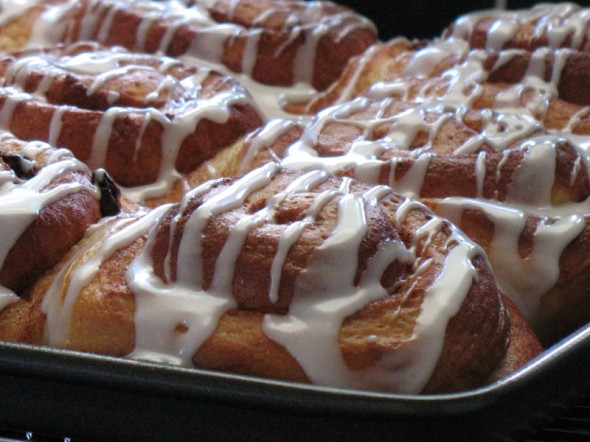
This is not a bad shot. I think I fudged the camera correctly and got some “depth of field” effect in here. Or maybe it’s just blurry. Man, I need a better, dSLR camera, I’m eyeballing a Nikon D60… (Hey! Get back on topic!)
OK, so a repeat of the topmost photo, but bigger and that’s it for Cinnamon Buns… OF DEATH!!!
Wait, I still need to explain that. Simple: these are SOOOOO GOOOD!! We may end up eating all 12 in the next day or so. It is very possible that we may die from overeating these tasty delights. Did I mention they’re SOOOOO GOOOD!!?
Which brings up an interesting sub-issue. Once we’d had one each after dinner, I now had 10 rather large sized buns to somehow wrap or cover in order to keep for at least (I hope) the next couple of days. How do you store 10 large, sticky rolls??! I put a few under a cake bell but that left 6 more sitting in the tray. I just covered them up with cling film and hope that “air tight” enough to keep them drying up but it may also stick to the icing. Can’t refrigerate them (the cooler is a BAD place for bread products, it causes sped up staling. True.) So it’s freezer or counter and the freezer is stuffed.
Any suggestions? Besides eating them all at once, that is. Already considered that.
OK, we’re done for this one. Do try them and grab your copy of the book if you don’t already have it from the link to the right >> Help and support this blog (and help me afford a better camera!).
Next on the challenge list:
Cinnamon Raisin Walnut Bread… OF DEATH!!

They look amazing! And they are huge! You torture me; I just finished challah today, and I still have the ciabatta to do before I get to these.
They look fantastic!! thanks for the step-by-step photos.
Those look great! I made some a couple weeks ago (out of order, yes) and, um, well, they turned all mutant-looking – they rose waaaaay too much! Life happened.
Personally, I’m inclined to make half batches and plop into a round baking pan so a. it’s a more manageable amount to eat in a reasonable amount of time and b. they fit under a cake bell. That’s what I usually do with my other cinnamon buns recipe.
I just LOVE your write ups and all the photos. You do such a detailed job of everything. 🙂
Your buns look great. :o)
I just left mine covered and out on the hutch. They don’t last long enough to worry about taking space.
Great job and nice baking along with you,
Susie
Thanks for the buttermilk tip. I am forever pouring 3/4 of a carton down the drain when it goes bad.
I am impressed with your beautiful rolling job and getting that perfectly even rectangle of dough. Uneven rolling is always my downfall. Your buns look great! (Cinnamon buns that is!) Bet the cranberry were yummy. Great photos and so thorough. Loved reading about your cinnamon bun adventure.
Oh man, these are certainly Cinnamon Buns Of Death. I am looking forward to these as much as the doctor’s visit afterwards. Hopefully we can soon come to a long stretch of “lean breads” to offset all the richness.
Great pics. Hopefully mine will come out as awesome as yours.
Wonderful blog. Before I start baking them I need to figure out how to get rid of them…
They are frighteningly good!!
Wonderful drool with the icing 😉
They look awesome and thank you for sharing your experience! I actually started my own starter and am very excited that it’s living happily in my fridge and today I made my second try at sourdough english muffins! WOoohoooo!!!
What wonderful write-ups you do! Your buns look flippin’ awesome!
I haven’t made mine yet, but yours look sooooo good!
They turned out perfectly! And your write-up is so clear and detailed. Thanks for sharing this with everyone!
What a great post! Fantastic! I don’t think I’ve ever had a windowpane like yours. Maybe I need to be more patient.
Awesome buttermilk tip! I will be switching over to that because I never really drink whole milk all that often. Love stuff that can be frozen and reused.
Nicely done!!
wow!!! thanks for the step by step photos. they really helped me a lot in making the cinnamon rolls. just a quick question though, did you add extra flour to the dough during the kneading process? i had to add some more because my dough was super sticky even after 10 minutes of kneading. thanks 🙂
Hi
How much raisins and cranberries did you use in the recipe.
No idea precisely how much but a nice amount as seen in the photo, enough to be generous.
Hi, I have come to this blog late in the challenge and am reading and baking as I go along. I printed out your instructions because they were so easy to follow and did my Mise en place faithfully. I was following the BBA and your blog instructions just becuase I am not confident in my abilities and 2 heads are better than 1. But as I mixed my flour and buttermilk I looked over and there sat my yeast. I read and reread your instructions but didn’t find where you instructed to add it, so I went back to the BBA and realized I should be adding it to the flour and buttermilk mixture. Did I miss it somewhere?? Anyway, had to add more flour as it was still sticky and now it is in a bowl for its bulk ferment.
Thank you so much for the tip on the buttermilk and the shower cap. I travel a lot for business and now have a use for those caps.
I hope my buns look as beautiful as yours when they are baked tomorrow morning.
Ooops! You’re right, I didn’t make note of the yeast. So I’ve updated the post above, it went in along with the flour and buttermilk.
See, the Mis en Place is really helpful!
Hope they turned out well. I can pretty much guarantee they won’t last long at all.
They did turn out nicely. The dough was a bit sticky but dusting with flour before rolling helped a lot. My daughter brought me a jar Penzeys Vietnamese Cinnamon. Very nice aroma and flavor.
In BBA he mentions using a latex gloved hand to ice the buns. I did that and really liked the pattern it made, it was fun too.
One question, do you find that the leftover buns are a bit dry the next day?