 Here we are with Italian Bread, recipe #15 in [easyazon-link asin=”1580082688″]The Bread Baker’s Apprentice[/easyazon-link] Challenge. (And no, I won’t butcher the Italian language for this one any more than I just did.)
This recipe was pretty much a repeat of the French bread I made two weeks back so the steps along the way are nearly identical. The most obvious difference is the shape – the French bread was a baguette and this is a batard. There’s also sugar, malt and oil in the ingredient list where the French bread was strictly flour, salt yeast and water. The process itself, otherwise, was pretty much the same so as easy as the French bread was, so is this.
Let’s have a look at that.
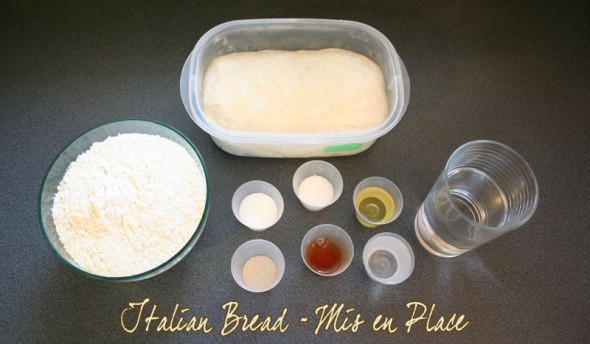
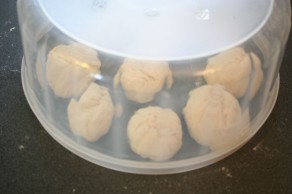
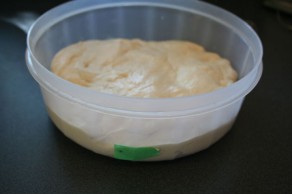
Aside from the addition of sugar, malt and oil, this bread uses bread flour only where the French loaf used half all purpose and half bread flour. The pâte fermentée (in the tub) was made the evening before and is simply flour, yeast and water which were left to rise for an hour then refrigerated overnight to develop flavours. I traded in about 190g of sourdough discard to the biga (reducing the flour and water accordingly) since I currently have three starters going and I have a LOT of excess from the Starter Project . I therefore reduced the yeast to 1/4 teaspoon from the required 1/2 teaspoon to try and compensate.
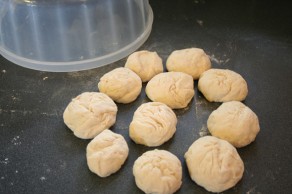
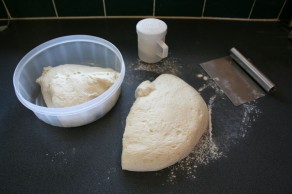
Before we get going today, we need to let the pâte fermentée warm up as it has spent the night in the fridge. So using the bench scraper, I cut it up into several pieces (I sprinkled some of the flour I already measured on the counter and to coat the balls to avoid adding more than the recipe required). I covered the pieces and let them warm for about an hour. I’m not concerned here with not degassing since it’s all going to get mashed up into the dough soon.
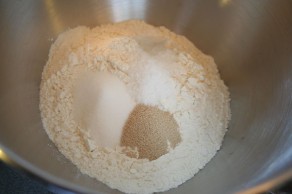
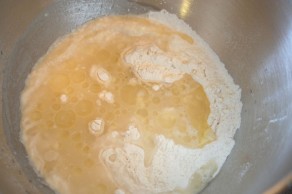
Once the pâte fermentée bits have warmed up, I put the dry ingredients in the mixer bowl, give it a stir then add the wet except for a 2 Tablespoon cup of water which is held “in case” the dough is too dry. This is then mixed in the stand mixer (it can also be done by hand) and the biga pieces are added until we have a ball of dough. I added about a teaspoon of the extra water to get the dough to a good consistency.
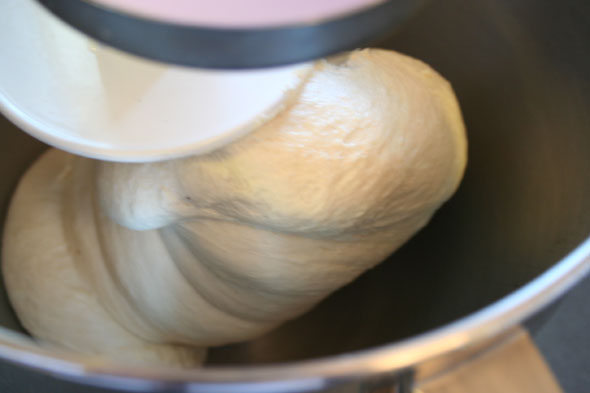
The dough is then kneaded (I did it with the mixer, again, could be done by hand) for 10 minutes. The dough was just slightly sticky at this point, and very smooth.
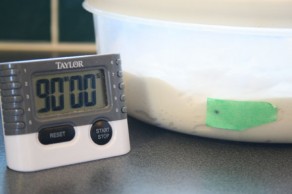
The dough is then turned into a greased bowl, covered and allowed to double, The book says about 2 hours but as I’ve seen lately, the kitchen is rather warm which has sped up the rising process considerably. I set the timer to check in at 90 minutes.
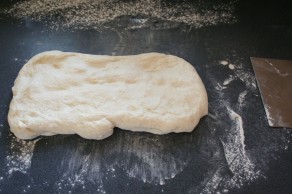
Once the dough had doubled, I weighed out half the dough and began shaping the batards.
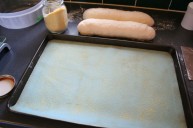
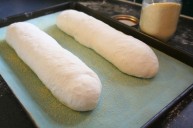
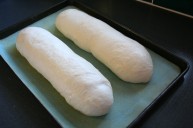
I placed a silicone mat into the pan because I’ve noted that these black pans tend to get very hot and cook the bottom of the loaves a little too much; this now acts as a bit of insulation. I sprinkled fine cornmeal on the pad and placed the shaped batards, seam side down in the pan. They are then spritzed with oil spray, covered with cling film and left to rise until about half again (1.5) their current size.
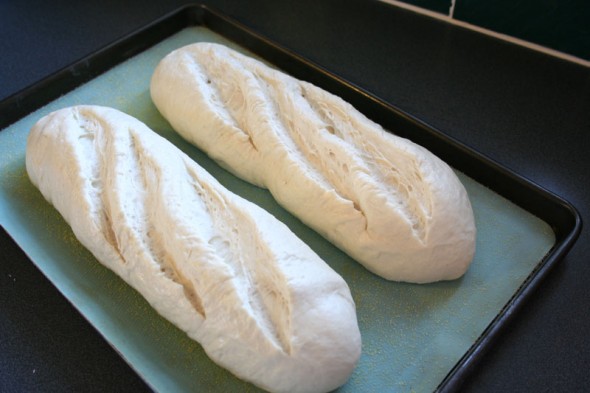
I slashed the loaves – which opened up a lot immediately – and, keeping them on the pan, put them into the pre-heated 500º oven, tossing a cup of hot water into the hot cast iron pan to create steam. As per instruction, I sprayed more water onto the oven walls every 30 seconds or so (watch for hot steam when you open that door!) until I’d sprayed three times. Then the temperature is reduced to 450º and the bread is left to bake about 20 minutes.
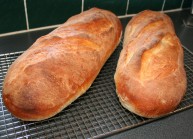
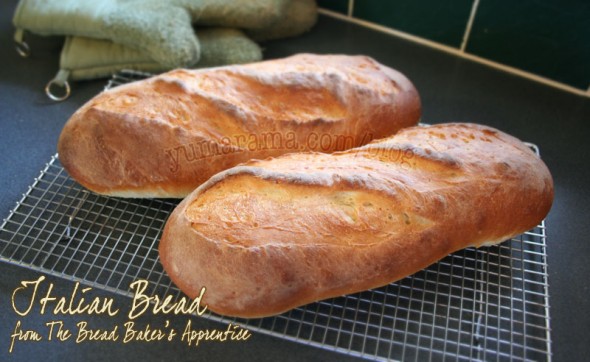
And here’s our loaves fresh out of the oven:
The oven spring was excellent although the slashing was still pretty mediocre. The crust felt rather light when it was still warm.
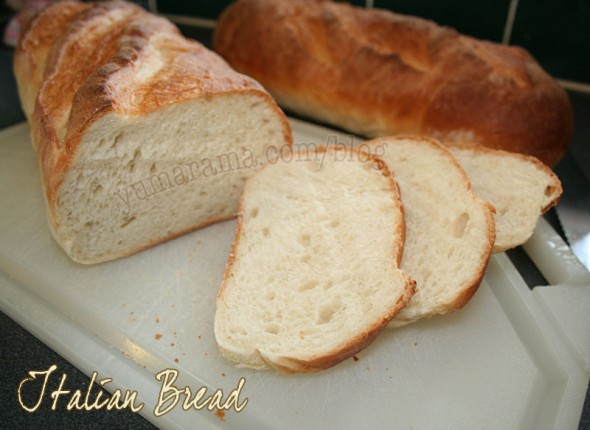
The crumb is somewhat fine, creamy and carries the slight taste of the sourdough although faintly (we didn’t let the flavour develop as a typical sourdough bread would). It’s very nice, although not likely to stand up to very strong flavours, but that’s OK, not all brad should be prominent. The crust is thin and soft which should be a plus for Punkin’s preference. Once it’s bagged of course, it will get softer still.
This one is a great success.
[easyazon-link asin=”1580082688″]The Bread Baker’s Apprentice[/easyazon-link] has a second version of this bread and that is to make breadsticks or “grissini”. That’s one I have done before and you can find that post here as Mambo Italiano. These were wonderful as well. If you make this bread, you might want to do one loaf as a regular bread and the other as breadsticks.
Either will probably vanish quickly.
Now excuse me as I have some fresh bread to go devour.
Next on the BBA Challenge list: Kaiser Rolls.
This time, there are a few other BBA Challegers who have already done this bread so here’s a couple of links to bread blogs for you to check out:
Carolyn at Twoskinnyjenkins had a slight mishap but persevered!
Mags at Other Side of Fifty produced awesome torpedo rolls
Deb at Italian Food Forever has made this one numerous times
Freida at Lovin’ from the Oven also made gorgeous torpedos, then stuffed them with roast beef… I’m drooling…

Your slashes and bread color are excellent~ I shaped mine into torpedoes and can’t wait to try them into grissini next time…
http://tinyurl.com/ng6hwl
Those roast beef torpedos looks scrumptious, Frieda!
Do try the grissini, they’re fun and make a lovely “bouquet” if you visit someone for dinner.
I think your slashes look wonderful Paul. And your bread looks delicious. Thanks for including my Italian bread post in your liinks.
Loved your loaves!
I am looking forward to trying this, too bad I won’t be able to bake until the weekend…. wish I could do it right away
Excellent loaves. The slashes weren’t half bad, much better than I usually do!
Hey…
Thanks for having such a great blog…. I have read a few of the pages and its super interesting.
BTW… I was wondering what was a BIGA….and how do you prepare it?
Couldnt find a recipe on here and was really wanting to make this as well as the potato and rosemary bread.
Please Help.
X
Hi Monty,
Glad you’re enjoying the blog!
What’s a biga? It is one of the three usual pre-ferments in bread dough, the others being Pâte Fermentée and Poolish. Biga differentiates from these two by having no salt (Pâte does) and being 50-60% hydration (poolish is 100% hydration). The quantities of flour, water and yeast will depend on the length of time and amount of final pre-ferment a recipe requires, so this may be different over several recipes.
The Italian bread and the Potato Rosemary, as well as all other BBA Challenge recipes, can be found in The Bread Baker’s Assistant book. Since the Challenge was to do every recipe in the book, re-writing them all would have been a huge amount of work, not to mention it defeats the idea that the book is good enough to use as a ‘bible’ of sorts for the Challenge. Re-printing the whole thing online is not a good Tip of the Hat to an author you think worth building a Challenge over. Besides, if we published all the recipes online, then people wouldn’t be getting all the extra info that can be found in the book, such as in this perfect example, explaining what a “biga” is and what percentages are needed for this recipe.
If you get a chance, check it out in a bookstore or library and see what great info it contains, well past just a collection of recipes.
it looks delicious!
and it’s a very detailed recipe, thanks a lot!
i’ll probably have to do it by hand and it will be a pain but… no pain, no gain, right? 😉
thanks again!