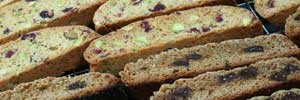
 Just as a change of pace, I decided to step out of the BBA Challenge for a bit and do something a little off the beaten track. I ran across a couple of intriguing recipes for Biscotti while perusing TheFreshLoaf.com and decided to give these Italian coffee-time cookies a whirl. They seemed like a relatively simple thing to make, were definitely a switch up from bread and looked like they’d make a festive treat for the holidays.
Two recipes were offered up by TFL member MiniCT: Cappuccino Biscotti and Cranberry Pistachio Biscotti. Although they require slightly different oven temps (350º vs 325º respectively) and times, I decided to give both a whirl together. “In for a penny, in for a pound” as they say. (OK, I’m not 100% sure that saying applies but it sounds deep, dunnit?)
You’ll find the Cappuccino Biscotti recipe here and the Cranberry Pistachio Biscotti recipe here. Both can be printed for ease of reference.
Let’s begin…
As I wanted to make these as Christmas goodies to give away, I figured it would be pretty darn clever of me to make a batch of each first and see how they turned out. I also wanted to get both types done at the same time so I had to adjust the recipes slightly as far as time and temp goes. Since the Cap recipe needed 350ºF and the Cran recipe wanted 325ºF, I decided to go halfway and hit about 335º. If needed, I’d let the Caps sit a little longer if needed. It already requires a little bit longer to cook but just by 5 minutes.
As for the ingredients, I was able to get everything but the hazelnuts which was no issue since we’re not big on those so I skipped them in the Cap recipe. One or two minor changes were made to the original recipe; I’ve made those modifications in the version I’ve included here. They are more for ease of handling. I’ll detail them when we get there.
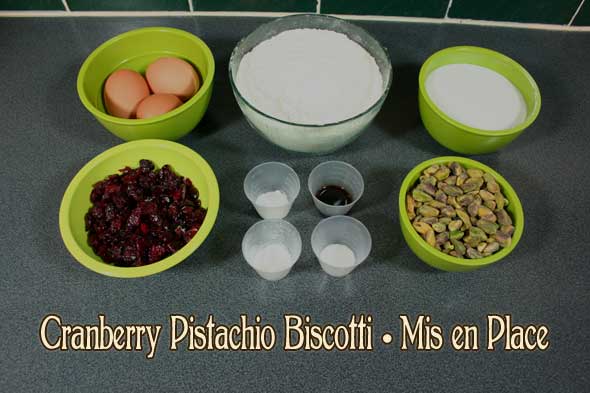
So here we go, let’s start with the Cranberry Pistachio Mis en Place.
A rather straight forward list of ingredients. Note that the only “wet” ingredients are the three eggs and the teaspoon of vanilla.
As this is a rather fast dough prep, preheat the oven to 325º now. (As noted, I cheated and went with 335º.) Now we can start t mix the dough.
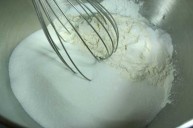
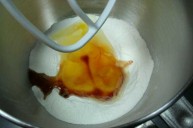
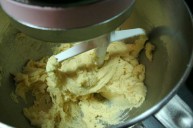
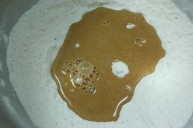
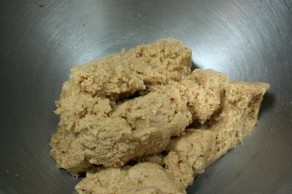
Place the dry ingredients in the bowl and whisk for a second to blend. Add the wet ingredients and, using the paddle, mix at medium-low (2 or 3) speed until a smooth dough is formed. Because we only have three eggs in here, this dough is very sticky and stiff.
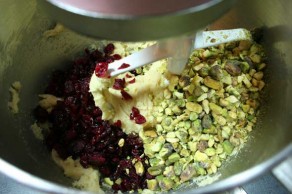
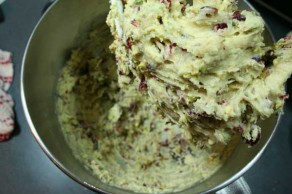
Next, the cranberries and pistachios are added and mixed in for a minute or two until evenly distributed. As you can see, this dough is sticking to the bowl extremely well.
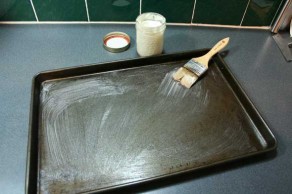
The baking pan is given a generous coating of my pan release; I could also have greased and floured the pan.
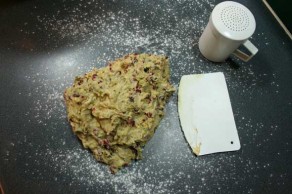
Using the bowl scraper, I turn out the dough onto a floured counter, as per the original recipe. In my updated recipe linked above, I’ve changed this to a counter wiped with a little oil which works a lot better. I also recommend oiling your hands to avoid Sticky Monster Paw Syndrome.
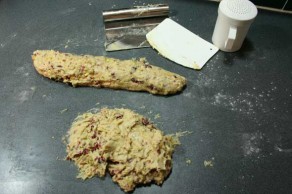
With oiled hands, I can now shape one half of the dough into a rough log. The oiled counter would have helped by allowing me to actually roll the dough a little; the floured board wasn’t quite as helpful.
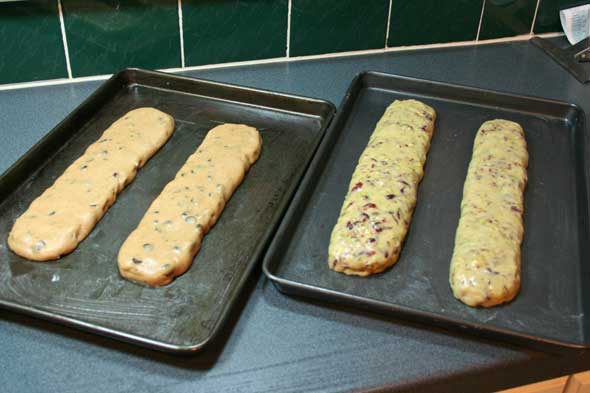
None the less, both roughed logs are placed on the released-coated pan and flattened out a bit to about 3/4 to 1″ thick and the sides are tidied up with the bowl scraper so we have neat edges to our finished biscotti. It doesn’t need to be perfect of course, you’re not trying to duplicate machine-made versions after all, part of the charm here is that these are home made, not production-line cookies.
The logs then get a brushing with the egg wash. In this scenario, however, I used the leftover egg white from the other biscotti recipe. That turned out just as well. At this point, I covered the sheet and mixed the other recipe. You’d skip ahead and move on to baking if you were making just this one batch.
Let’s hop to the Cappuccino Biscotti side now.
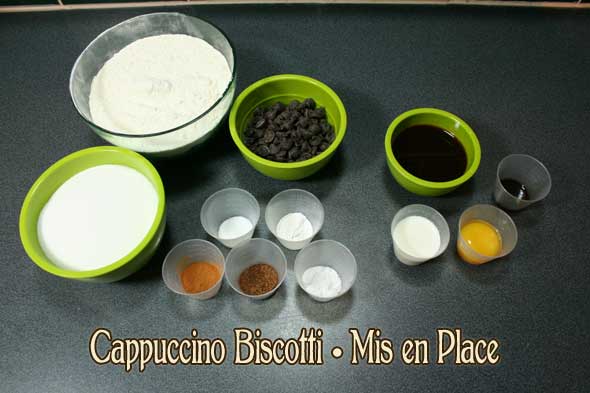
The ingredients list for this version is a little more intricate because we’re adding several flavours to the dough: semi-sweet chocolate chips, coffee, vanilla, cinnamon and ground cloves. This time around, the moisture added is only about 1/4 cup of coffee, and egg yolk and a teaspoon of vanilla.
Although the recipe is called “Cappuccino” I did not have any of that available. However, I did have instant coffee (for emergencies!) so I made a rather strong quarter cup of it instead. I also dropped the hazelnuts off the list as I wasn’t able to find any. If we had some, sure, I’d have added it. And as noted, the leftover egg white played the part of the egg wash in the other recipe.
Basically, the steps are pretty much the same as those above.
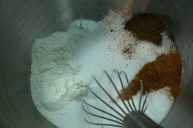
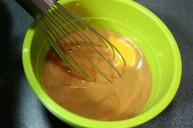
Dry ingredients are stirred together, the wet ingredients are whisked and put into the dry.
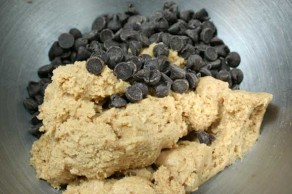
A mix with the paddles blends it all together, then the goodies are added and mixed for a little more.
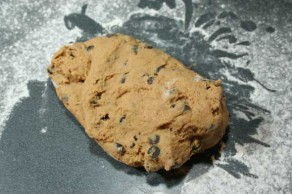
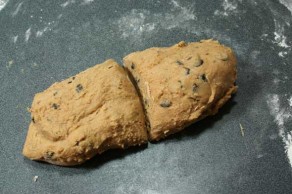
The dough is scraped out onto the counter (again, I suggest going with oiled instead of floured for easier handling).
The dough is then cut in two and each half is log shapped as precviously described.
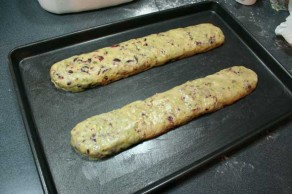
This time the Cappuccino log is only 12″ long but must still be left at about 3″ apart (a bit more than I did here). No egg wash is used on this batch. Both recipes are now ready for the oven. Into the oven they go for about 30 – 35 minutes.
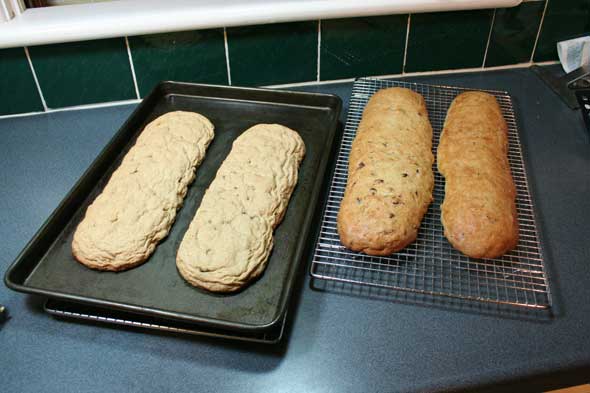
Here we are after the first bake. The Cranberry logs were pulled out at 30 minutes and allowed to cool for 10 more. The Cappuccino logs were left in a little longer to make up for the slightly lower oven temp and are just now hot out of the oven. They’ll get to cool for 10 minutes while we move on with the Cran logs.
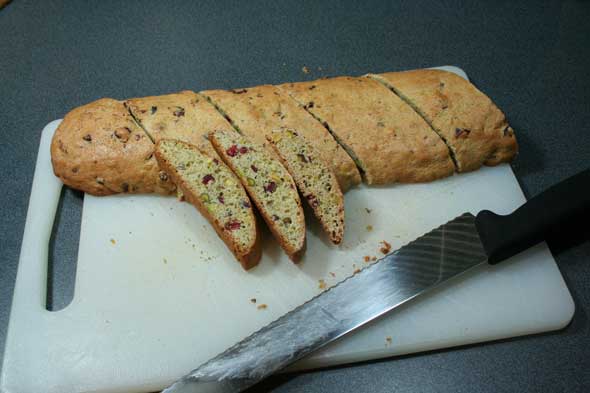
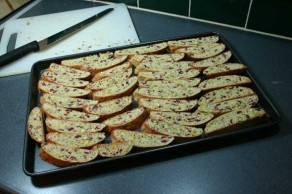
Here I’ve begun slicing the logs into the final biscotti fingers. First I found about the halfway point of the log then turned the knife on a diagonal and made two halves. I then cut each half into three (six pieces so far) and then each of those into three for a total of 18 slices. The outside butt ends just got eaten fast. So in reality, you’d get 32 biscotti from the two logs.
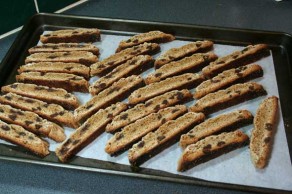
Likewise, once the Cappuccino logs were done, they’d get sliced in two, then each piece in two then each quarter into 4 slices for a total of 16 per log. Discarding the butt ends, that’s 28 biscotti.
Slicing the logs in this fashion (first in half then those into smaller halves, etc.) makes it easier to have consistent sized pieces. Trying to get as many slices as you’d want starting at one end and slicing 3/4″ bits all along you’d possibly get less even slices and not as many or too small by the time you reached the other side. Again you’re not aiming for machine precision but you still want then to be relatively even.
The biscotti now go back into the oven for about 5 minutes of baking on each side. This crisps them up and gives the interior side a nice bit of colour. You could skip this secondary step if you like them softer but the crispy crunch is rather a trademark of biscotti. After a total of ten minutes with each batch getting flipped over at the hafway point, the biscotti are now done and ready to cool on a rack and enjoyed.
I added a parchment sheet to the Caps as I didn’t want the chocolate chips to melt onto the pan. It just made cleaning up easier.
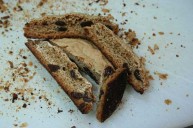 Side note. These are the butt ends of the Cappuccino biscotti after just their first bake at lower temp and likely shorter time. As you can see, they have really baked a little too much on the bottom and although they are overdone, they don’t taste burned, just well cooked. I guess it’s the combinatin of sugar and coffee that helped them darken considerable where the Cranberry ones were just a touch brown. If/when I redo these, I’ll make sure to put a spare bake pan right under them so they don’t get direct exposure to the main heat from the bottom of the oven.
 Of the two varieties, I can say without doubt that the Cranberry pistachio version is the most interesting. The Cappuccino tasted more like a chocolate chip cookie, and while it’s a very good cookie, it didn’t seem as interesting in it’s flavour as the more unusual Cranberry version. I suppose if I were less familiar with chocolate chip cookies, I may have a different viewpoint.
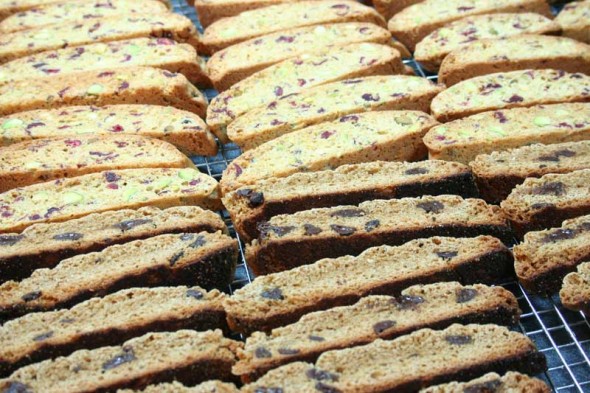
Both turned out to be delicious none the less and went very well with coffee or vanilla & chocolate crunch ice cream. Visually, I think the Cranberry will be great as a small home baked gift during the holidays as it carries the traditional red and green theme quite well.
Because these are quick to make, require no proofing or retarding overnight, and the ingredients (save for hazelnuts, it seems) are available in most modern grocery stores, I would highly suggest giving them a go. Try them out and do consider them as nice tokens of appreciation to friends and neighbours.

Those look really good. I think I may try this recipe over the weekend.
Paul, I am glad you enjoyed these. It was fun to read through your blog and see the associated photos. Very well done. They are favorites of ours.
Your friends and neighbors will be very happy. Happy Holidays!
Hello Paul:
I am one of the TFL follower and saw your post. I like your blog!!! It is clear and concise with clear instructions.
Your biscotti looks great. I may try to make some. I have never made one, only ate it at Starbucks which is not very good. It seems to be very hard. Perhaps if it turns out good I may bake it for gift at the Holidays.
Anyway, thank you for sharing.
mantana
Hi Mantana,
I’m glad you like the blog and do give the recipe a try. Biscotti are supposed to be hard because you’re supposed to dip them in your coffee. If they were soft, they’d just get wet and immediately break up and fall into the bottom of your cup! Still they shouldn’t be so hard that a person could chip a tooth on them, just hard enough to not brake apart when dipped.
Enjoy them!
I’ve made a couple batches of these, our family favorites.
If they are very hard they are WONDERFUL dunked in a dessert wine.
As I think I mentioned in the recipe, I don’t always do the second bake.