 I’m starting this blog to track the events in the life of little Audrey 2, a reluctant starter that began as a rather wet batter form and, as recommended by Mini, was transformed into a ball of stiff starter. In a forum thread I started at The Fresh Loaf in order to get help figuring out why my then 13 day old starter was doing nothing, Mini’s thought was that possibly I was underfeeding the starter in the wetter form (basically I was doing 50% starter, 25% each water and flour for each feed) which may have been the reason it went all hoochy rather fast: not enough flour to feed the yeasties and the acid bacteria was overtaking – or that was my thought on it anyway.
I’m also doing this as a blog so the forum thread isn’t taken over by too many images and so it’s easier to follow along, should anyone care to.
Since this starter, third time trying over a three month period btw, was pretty much destined for the recycling bin anyway in favour of starting yet again with a recipe Mike has on his site (Professor Calvel’s Starter) as a likely successful candidate for starter if the previous verison failed. Since this was try #3 and I was already on day 13 with no real success, I was game.
So while I was/am waiting to locate a source for just 5g – about a tablespoon – of malt extract (it seems to come in 600g sizes or bigger running at nearly $10 a pop) to follow the Clavel recipe, I got going with the stiff starter. So here’s the saga.
As per Mini’s suggestion, I took 30g of the “going nowhere” batter starter, added 50g of water and “enough flour to make a stiff ball”. Out came the flour and off we went.
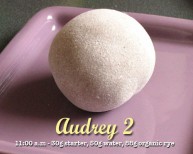
Here’s our first image, Audrey 2 after being mixed up. In all, I added about 88g of flour to get to this.

I now think that 88g of flour was too much but that’s where we were then, so on we go. I had followed Mini’s suggestion to drop the ball into the flour and coat it so that any developing cracks would be obvious which is why, even though it’s a ball of wet rye, it looks very pale.
Three hours later:
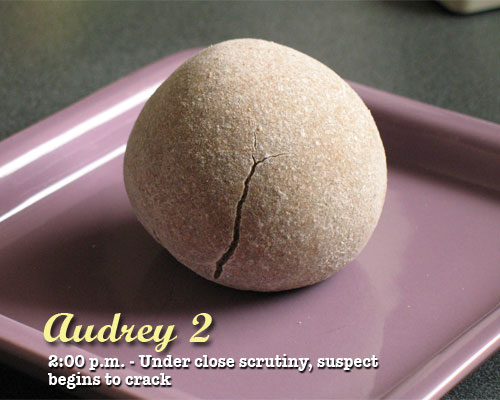
At this point, there’s either a shrinkage of the surface or it’s expanding a little. Since the surface was still moist-ish to the touch, I’ll say we had expansion.
At the six hour mark:

More activity although the ball is showing no signs of softening and flattening out as Mini suggested it would. I’m starting to think I went too far with the added flour.
At the 10 hour mark:
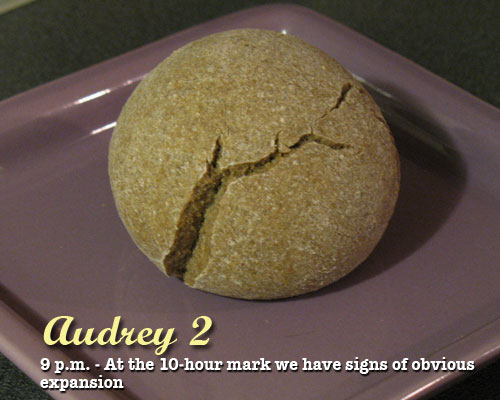
Definitely some activity and expansion has occurred but now I’m sure the ball was made TOO stiff. Yes, the critters have lots of flour to munch on, but nothing to drink. Because I wasn’t staying up much longer, I decided to do feed #2 at this point so it was time to cut up our ball and see what was going on inside.

Even manhandled like this, the ball is stiff enough to stay in shape. Slicing it open, the texture inside is relatively smooth, if there are any bubbles, they’re hard to see and distinguish from the texture of the rye flour. There’s little sour aroma to this, mostly it smells like wet rye.
Time for feed #2…
So at this point, we’re at the 10 hour mark and it’s getting late so I mix up a fresh ball. I gather grab some of the previous ball’s insides and mix up the following:
30g stiff starter
50g spring water
50g organic rye
Here I cut back from the previous 88 grams of flour which made, in my opinion, too stiff a ball. I’m still just guestimating at this point.
And here is the resulting ball:
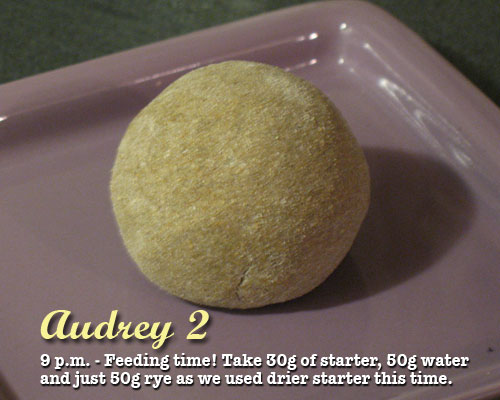
Audrey now goes into the proofing box, a cooler with a 15w bulb with the cover open enough to keep the temp inside a reasonably cozy 81F. Tucked in for the night, we’ll return to see how well she slept.
<tick tock tick tock>
<cue SFX of rooster crowing and first few bars of Tchaikovsky’s William Tell Overture>
Good morning! Let’s check how our little dear did overnight…
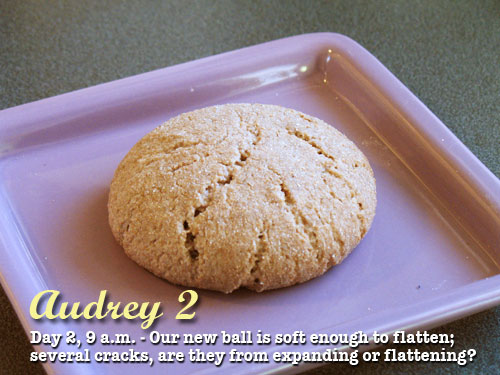
Well, there’s no question the dough is softer now! Flatness galore and several cracks showing but whether they’re from the flattening and changing shape of from actual expansion, I dunno. So we’ll go from here and assume out next step will be doing the third feed. But first, Audrey goes under the knife again.
(Young children and those who are squeamish may wish to avert their eyes during this procedure.)
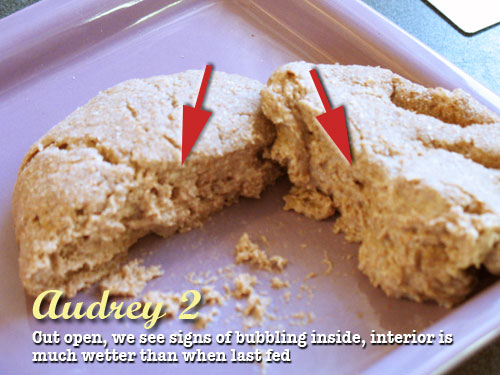
Although the very action of slicing into this soft ball caused the exposed surfaces to get somewhat messed up, it seems from the duplicate holes on each side that there was indeed some bubbling going on. Let’s continue with the dissection…
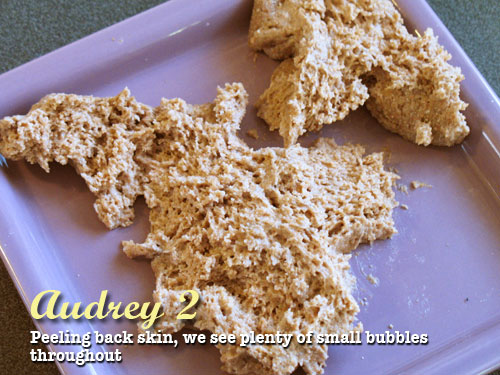
Peeling away the slightly dryer outside skin, we can now see that the insides are full of little bubbles and the texture is decidedly softer than the original 2nd feed ball was, which indicates feeding activity by the little critters. Excellent.
Comment was inserted here by Mini O:
I hope you realize this is active and ready to use in any recipe. Where ever a firm starter is asked for….
Audrey is ready… go for it!
Mini O
On to Feed Three...
So it’s now 9 a.m. (about) and we’re ready to go with feed number three. We’ve taken apart the previous feed ball and scooop out 30g of that starter from the bubbly center.
I might note here that there’s a slight sour smell present although not terribly strong.
In the meantime, Mini has added a post to the original forum thread, saying she’s started up a stiff ball as well so we’ll then be able to track the two stiff starters at the same time to see what happens.
She also makes mention that she’s added 70g of flour to her ball so that’s what we’ll do as well.
So for this third feed we have:
30g starter
50g spring water
70g organic rye flour
And here it is after getting a final dusting:
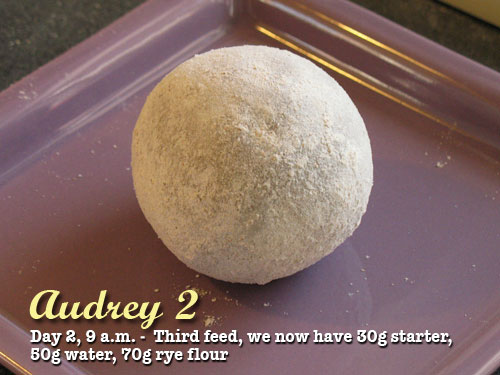
Off she goes into the proofing box and we’ll check on progress and post any new pics if there’s something noteworthy.
I’ll also update the forum thread itself in case anyone’s interested in following this little saga/experiment.
http://www.thefreshloaf.com/node/6826/oh-please-oh-oh-oh-please-grow-me
Part Deux:
So Mini says Audrey’s all growed up and ready to go raise bread of her own. Awww… <sniff..>
They leave the nest so soon…
Anyway, since I didn’t get that message until just a minute or two ago (gasp, I did stuff AWAY from the computer??!?) here’s another update on where Audrey is right now…

So I’ll now start using her and feeding her over to All Purpose then pop her in the fridge after keeping a chunk for some first run test bread.
Weekly feedings, I assume, pulling her out before the weekend to get some bread going.
Now to go hunt up a recipe or two. I suppose I need to also figure out what hydration ratio she actually is in case I need to use her in a normally commercial yeast recipe (no not right now, in the future). I’ll add this to the thread when I get that done so that if anyone else follows along, they’ll have the info. (Is anyone reading this blog besides me?)
So there we go, the Audrey Saga is sort of at an end already. Who’da thunk it would be so quick!
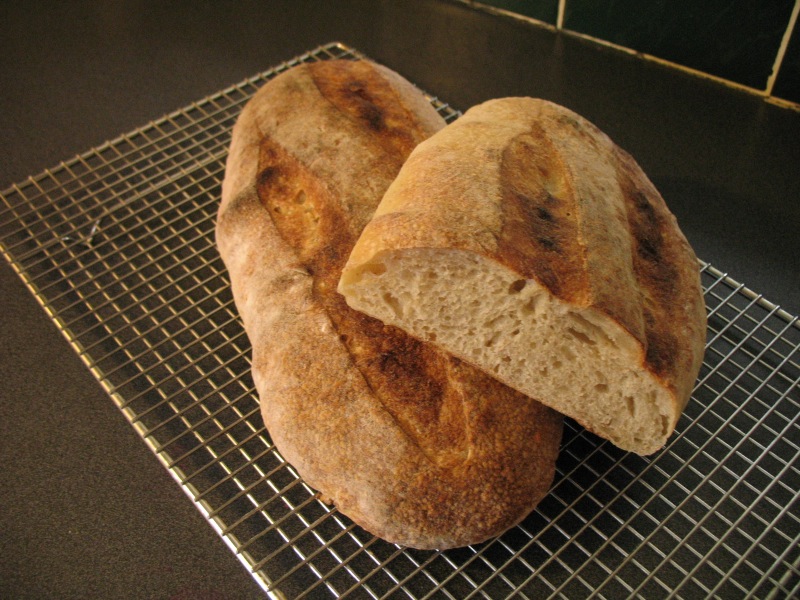
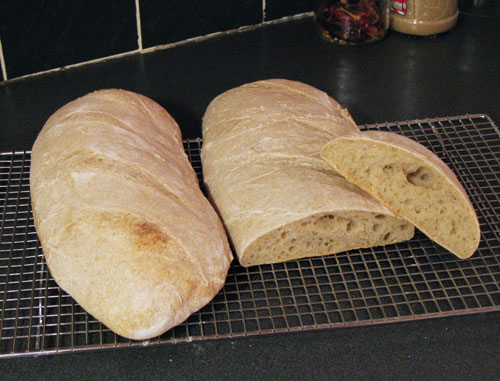
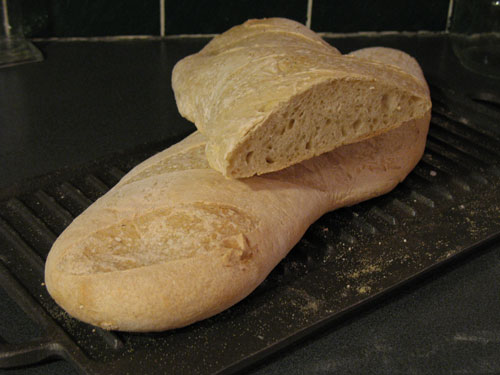
Of course the REAL end will be posting some bread pics. Since it’s Sunday night here, not sure if I’ll get time to make any for a few days… Those who are watching, keep an eye out!
Thanks a BAZILLION to Mini and Mike for their help. You guys are beyond great.
See you all in a couple of days or so with the first batch of Audrey Bread!!
More comments from the original post:
Easy Hydration Math:
If you take some of Audrey and mix her 100g water & 100g flour by weight, that’s 100% hydration (or close enough) and when mature, plugs into many recipes.
If you want to substitute her for instant commercial yeast, then take just some of Audrey and use some water and flour from the recipe to build her up. But remember to give her some time, she will need longer than instant to build her yeasties up and rise for you. Once she has doubled what you mix with her, give her more, that means the rest of the ingredients (and half the instant yeast if you like, don’t have to) if you’re baking a kilo loaf (roughly add up the liquids and flours in the recipe) that works fine. If you’re making more dough, like two kilos, then tripple this 130g sourdough starter by adding more water & flour, say 150g each. Wait till it doubles and add the rest of the recipe. The amounts don’t have to be exact just keep track of them.
Mini O
===================
Just feeling a tad dim…
mini oven wrote:
If you take some of Audrey and mix her 100g water & 100g flour by weight, that’s 100% hydration (or close enough)
(Smacks self on forehead) D’ough!! So obvious.
Thanks again Mini.
-Paul
Audrey’s first child grows up. Somewhat.
Well, I thought I could sail on through to the actual bread making but it seems not without a slight hitch that needs some sage minds to help out.
Meet Clem.
Clem is Audrey’s first child. He was made of the following:
30g Audrey stiff starter (rye)
100g spring water
100g UAP flour
Clem grew up in a warm, cozy 81F environment and is now 18 hrs old. Soon he’ll be expected to get a job raising bread. But he seems decidedly reluctant. At 18 hrs, he’s barely managed to increase from his original 200ml to 250 ml when we are expecting him to reach 400 within 12 to 24 hrs. Clem is quite bubbly on the surface while rather mild natured but clearly lacks ambition to reach higher goals.
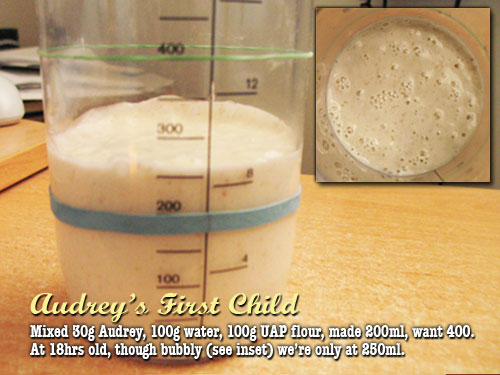
What shall we do about Clem? I’d really like him to move out soon.
There were many comments added to this one. I’ll post the first comment by Mike Avery, pro baker and author of SourdoughHome.com and recommend you hop over to TheFreshLoaf to read the other 20 comments, a lot of them derailing into really interesting discussion on low vs high feed ratio, acid-tolerant bacteria and more help from Mini on getting the starter going.
Mike Avery said:
Discard and feed
I hate to sound like a broken record, but a starter at room temperature and 100% hydration needs to be fed twice a day.
If you need more starter than you have, add about 120 grams each of water and flour.
If you don’t need that much, discard 1/2 and then add 60 grams or so each of water and flour. Stir. Wait to see how it rises. You should be ok in a feeding or two.
Also, the time to use a starter is somewhere between the time it reaches its peak and just after it starts to decline. After that, things get dicey.
Mike
