This week was the orientation part of Pastry Level One in my Professional Baking course at CIVIU. This is an eight week period where we’ll be doing the following:
- Week 1: Orientation & Pastry Basics (this week)
- Weeks 2 through 7: Rotating Duties
- Week 8: Wrap up
The rotating duties are going to each be one week long, focusing on particular pastry aspects. Our group (Lauren, Kati-Ann and yours truly) will rotate through:
- Cake Decorating
- Sous-Chef and Decorating
- Deserts
- Pies & Savoury
- Pastry
- Quick Breads
I’ll explain each section further as we get into them. This week, however, we tackled a few of the basics of Pastry, starting with savoury pies and dipping into chocolate, finishing with cupcakes.
 Once we’ve completed Pastry Level 1, we’ll switch off to Bread Level 1 for 8 weeks, then back to Pastry Level 2 in January, with Bread Level 2 rounding out the year in April to June.
During our two days in Food Lab, I was partnered with Connor, who was great fun to work with. Connor tries very, very hard to not be in pictures so here’s one of him I managed to snag from a couple weeks back; click to enlarge.


The first thing we tackled was creating stock for our pies, chicken and veggie. We set both stocks to simmer for a fair while as we worked on other items. The Chicken Pot Pie, seen above is seen in progress.
Chicken Pot Pie
- Cooked Chicken: 500 g
- Oil: 30 mL
- Onion, Diced: 60 g
- Garlic, chopped fine: 1
- Bay Leaf: 1
- Mixed veg (diced carrot, celery, onion): 450 g
- Flour: 100 g
- Stock (or water): ~450 g
- To Taste: Parsley, Thyme, Mustard Powder, Salt & Pepper
Have your 5″ pie shells prepared.
The cubed cooked chicken is heated up in a couple tablespoons of oil, then the garlic and veg are added and sauteed until tender and the onion are translucent. The flour is then added and cooked for a couple of minutes to get out the ‘raw flour’ taste; the mixture will look rather dry. Then the stock (or water) is added, a bit at a time, which makes a roux. The mix is cooked and stirred for a bit so you get to a thick soup consistency. Add spices ‘to taste”. Remove the bay leaf and set the mixture aside to cool.
Put about 125g of the mix into about 8-10 prepared pie shells (we got seven out of our batch) until almost full, cover with rolled out dough, using egg wash to seal the edges. Crimp edges, brush top with a little more egg wash. Slit a design in top to allow steam to escape and bake at 180°C – 200°C until pastry is cooked on top and bottom.
 Kevin and Paul get their chilled Chicken Pot Pie mixes ready.
Generally, the same process is followed for the veggie pie.
Curry Veggie Pie
- Veg oil: 25 mL
- Onions, sliced: 75 g
- Tomato, diced: 100 g
- Carrot, diced: 150 g
- Cauliflower, in small bite-sized pieces: 200 g
- Potatoes, diced: 175 g
- Coconut Milk: 200 mL
- Curry paste: about 10 g – 40 g (depends on the heat of the paste you use)
- Chutney: 50 g
- Stock (or water) 175 mL or so
- Salt & Pepper: To Taste
- Rice vinegar: 10 mL
- Chives or Green Onions, chopped: 25 g
Heat pan and add oil. Sautee veg until tender; season to taste with salt & pepper.
Add curry paste & chutney. Go a little lighter on the curry than you want as this develops flavour and heat as it sits over time. Add water as required. Re-season with salt & pepper if needed. Allow to cool before filling shells, about 125 mL per 5″ pie shell. Cover as above and egg wash the top. Slit a “V” in the top for steam escape and to identify pie as “Veg”.
Yields about 7 – 9. Bake at 180°C – 200°C until pastry is cooked top & bottom.
The pie shells had been made the day prior.

Our filled shells before covering with dough.
Chef Harper also showed us how to build a Quiche:


Ham & Cheese Quiche
- Eggs: 200 g
- Flour: 30 g
- Milk: 300 mL
- Whipping Cream: 100 mL
- Salt, Pepper and Nutmeg: Pinch of each
- Maggi (seasoning, optional): Dash
The above egg mixture is called a “Quiche Royale” and is used for most any different flavoured quiche.
- Swiss Cheese, grated: 200 g
- Green onion, chopped: 2 stalks
- Ham, cooked & diced: 300 g
Be sure your 5″ pie shells are par-baked before filling; using unbaked shells means the filling will be overcooked before the shells are well baked.
Gently mix the cheese, ham & onion; place into pie shells until almost to the top, do not overfill.
Make the royale (savoury custard) with the other ingredients, blending until smooth. Pour into filled shells until just a bit shy of the top, stirring the mix in the jug or bowl regularly to keep the spices suspended. Place tray of pies on oven rack and finish topping up to top.
Bake in 180°C oven until the filling is set and the pastry shell is baked on the bottom, a nice golden brown tone. PRO TIP: To check the bottom, take a pie, place a piece of plastic wrap over the top, flip upside down in gloved hand, lift pie tin. The plastic wrap will keep the custard from breaking up. Return for a few more minutes if the dough is too pale.
Yields about 6 – 8 5″ pies.


We also made Sausage Rolls, a yummy spiced hamburger mixture which we piped into long ropes about 3 cm wide onto sheets of puff pastry, 5 in by 15 in. A bit of egg wash on the edge for adhesion and a roll-over gave us a long log which we then cut in 3 pieces. These are baked at 200°C until a deep golden brown.
Another pastry we made was Cornish Pasties, using puff pastry circles filled with a ground meat, veg and potato filling (shown above). They are crimped, egg washed and baked.
 Taina displays a tray of tasty Cornish Pasties.
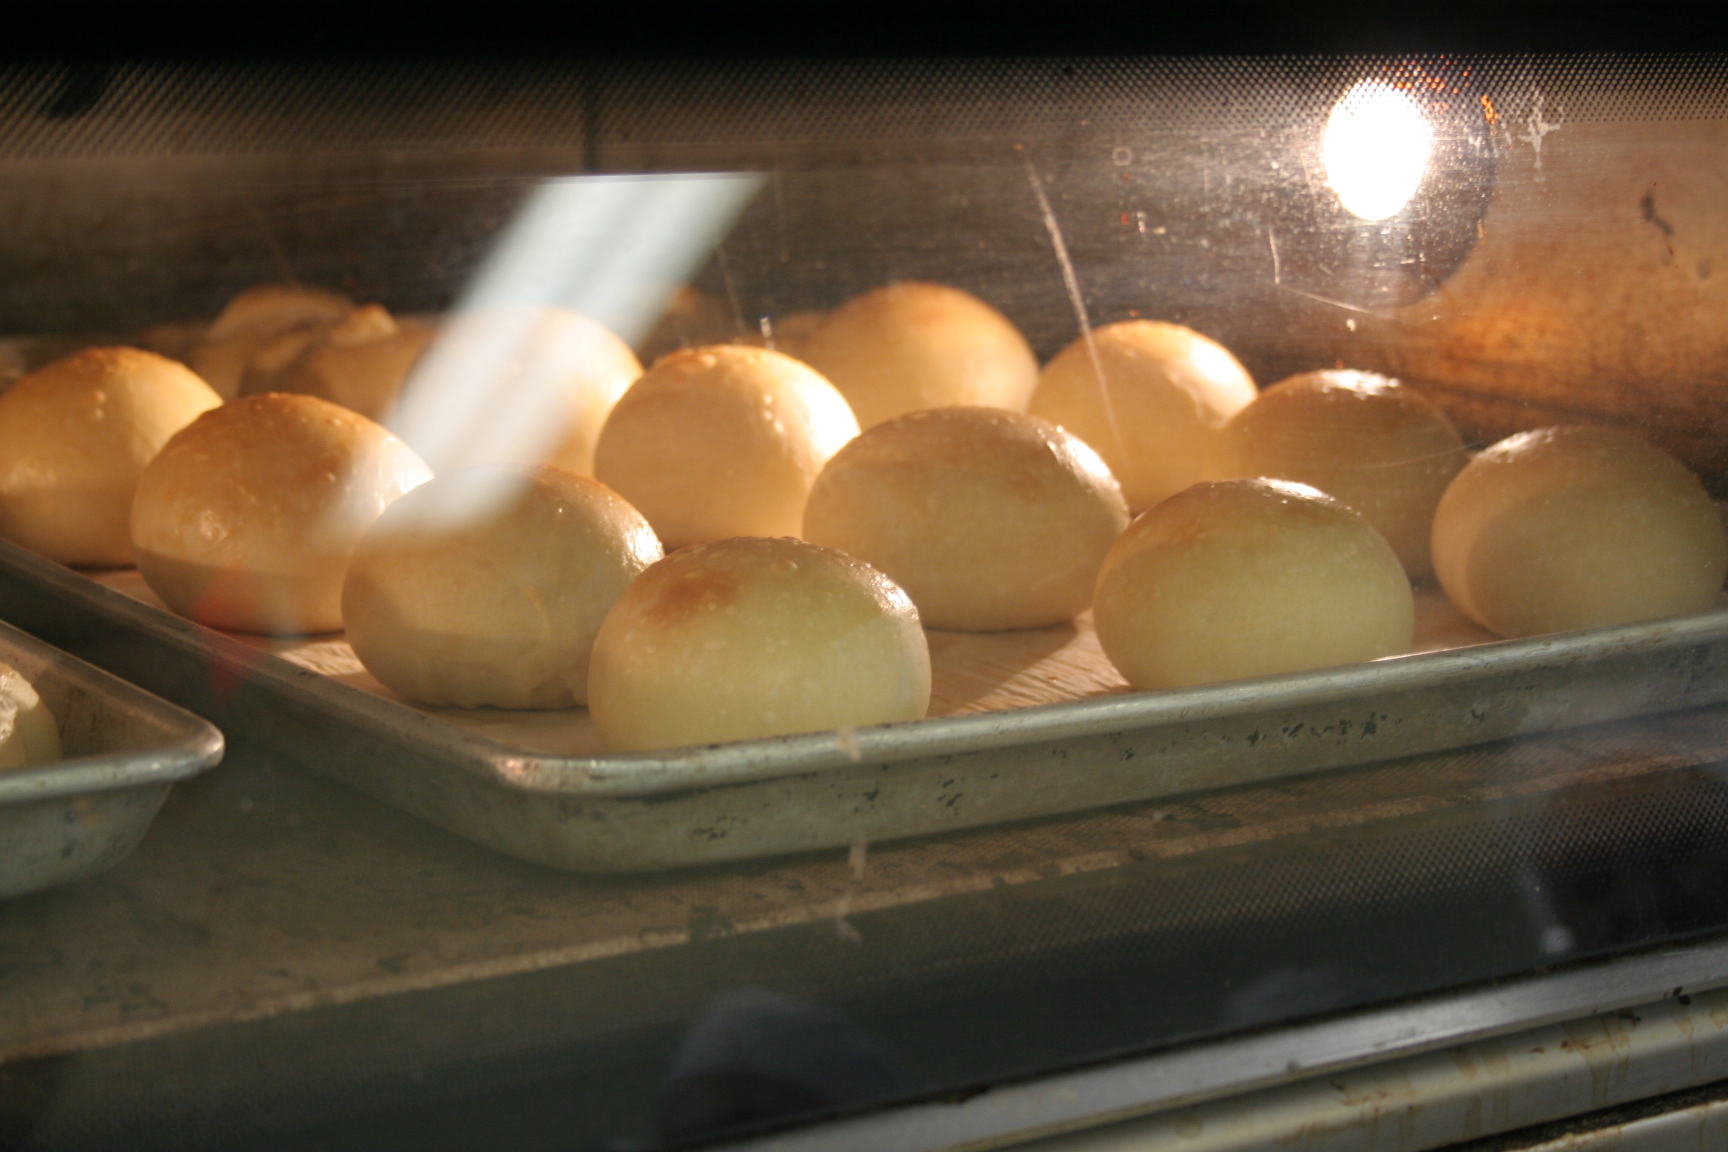
Andrea made some Brioche Cloverleaf Rolls as well as a few mini-brioches in fluted pans.

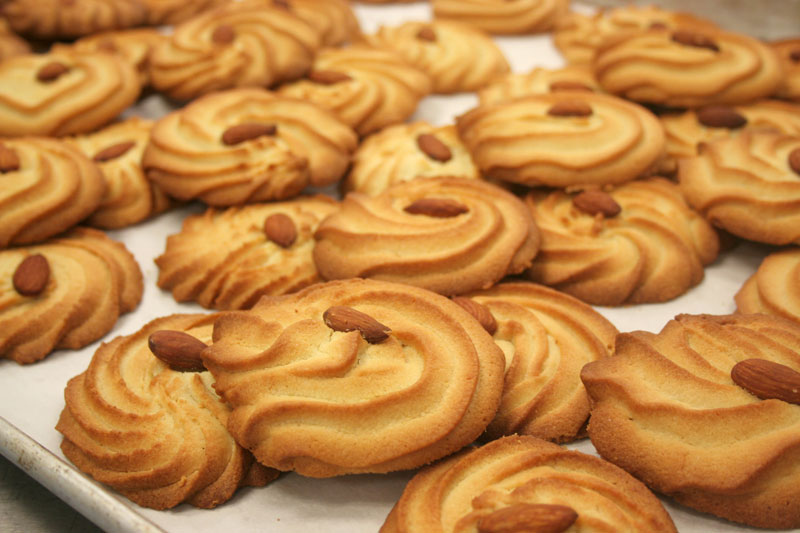
We learned how to temper chocolate on marble slabs and made little “chocolate cigarettes” but I had no photos of this part since everyone’s hands were, well, full of chocolate.
And that was Food lab.
Friday, we were back in the bakery early in the a.m. and tackled a few of the tasks we’d be starting on next week in our Sections just to get a bit of a handle on things. Lauren, Kati-Ann and I worked on finishing the slab cakes started last week for a surprise order (nice to have a few spare cakes to work up!) and also made up a few dozen cupcakes (chocolate and lemon flavours) for another order.
I totally screwed up my batch of lemon cupcakes when I used the wrong mixing instructions and had to start again, with the deadline looming. The second batch came together amazingly quickly now I had done the MEP once. We still used the “failed” batter in a tester cupcake (it was good!) but made it into a large sheet that we’ll use for cake crumbs later on. The “real” cupcakes turned out very nicely once we finally got tem baked up. We stayed a little later after class to get them iced and decorated, using the chocolate cigarettes we made the day before. I’d be pretty happy with these if I were the customer!

And that was Week One of Pastry Level 1. Well, except a few people also stayed late to prep for a special event over the weekend where Chef Harper, representing CIVIU, is competing with island restaurant chefs in a sort of “out in the fields” (literally: out in the grassy knolls on a farm) competition where they have to use, at least in large proportion, the tools and food they can forage, save for a few limited items they’re allowed to bring along. Think “Survivor for Chefs.”


Andrea, the elusive Connor and Kati-Ann work on prepping for Chef.
As well, I’m going in along with Sandie on Saturday to help out Mr B for the weekend “Artisan Baking 1” course offered to the general public. It’s a one-day bread baking seminar where people can learn to make Focaccia, Challah and other breads. Should be fun! I won’t take photos since this is general public stuff but I’ll report on it next time.
Next week: we begin rotations with Cakes & Decorating so more cakes, cupcakes and flying buttercream will ensue.