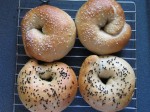
 Here we go, Reinhart’s Bagel recipe from [easyazon-link asin=”1580082688″]The Bread Baker’s Apprentice[/easyazon-link], Challenge #3:
Since I’ve got a pattern going so far, let’s keep at it: Step-By-Step snaps of the whole process. And I’ll try to keep this going until, well, until I don’t. I have to say it’s not exactly the easiest thing to set up a small photo studio in the even smaller kitchen and it needs a little planning. This may not always be possible. Today, it is.
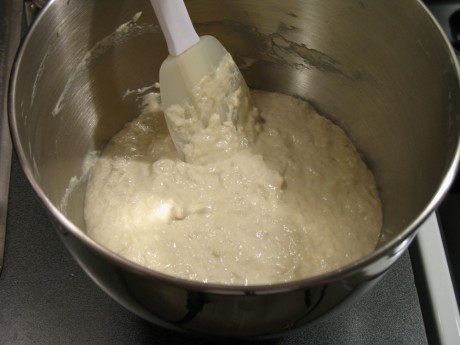
So first sep: The sponge…
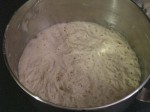
This is simply a bit of yeast, about half the total flour and 2.5c of warm water. It’s mixed up and left to bubble up for a couple of hours. Since it’s likely you’ve seen flour and water together before, I skipped the before picture and went straight to the exciting “all mixed” snap.
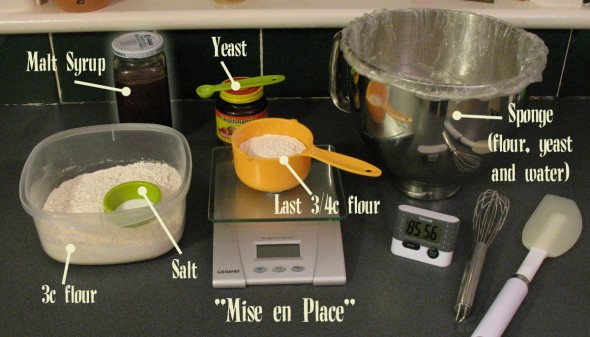
After this, the sponge bowl got covered with one of the handy dollar store showercaps and set asisde to do it’s yeasty, spongy stuff while I went ahead and prepared the rest of the ingredients. This is called “Mise En Place” which is French for “in it’s place” and refers to setting up, measuring and basically making sure you have all your ingredients set out ahead of time so you don’t forget one or find out at the last second you’re out of this or that.
Here’s what we’ll be using next:

Now please note that I’ve written “3c flour” in the photo when in fact it’s 400g. Likewise, the “last 3/4c flour” is actually 81g. I did this because the recipes in The Bread Baker’s Apprentice are given in volumes and ounces only, while I convert it all to grams except for tiny spoon measures. Yes, I even convert the water. I do the dastardly thing of writing these gram measures right into the book too, albeit I do it in pencil. So all the recipes I’ve made from the BBA so far have the converted grams added.
Anyway, there’s all our ingredients (and a couple of tools) at the ready, waiting for the sponge to… sponge up. Looks like we have a little under one and a half hour left.
By the way, the Malt Syrup in the back there isn’t radio active, the jar was just too dark against the counter so I added a little “glow” to make it stand out. In case anyone noticed. Anyone wondering where to get Malt in syrup or powder form, it’s available at some health food stores (as a “sugar substitute”) for stupid crazy prices or at your local “Brew Yer Own” beer making shop. I got the light malt syrup at such a shop, might try for the medium next time just to see if it punches up the “malt flavour” in the bagels any.
Ok, our two hours are up, the sponge looks nice and bubbly and now we can continue with the first day’s work. Yes, bagel making spans a couple of days, there’s mcu slow rising involved which is where a lot of the flavour develops. Too fast and you’ll be missing on a lot of the potential character. It will be in there but totally passed over if you decide to make them “quick”. Bread is not a fast food, at least it shouldn’t be.
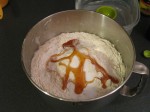
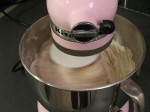
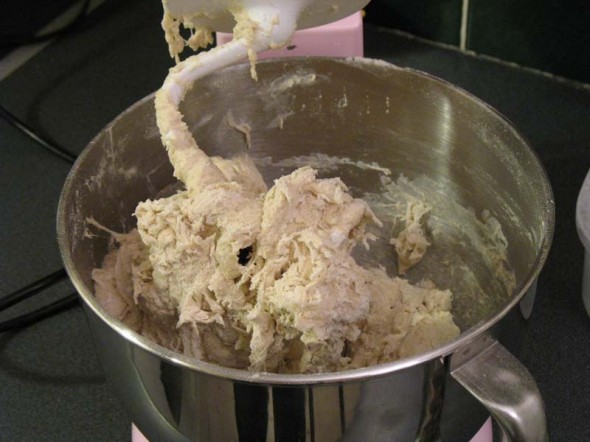
We add the yeast to the wet sponge and mix it in. I assume this is just to get the yeast “wet” before we add the remaining flour. So now we add the 3 cups (or really 400g) of flour, salt and malt. I chose to give it a short mix with the KitchenAid mixer just until the ingredients were fairly well mixed, I did not want to knead it in the machine as this is really tough on the motor. Last time I did this, there was a definite smell of overworked gears, so I’m not going to chance a $300 mixer for a batch of bagels, no matter how tasty.
Once the dough had come together roughly, I turned it onto the counter and kneaded the remaining 3/4c of flour in by hand. Once that was mixed in, I started the timer and went a-kneading for the next 10 or so minutes.
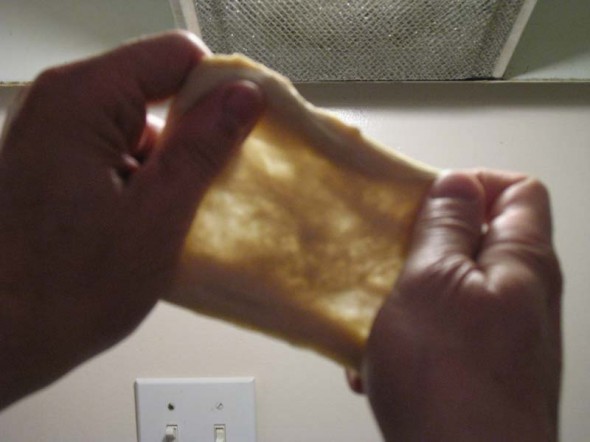
At the 10 minute mark, I checked the dough temp (81ºF) and did a windowpane test. Almost but not quite. So more kneading. Five more minutes, and no windowpane yet. I decided, even though it wasn’t noted in these instructions but was in the sourdough bagels recipe, that the dough – and I – needed a rest.
It got a little bit of autolyse time, and I got a breather and a refreshing beverage. 10 minutes later, the dough had relaxed a little and able to pass the windowpane test. (ooo… fuzzy pics!)
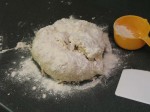
Next we need to divide the dough into equal pieces (relatively). The book says 4.5 oz pieces which is 127g. So I set up shop as below:
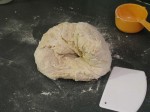
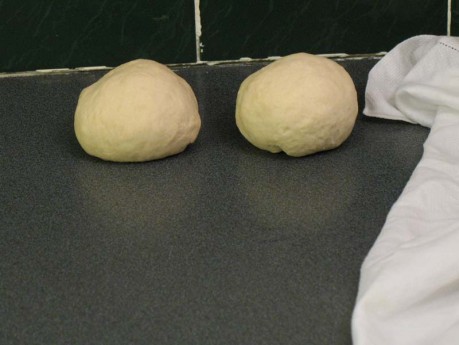
Slicing chunks off the big ball, I get my 124-127g bits and pop them under an upturned tub, eventually getting 12 pieces, the last two hitting 134g each. Safe under the tubs, I pull one out at a time and make a ball as per directions on page 82, although these are pretty darn big balls. They eventually all get rolled, each getting popped under a damp cloth while the remainder get manhandled and join them. Then it’s a 20 minute rest.
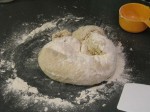
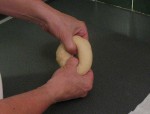
With 12 pieces of uniform sized dough, I decided to do 6 with the poke-a-hole method and the rest with the roll-a-rope method. We’ll see what the difference is when they’re baked up, I guess.
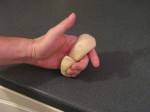
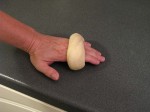
Here’s the Pokey method:
(By the way, pretty much all pictures on this blog can be clicked to see the full sized version.)
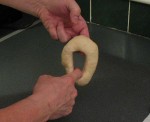
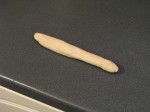
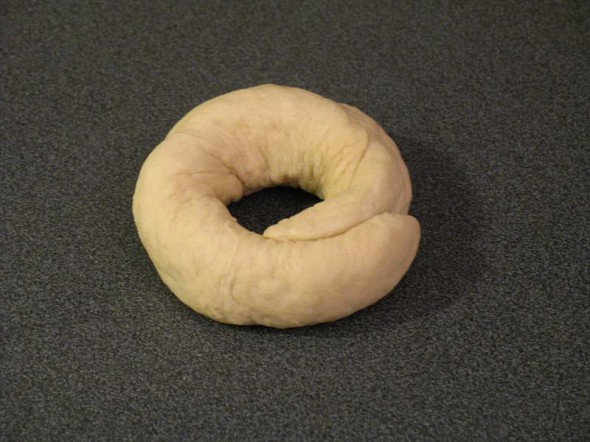
And the Ropey method:
Not pictured: dabbing a little water on the end of the rope to make it stick.
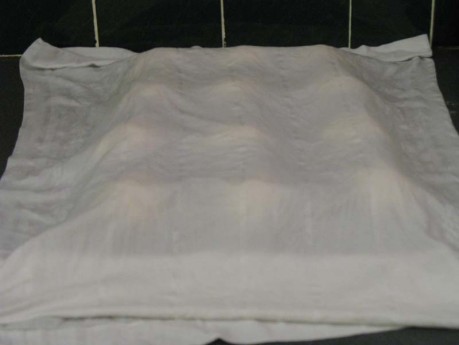
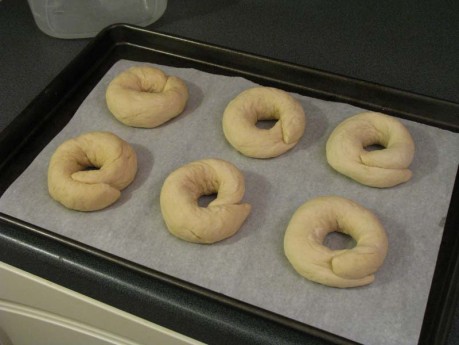
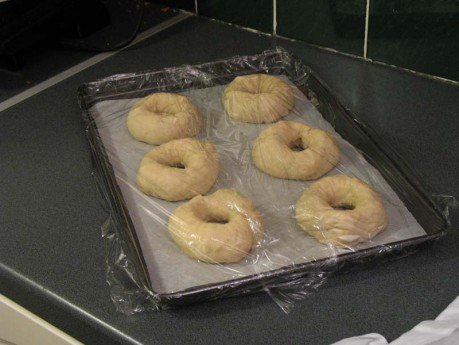
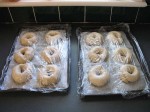
Now they’re all shaped. They get covered and wrapped so as not to dry out and get some “bench time”, another 20 minutes. Tick tock.
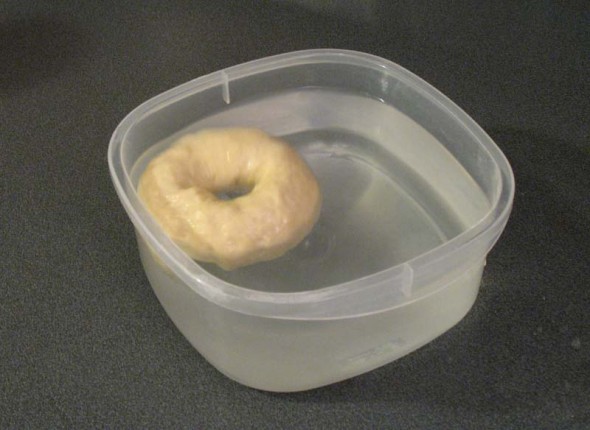
Finally, they need to be checked to see if they’re ready for overnight refrigeration and we ask the eternal question: “Does it float?” (Isn’t that a David Letterman bit?) So into a bowl of room-temp water (from the tap) we plop one bagel and see if it floats within 10 seconds. If so, they’re ready to be put in the fridge. If not, they need a bit longer to rest.
And they do, so into the fridge they go overnight.
Zzzzzzzz….
OK, next morning, we get ready to turn the kitchen into a bagel shop!
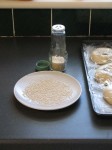
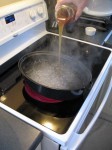
Set the oven to 500ºF, pull the now rested bagels out of the fridge, set out our seed toppings and get a pot of water to boil, adding (in this case) malt syrup although the book says baking soda.
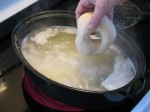
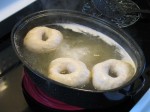
In go the bagels, three at at time, boiling for one minute per side then flipping. Have a timer handy so you can just hit the start button.
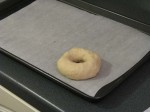
Once both sides are boiled, take them out and return to the parchment lined tray or dunk them into your plate of seed then back to the tray.
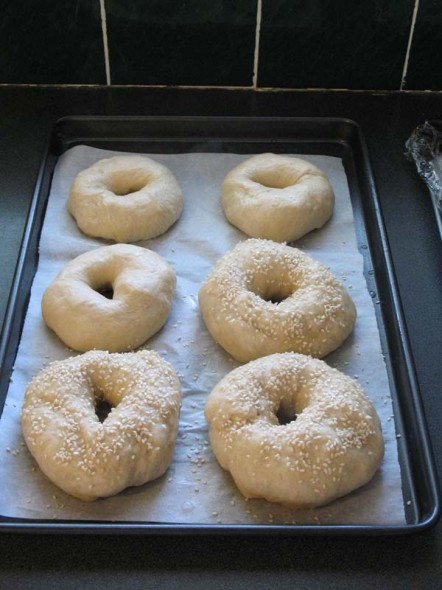
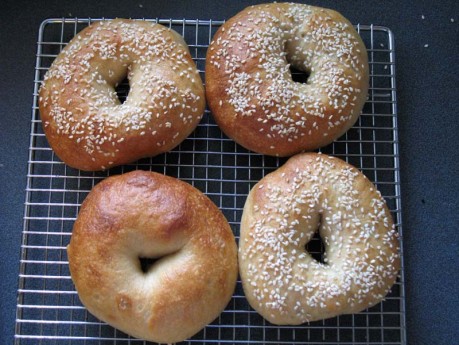
These are the Pokey bagels and I’ve added sesame seed to just three. We continue with the remaining bagels, boiling all twelve, seeding some, leaving others plain. Finally, they’re ready to go into the 500ºF oven for five minutes. Then we pull them out and do the Big Switcheroo.
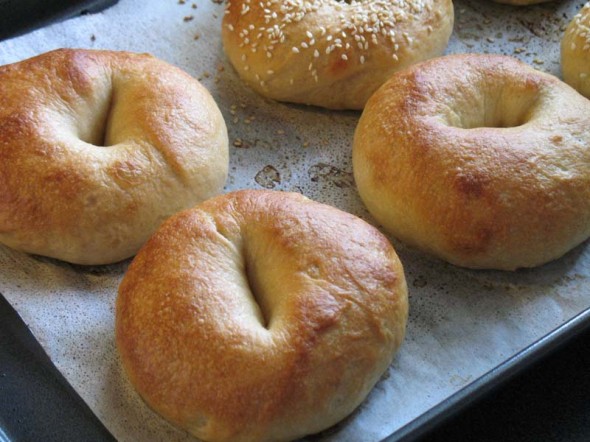
Quick snapshot and they go back in for at least 5 more minutes, flipping the trays around front to back and top to bottom. We also turn the heat down to 450ºF. Here’s what we have at the end of this second cycle:
Still a little anemic, so we’ll need more time. I keep a good eye on them from here on because the last thing we want to do is assume it’s another 5 minutes when they’re perfect at three and start to overcook at five. They happen to be quite lovely and tanned at the four minute mark. Now this is for MY oven (today), yours will likely vary and so may mine next time. Also, don’t forget to CHECK THE BOTTOMS. They may be loverly on top but too cooked underneath. If that’s looking like the case at the halfway point, you can flip the bagels upside down. These guys were doing OK although a tad dark, considering they’re on black pans (hotter). I’ll probably put them on silicone mats next time just to be sure. OK, back in for a few more minutes.
Ah, that’s better! Nice and golden brown.
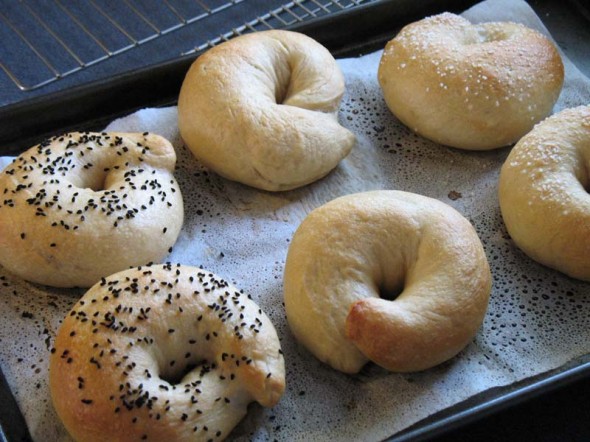
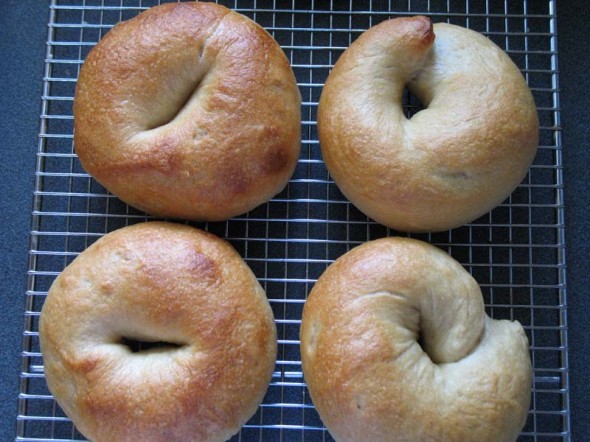
Now we did do the Pokey and the Ropey versions of these bagels so let’s see what the difference is visually.
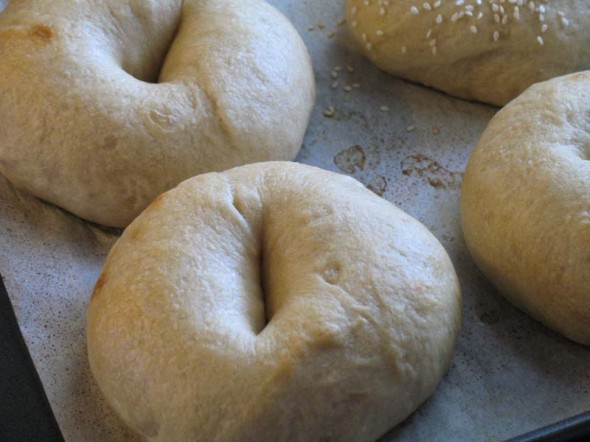
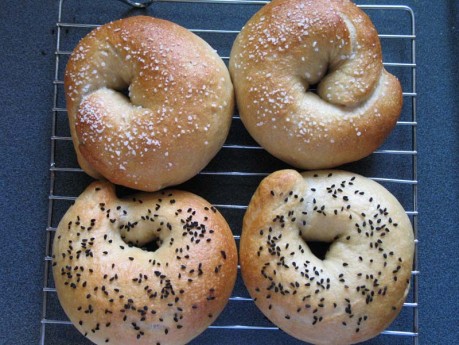
Size wise, they’re pretty much the same. Shape is obviously different so this would dictate how you want yours to look. I might get better at sealing the rope ends although I sort of like the definite “not machine made” look of the Ropeys on the right. Here are the other ones, Pokey left, Ropey right. You’ll see the pokeys aren’t quite so round.
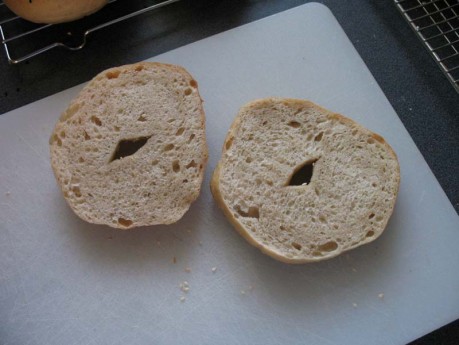
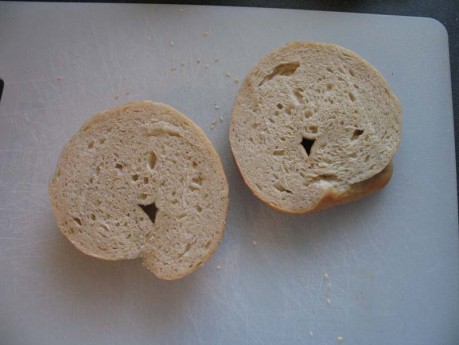
The surface is also a little smoother on the ropeys than the pokeys on the left which have a bumpy surface. Now let’s look inside (15 minutes later once they’re cooled):
Look pretty much the same here. So it seems it’s really just the looks of the outside. And if I’d messed up tacking the rope ends then this would also figure in.
There you have it, Peter Reinhart’s bagels a done by me. Hope you give them a try, they really are awfully good. I still like the sourdough ones a little better but that doesn’t mean I’d turn these down! No sir!!
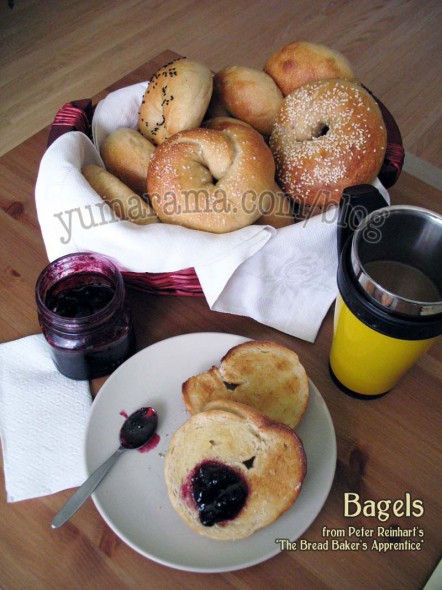
And now, the final Drool Shot. Enjoy and please make some soon.
OTHERS BLOGGING THIS BREAD
Dave at Baking Mad Dad has a nice batch to show off
Görel has mouth watering pics at Grain Dough
You can see cinnamon & raisin bagels on Susie’s Home & Hobbies
Cathy has a lovely Step-by-Step and a cool loaf at SaltAndSerenity.


Those are great! I made mine this weekend, and looking at yours I definitely need to try again and see if I get a better result. They still tasted great, but were not as puffy or as dense as yours. I think that I let them proof a bit too long before putting them in the fridge overnight. I’ll be posting mine later this week! In the meantime, if it’s still Tuesday when you read this, please vote for me on http://www.foodiefights.com for my raspberry cauliflower souffle!
Love the photo of your window pane test. It’s a perfect shot. Your step by step instruction with photos is great. I am an amateur photographer so I love to shoot as I cook as well. It’s time consuming and messy, but fun. Bagels look yummy. Will be doing mine this weekend as long as King Arthur delivers my 14% flour Did you use hi-protein 14 % flour, or just regular bread flour (12%)?
@Cindy:
I use normal flour to which I add Vital Wheat Gluten.High-protein flour is simply not available here in the Great White North.
I add 1 tbs per ‘cup’ into the bowl before adding the flour, up to required weight. The sponge, for example, is noted at 4 cups of flour so I put the bowl on the scale, tare to zero, then add 4 tbs of gluten and top up to the right weight (18 oz / 510g) with the flour.
Yum, looks delicious! Thanks for the side by side comparison of the two methods! 🙂 Can’t wait for my malt powder to arrive so I can do a full batch!
Nicely done! I still have not made it through the second one yet.
I like the look of the ropeys better too.
Great post. I love reading through your two day bagel adventure.
I’m on day one. My bagels are now in the fridge. This recipe has been intimidating to me for some reason. 🙂 It has been ok so far.
I loved seeing your whole process.
Fun baking along with you,
Susie
Wow they look really good. I like your write up and pics. I have my sponge brewing away. I am making some 1/2 whole wheat and then some cinnamon.
How great your post is! Working on my Bagels this week – we’ll see- outdoor kitchen and all…Thanks for all the pics and info…they look great! On to Brioche!!
Happy baking!
Nice, I have to bake them this sunday. I do not like bagel but will see what happens with these.
I like the ropeys too. They have that little nubbin that’s just begging to be bitten off! I tend to make pokeys thought. I’m just getting going on the Artos tomorrow. PR’s is my go-to bagel recipe, but you’ve gotten me curious about your SD one. I’ll have a hunt around your blog. 🙂
They’re beautiful! I really liked the comparison you did between shaping methods. I’m tackling these this weekend, and can’t wait!
Great job. I won’t be doing the bagels for awhile yet. THey are a lot of fun to do.
Holy cow, your pictures are BEAUTIFUL!
I really need to work on the “mis en place” because that is one of the things I have the hardest time with. Almost messed up the artos bread because I didn’t realize the boys drank ALL the milk in the house until I had already started mixing. Doh!! But luckily it worked out 🙂 I hope my bagles come out half as beautiful as yours!!
I’ve taken to writing in all my books now. Grams are just so much easier. The spoons I’m fine with.
Gorgeous bagels!
Starting mine this morning.
I’ve been trying to decide all the way through this post if I want to make pokies or ropies… both look amazing! Seriously, my mouth is watering! Beautiful pictures!!
I can’t make mine until Friday (work schedule…grrrr!)- can’t wait!!!
You’ve already made bagels? WOW you’re fast! I can’t wait to try my first BBA challenge.
Great job on the bagels. I love that you compared the rolled and the poked!
Awesome bagels! Love that they look like belly buttons 😉
I love your mise en place! I’m so glad you did both pokeys and ropeys. I did the poke method and mine were a bit bumpy. I was wondering how the ropes would have turned out. Thanks for sharing!
Really very nice job on these! Lovely shape, great color, and a nice crumb. I’m a bit behind on these waiting for ingredients, so can’t wait to give them a go — especially since my first run-in with bagels a couple of years ago was ho-hum!
Awesome post! I don’t know how you took the picture of the windowpane – but fuzzy or not, pretty cool!
The windowpane test gets me into hyperventilation mode pretty quickly.
It is a lot of work to make such a detailed post, so a big THANK YOU is in order!