 Well, here we go, the very first bread in the MellowBakers.com group bake!
Having run to the store the day before to pick up candied lemon peel, I was all ready today to get this bread started up. The whole recipe, which is from Jeffery Hamelman’s book [easyazon-link asin=”0471168572″]Bread: A Baker’s Book of Techniques and Recipes[/easyazon-link], should take about 4.5 hours or so from start to finish – or until the buns are set out to cool.[easyazon-image-link asin=”0471168572″ alt=”Bread: A Baker’s Book of Techniques and Recipes” src=”http://ecx.images-amazon.com/images/I/51OV5EvTM6L._SL160_.jpg” align=”right” width=”130″ height=”160″]
If you don’t count the big mistake I made along the way, that is. I’ll get to that as we go along.
So as always, we’ll begin with the Mis en Place which is supposed to help avoid problems.
If you’d like to make this bread too, a recipe based on the Hamelman Bread recipe has been devised and posted by Susan on the WildYeastBlog.com so hop over there and print out a copy. Hers is slightly different but you should be able to follow what I’m doing here even if you use that recipe.
For those visiting the blog for the first time, you may like to know that almost all smaller photos (except headers) usually link to a larger version. Larger photos may not; hover your mouse over each pic to see if it will lead to a larger, more detailed version.
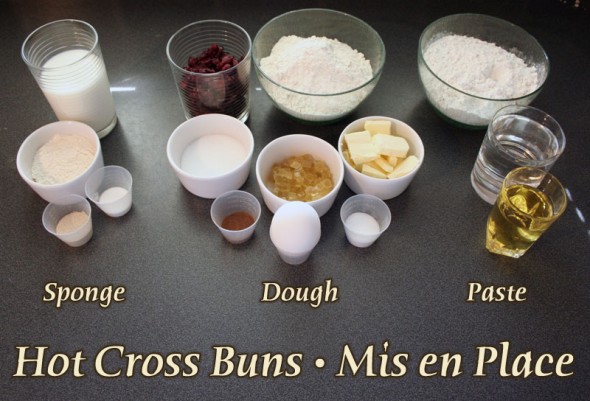
There are three stages to this bread: the sponge, the dough and the paste cross that’s added at the end. I’ve separated the three ingredient lists above. I switched the oven light on before I started setting all this stuff up so I’d have a warm proofing spot in a bit.
I made just one small switch: I exchanged the recipe’s currants for dried cranberries since I didn’t have those but I had these and I know cranberries and lemon go really nicely together. So they would be a nice variation, I thought.
At the very end of the ingredients list, Hamelman sneaks in this point: “Depending on the freshness of the Allspice, slightly more or lest may be needed.” So adjust yours accordingly. I could probably have done with more.
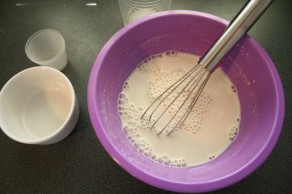
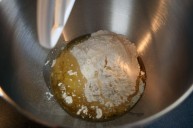
The milk (room temp) and yeast are mixed then the small amount of flour and sugar are whisked in. This is a very liquid sponge, more like thick milk than wet dough.
For the sponge, we have milk, bread flour, yeast a a little sugar. This is then covered with cling wrap and left to proof for 30-40 minutes. Says Mr Hamelman, the ideal temp is 80º, so I place it in the already warm oven with the bulb on.
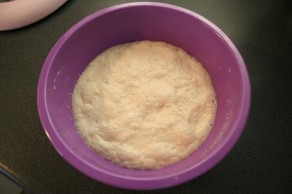
40 minutes later, the soupy sponge has now expanded and formed a foamy mass. End of stage one.
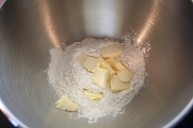
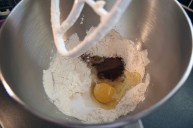
We start stage two by mixing our main dough. First we beat the soft butter into the bread flour which give us… bread flour with small bits of butter. Next we add the egg, allspice, salt and sugar and mix.
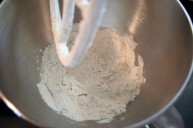
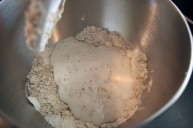
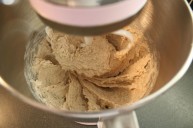
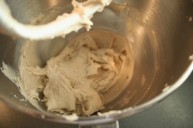
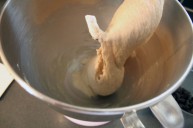
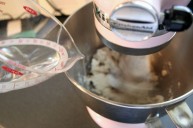
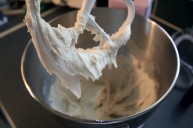
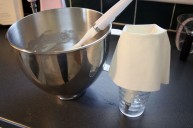
Next, in goes the sponge and the whole thing is mixed for three minutes on speed 1, then three more on speed 2. The gluten structure isn’t supposed to be terribly strong for this bread, the recipe states, but it still needs to be there so the dough can lift the dried fruits and egg. Strangely, I note that the dough seems to have past gluten development (middle pic above) and turned rather soft and rather pasty. That is going to be hard to make buns out of, I think. But Mr Hamelman should know what he’s doing so I forge ahead anyway.
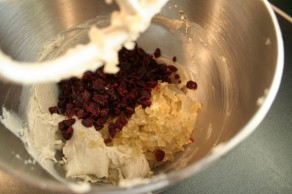
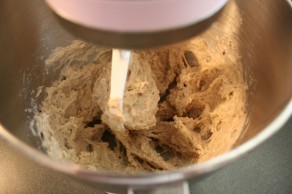
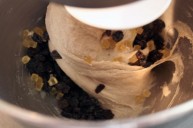
In go the cranberries and candied lemon and I start to mix it in. This is really looking pasty. So after a minute, I lift the mixer to scape the side, get some dough on my knuckles and taste it. Oh. My. God. It’s insanely salty. How much salt did the recipe call for?!? I look and it says 1/2 tablespoon.
And then I remember.
As I was setting out the items for the Mis, I found myself with an extra bowl of sugar (look above, it’s in the small white ramekin). I figure I’d already measured it since there was already one with the same amount right there on the counter (I even weighed both and they were exactly 57g, as expected), so back into the sugar bag one went. But now I look and, lo and behold, the white ramekin that we keep next to the stove full of SALT is gone. And that explains the extra bowl of “sugar”. And also goes to explain why the dough suddenly went to paste. An unexpected bit of info, I suppose: too much salt kills your gluten structure.
So into the recycle bin it all goes and I start again from the beginning. I didn’t take photos of redoing everything but pick up again after adding the sponge. That all added an extra hour to the process. I also didn’t have any more cranberries (or not enough) so I went with raisins instead.
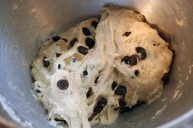
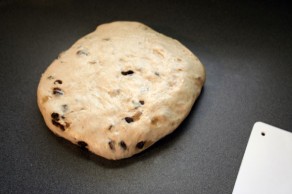
So let’s go back a smidge to mixing the dough for the three minutes at speed two. Ahh! Now THAT is dough you can handle. A bit of gluten development and we’re ready to add the raisins and lemon peel. We let that mix for just a minute more until incorporated, the turn out onto the bare, unfloured counter. I give it a bit of a knead, maybe a minute, to get the fruit well dispersed. The plastic bowl scraper is all I need to keep the counter clean.
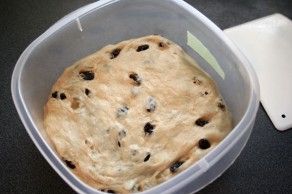
The dough goes into an oiled tub and proofs for 30 minutes. It is then turned out again onto the bare counter.
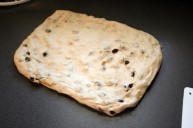
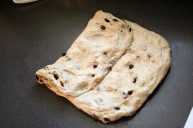
It now gets a quick stretch and fold. First, it is stretched into a rectangle, then the left third is folded in, then the right, like a letter. Each time, the dough is streeeched out, then folded back down.
The top part of the dough is now stretched and brought down, then the bottom stretched and brought up.
For more detailed explanations, see Stretch & Fold: You don’t need to knead and Stretch & Fold (again).
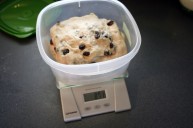
Finally, it goes back into the tub for another 30 minutes of bulk proofing. I took this opportunity to weigh the dough: 871g.
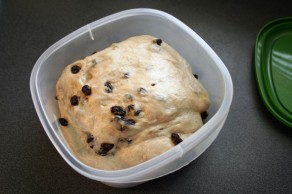
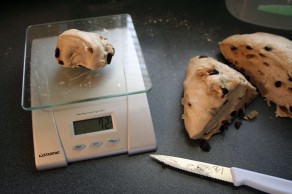
At the end of the 30 minutes (so 60 total for the bulk proof) the dough has increased in size a fair bit. Out onto the counter it goes and I’m ready to divide into 12 buns. So I take my dough weight of 871g and divide by 12, getting me 72.5g each. Roughly. Using a serrated tomato knife, I slice off chunks and weigh, adding or removing bits of dough until I get in the 71-73g range.
Eventually, I’ve got all the dough divided pretty much in the 71-75 gram range,so I now have to shape these rough chunks into balls that will eventually be buns.
I still only have two arms so i can’t show you the process I did but I can call up a video by artisan bread baker Mark Sinclair of the Back Home Bakery in Montana. he makes it look easy. And in fact, it’s not entirely difficult. he just ends up with WAYYY better dough balls. Enjoy.
[youtube]http://www.youtube.com/watch?v=0efxqIRxh_Y[/youtube]
And that is how (sorta) I got the rough dough shaped into rounds. And yes, I was doing it two handed. I was surprised too!
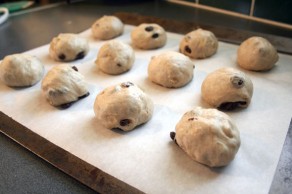
After shaping, the dough is covered and allowed to rise for another hour. Meanwhile…
We start on the “cross” paste while the buns are proofing.
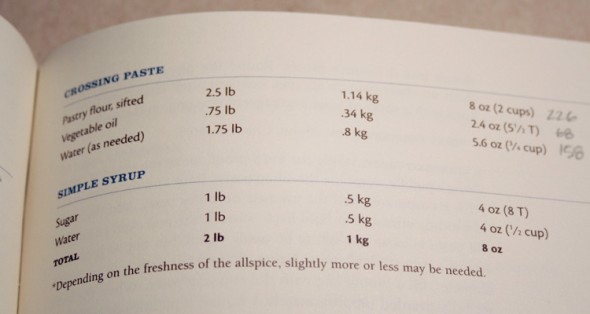
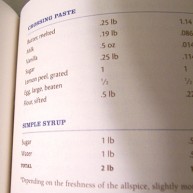
It has recently come to our attention, via posts on the MellowBakers forum from Abby, that there is a very different, second version of this paste recipe printed in later editions of the same Hamelman book. Her paste recipe, also on page 267 of her book, has a different list of ingredients: Butter, milk, vanilla, sugar, grated lemon peel, egg and flour (not specified as “pastry”). At some point in the printing runs, they changed up the recipe so if yours is not a flour/oil/water paste, don’t worry, just try to follow your recipe as given. Click the photos below to see the two different lists; the left is from my book, the right from Abby’s.
Also, please see Abby’s additional comment on the paste situation after the post.
It is simply pastry flour, oil and water. We begin with the sifted pastry four and oil, mixing until well blended. It’s pretty stiff. So we then add the water in a slow drizzles as the mixer mixes. We’ll stop when the paste is soft enough to be piped, likely not using all the water. I used all the water and could likely have have added a wee bit more.
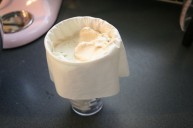
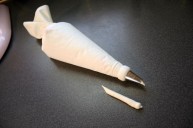
The next step is to fill a piping bag. To do so, set the bag with your chosen tip attached into a tall glass, wrapping the excess bag over the glass. This gives you a “hard” edge to scrape your spatula on but well inside the bag. I’m using a #12 tip here, about 1/4″ wide as you can see by the sample squirt. I could maybe have gone with a slightly smaller one.
Yes, I think that looks like an awful lot of paste for just 12 buns, too.
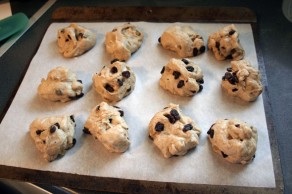
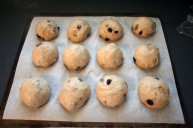
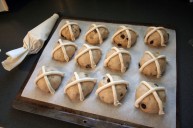
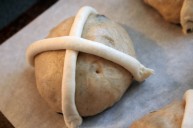
Our dough balls have now proofed for an hour and are ready to be crossed. Do all the lines in one direction on all the balls, then give the tray a turn and do all the lines in the other direction.
See those little “flips” at the end of the lines on that roll? To get rid of that, just dip your finger in a little water and tap the little blip flat into the paste line. Presto, no tell-tale signs of the piping tip lifting.
Notice the amount of paste left in the bag after all buns were done. You’ll want to seriously cut back on the quantity you make to, perhaps, one third.
Our buns are now ready to go into the preheated 440º oven for 14-16 minutes.
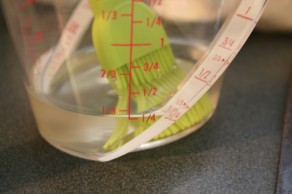
While the buns are baking, make a simple syrup, which is just water and sugar taken to a boil. Ergo “simple”. The recipe calls for a half cup of sugar and water, I cut that back to 1/4 cup. Which was still much more than needed.
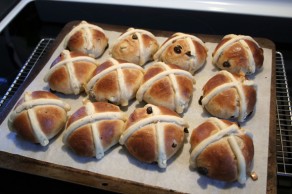
When the buns are done and nicely browned, brush the simple syrup on top and allow the buns to cool.
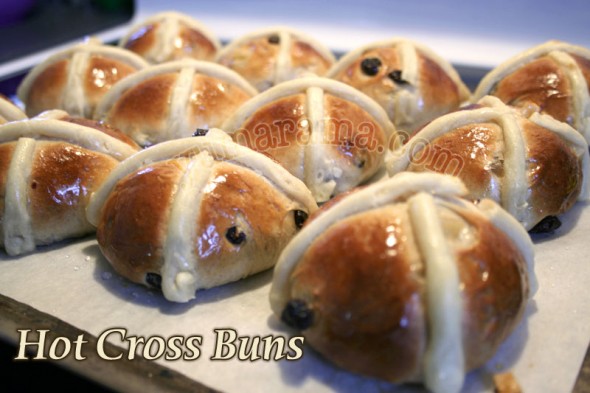
And now, the final glamor shot:
Final Remarks:
These little dudes are relatively simple to make (barring dumb “salt” mistakes) and rather fancy lookin’, so they’ll have a good “wow” factor.
Taste wise, they are lightly savoury from the allspice, have little hits of zing from the dried fruit and only a little sweet so they aren’t what North Americans generally would call “desert” breads. I quite like these buns’ low sweetness level, much less “in your face” piles of sugar like the type found in commercial Hot Cross Buns.
They don’t hold up well for a long time so it’s best to eat them fresh or toasted the next day. But I don’t think this is going to be an issue; they were mostly gone by the end of the day.
All in all, an excellent little bread. And appropriate for any seasonal equinox event, the cross design is not specifically religious and can signify the beginning of any the four seasons. So make them year round festive treats.
Suggested changes in the recipe:
Cut back a lot on the paste – although the quantity may be so that the mixer has enough mass to mix. But seriously, the amounts given are way too much for a dozen buns.
Likewise the simple sugar. I made 1/4 cup and still had most of it left when finished. Although it does keep, if you would use it again soon.
And don’t use salt instead of sugar. Really bad idea.

As I said in the forum, I’m impressed with your result! It’s amazing that you always take sooooooooo many step-by-step pictures. That probably really slows down the whole process, doesn’t it? I won’t be able to take so many pictures with 3 little kids to look after, but I’ll do my best to document the whole process as well. Are we allowed to use the first picture in our post: the badge with the hot cross bun? Are you planning on adjusting the badge for every bread we bake? That would be absolutely cool!
.-= ap269’s latest blog post: BBA Challenge #43: Sautéed Onion and Parmesan Miche =-.
Those look great! I’m looking forward to making this recipe, probably this weekend. I don’t usually do that many process photos, but I’ll try to make sure that I take a few to share on the forum.
.-= Di’s latest blog post: On a roll =-.
Those look lovely. I can’t wait to make it on Saturday!
.-= Oggi’s latest blog post: Eggplant Relleno =-.
Hey, thanks for the comments.
You can go ahead and swipe the badge whenever I make a new one, just right click and copy to your computer. Actually, I just put a link with the code required over in the Hot Cross Bun forum post that you can copy. I can’t promise I will produce a new one special to each bread, and when we start getting two different recipes, I may not make one of the breads. And I had to take a photo of one bun on a clear background specifically for the badge. But if you want to nab any MellowBakers badge I do put together, you’re most welcome to do so.
And no, I certainly don’t expect everyone to detail their posts as much as this. A couple of pics along the way, if you can get them is perfectly fine. I also don’t think it’s necessary for everyone who makes the bread to basically repeat the full blown step-by-step as this would be highly redundant.
A nice chatty description that makes a reader feel like you’re showing them about your own process is peachy. Pics are just added bonus.
Can’t wait to see your buns!! (lol)
Wow, those buns are gorgeous! (I was going to say “your buns” but . . . . .) =) I just got my book in the mail yesterday, so I’m also hoping to make these this weekend. Also have BBA #33, so we’ll see how it goes . . . . I’m very excited to have a one-day, 4-hour bread to make! And thanks for making the cool new badge!
.-= Abby’s latest blog post: The intersection of work and life =-.
These look good! I love all the step by step photos! I have never eaten or made a hot cross bun, but need to get to it.
.-= Valen’s latest blog post: What Do You Top All Those Pancakes With? =-.
In the details of the recipe, Hamelman indicates for my version of the crossing paste that you can use either pastry, cake, or bread flour (I used a combo of pastry and cake flours because I only had a little bit of pastry flour left). Also, I know everyone had a ton of paste left over, so I cut the recipe by half. I had some left, but not a huge amount. I would make the half-recipe again next time.
I’m assuming my paste was sweeter (with the sugar and vanilla), although it was not overwhelmingly sweet, and it had a really strong citrus flavor (from the lemon peel), which I really loved. One downside to the one from my book, though, is that it’s a much yellower paste (I’m assuming from the egg and vanilla) and so doesn’t have the pretty white crosses that provide such a nice color contrast to the buns.
.-= Abby’s latest blog post: Mellow Bakers: Hot Cross Buns =-.
What a great blog post! And I’ve had a quick squint at the ingredients for the alternative crossing paste and I will try it on my weekend batch of buns and try and get the JH version right this time. Thanks for welcoming me to Mellow Bakers!
What a delight to see a hot cross bun with natural paste crosses. When I was young thats all my father would bring home from his friends bakery every Easter. No such thing as icing like so many hot cross buns call for now.
Thank you for posting an old memory. It may be past Easter but never past time to bake some lovely hot cross buns!
Awesome… I have to make these, love the step by step pictures you’ve done. You’ve put so much time into this. I couldn’t view the video, but not a problem as your pics showed us everything we needed.
Thank you for sharing this!