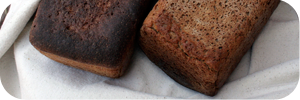
 This post is about rye bread. Not your grocery store Deli Light Rye but hefty, hearty, packed-with-flavour rye bread. The type that you slice really, really thin and it still can hold up to bold flavours like strong cheeses or spicy deli meats.
The kind of rye bread I like best. But that I’ve never made before. So it’s one I was looking forward to getting at in the MellowBakers.com adventure through Hamelman’s book [easyazon-link asin=”1118132718″ locale=”us”]Bread: A Baker’s Book of Techniques and Recipes[/easyazon-link].
So having never made one of these really hefty ryes, it was a little bit of an experience making what looked more like paste than dough, the small amount of rising the bread did. This isn’t your mom’s normal white bread, oh no. At 80% rye, there’s little gluten to be seen here but a whole smacking load of sticky.
But don’t let any of this deter you from trying it, because aside from being just a tad “unusual” it really isn’t difficult. Just different.
And we like different, don’t we? Sure we do. The bialys: they were great and so simple. Corn bread: not the typical American style yet still really nice. Way back, the Anadama, very unusual but wonderful. So let’s tackle this ‘different”style bread with an enquiring mindset. And if I get it right, I won’t need to shell out $4 for 10 itty bitty slices at the store.
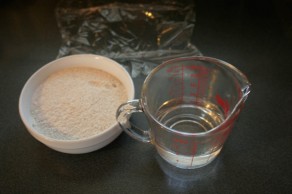
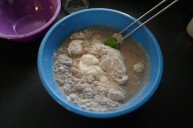
Here’s how this is different and where we start the process: the Soaker. Typically, this involves soaking whole or chopped grain but in this case, we’re soaking rye flour with boiling water.
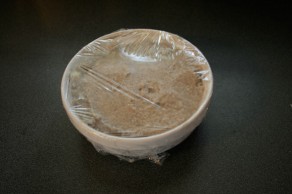
This is unusual but not exactly difficult: pour the hot water over the flour. Cover with cling wrap to avoid evaporation. Let stand 12-16 hours. You can do that, right?
Why? Well, Mr Hamelman, tells us that pouring the boiling water over the flour “gelatinizes the rye starches and give the bread an unusually smooth eating quality” as well as giving it excellent keeping quality. I also noted that the soaker, after it had sat it’s length, had a definite sweet edge to it.
Once we have the soaker done and set aside, we also mix up our starter.
This is simply rye flour, water and a little sourdough starter that get mixed and also put aside for 12 – 16 hours. It’s an 83% hydration starter so it’s pretty solid.
Both the soaker and the starter are left overnight and we pick up again in the morning.
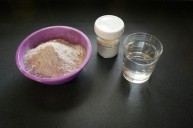
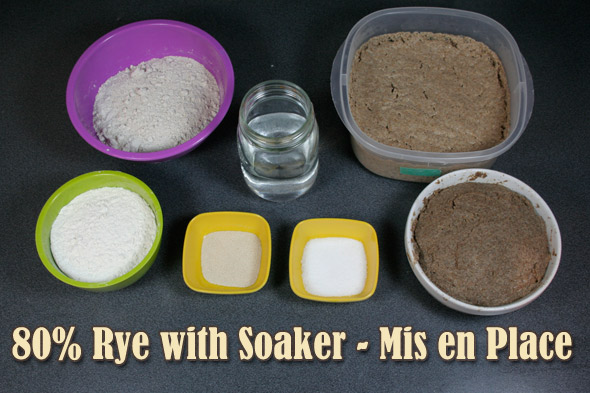
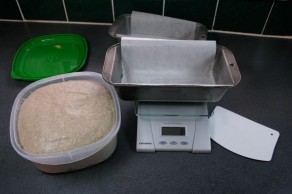
Here’s our mis en place for the full dough: dark rye and high protein flour (I used bread flour with a teaspoon of Vital Wheat Gluten added), water, a little instant yeast, salt and our starter and soaker.
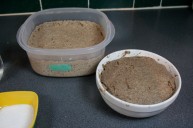
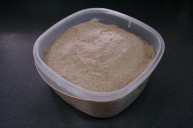
If you click the first photo to enlarge, you’ll see that not only has the starter increased in size but so has the soaker.
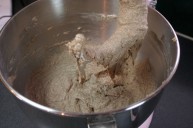
Everything now gets mixed for several minutes and this is where you note that your dough is different: it’s like a very thick paste with just a little gluten development. But again, it’s simply different, not difficult.
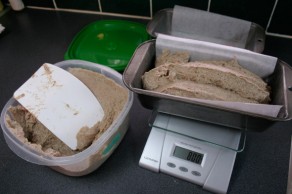
The dough is then set out to bulk proof for just 30 minutes. At this point, I weighed it as i transferred it and it came out to 1600 grams or 3.5 pounds.
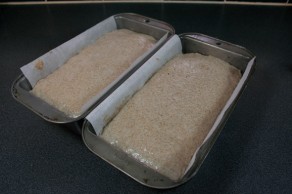
I prepared some bread pans – I have not located any Pullman Pans around here – with a parchment liner as I’d heard this dough was very sticky and these pans are quite old and they’ve got little to no non-stick coating left. Not sure if it was actually needed.
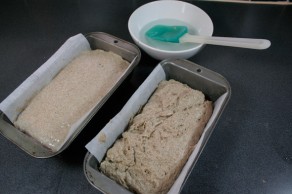
The dough has increased in size in the 30 minutes (thanks to the instant yeast) but was still very soft so it was simply a matter of scooping it out and into the pans. There’s no way this would have been “shaped”. A little smoothing out of the top with a wet spatula and we’re good for our final proofing for 50-60 minutes.
While waiting for the final proof, I set the oven to 475ºF with the oven tile.
I didn’t get photos of the proofed dough, but they had risen a little above the pans’ sides and had stuck to the cover a bit. Nothing too drastic. Into the oven they went for 15 minutes with steam, then the temp is reduced to 440ºF and the loaves are left for 30-35 minutes.
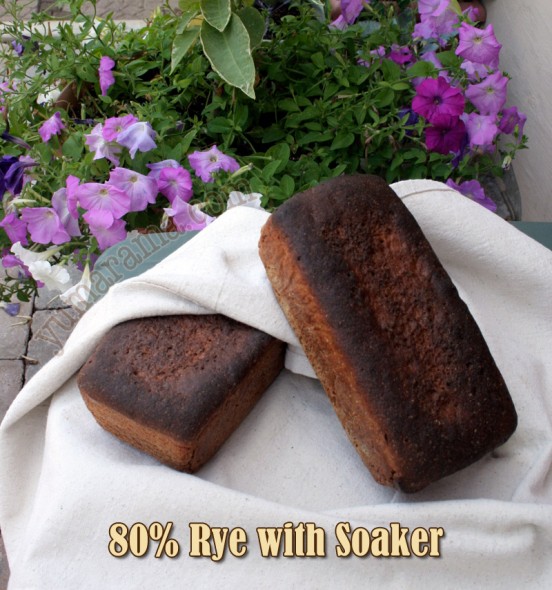
I pulled them out at 30 minutes and noted that the tops were a little scorched. They had only a little oven spring, not too much as was expected. They certainly smelled good!
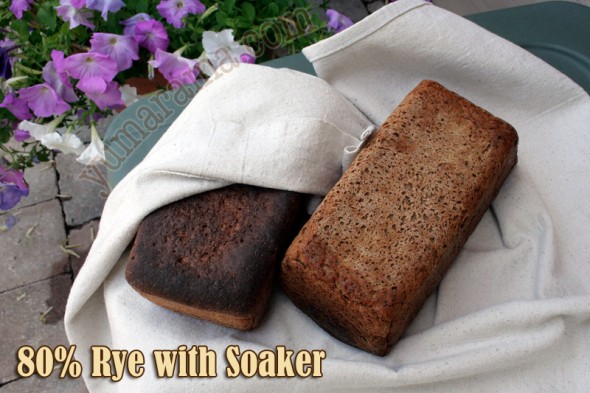
Once cooled, the loaves are wrapped in linen “for the best eating quality” and left to set for several hours or up to 24 hours before slicing. Which is what they’re doing as I write this. I’m also hoping the long rest will help amend the dark crust slightly; I guess we’ll wait and see.
Here’s a look at the bottom of one loaf. So even if the top is a bit too dark, the rest is still passable. So note to self: check a fair bit before that last 30 minutes to see if they’re ready to pull out.
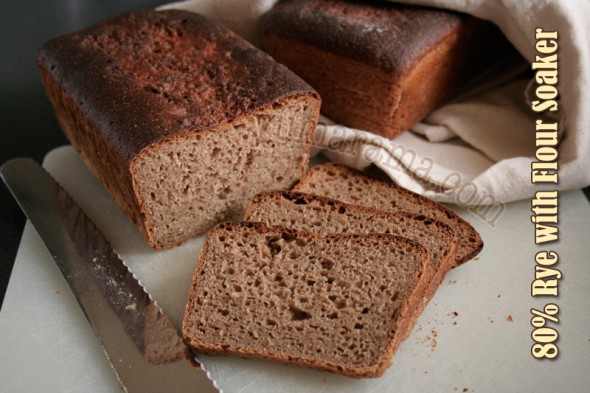
And 24 hours later, the Official Crumb Shot:
Looks: great. I’m a little surprised at the holy crumb, wasn’t expecting it to be so bubbly.
Taste: Very nice. Not so powerful as one might expect from a bread with 80% rye flour, in fact it’s somewhat subtle, considering. I guess that’s where the soaker does it’s “mellowing” of the flavours. The crust on three sides is there but not too strong, the charred part has indeed softened and seems to not be so “charred” as very very dark. Some spots do have a bit of carbon taste but mostly, it’s been actually a pleasant flavour.
[easyazon-image-link asin=”0471168572″ alt=”Bread: A Baker’s Book of Techniques and Recipes” src=”http://ecx.images-amazon.com/images/I/51OV5EvTM6L._SL160_.jpg” align=”right” width=”130″ height=”160″]Overall, a very pleasing bread. If we didn’t have some 70 or so more breads scheduled, I’d do it again soon.
Other Mellow Bakers who are doing the 80% Rye bread:
Lutz’s Sudden Blog (in German via Google Translator) liked the bread, even if not his fave
Steve at Burnt Loafer had some issues with his new clay baker
Rookiebaker made hers freeform (brave!)
Others are doing the 70% rye with rye (kernel) soaker too so check out the MellowBakers page. I passed on this one simply because I’ve been unable to locate any whole rye.
We’re hardly far into the Sourdough Rye Breads section of the book so I’m looking forward to other versions of these hearty breads, but I’m glad to have given this one a try and found out that, although it sounds intimidating because it’s not like “normal” wheat bread, it’s really not that difficult. Just gotta watch that oven!
This bread has ben submitted to YeastSpotting on the WildYeastBlog.com
