 My third bread in the MellowBakers.com group bake, the Rustic Bread from Jeffrey Hamelman’s wonderful book Bread: A Baker’s Book of Techniques and Recipes is a pre-fermented loaf and has a combination of white bread, rye and whole wheat flours. Although it takes about 22 hours from start to finish, the time actually spent doing anything besides ‘waiting’ is really not that different from other breads.
The pre-ferment is designed to allow a portion of the dough to ferment and age, bringing out a lot of the wheat’s flavour without needing the whole batch of dough to sit about for 12-16 hours. I pretty much went from start to finish doing everything as expected, except for a little extra hand kneading after the first rough mix to add a small handful of flour as the dough was just a little too sticky.
As I noted, this bread used a pre-ferment so let’s start with a look at this step.
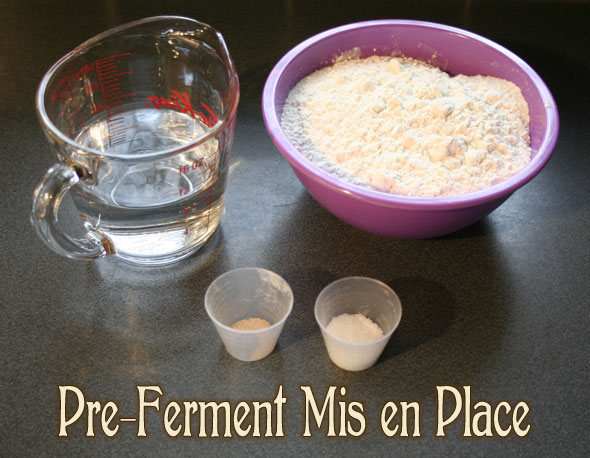
Our ingredients here are simply 272g of water, 452g of bread flour, 1/2 T of salt and a tiny amount, 1/8 tsp of yeast. Pay attention kids, there will be a test.
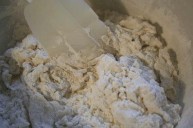
The yeast is added to the water and ‘dispersed’ then the flour and salt are mixed in until incorporated.
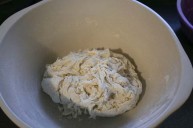
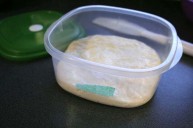
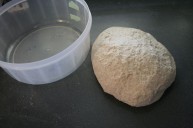
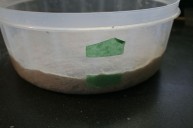
As this makes a somewhat rough dough at 60% hydration, I turned it out onto the bare counter and kneaded it for a minute or so until it was smooth then placed it into an oiled bowl and kept it covered on the counter until the next morning, when it had expanded enough to completely fill the bowl. This was a full 16 hour pre-ferment.
And now, your Pop Quiz (what, you thought I was joking?)
There are two very specific clues in the above description that will give you the answer to the test question:
Is this pre-ferment a:
A) Biga
B) Pâte Fermentée
C) Poolish
D) Sourdough Starter
E) None of the above
Choose your answer and we’ll see which is correct a little further on.
So the next morning, we get to start making the bread. Sure, it’s been 16 hours but we only put in about 15 minutes of work in there. But when you tell people, you can go ahead and impress them with how much dedication you have making a 22 hour bread.
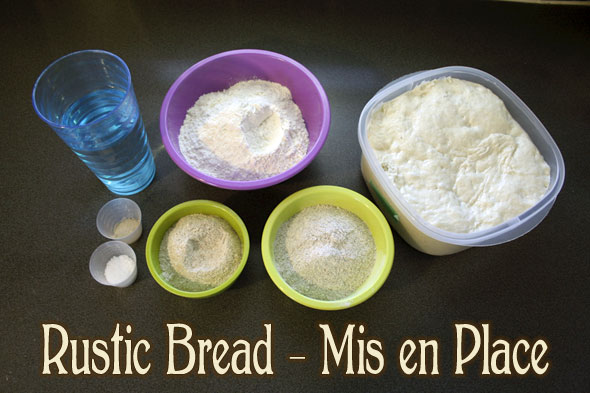
Next, our actual Rustic Mis en Place.
Hmm, still not that tricky. Water, bread, rye and whole wheat flours, salt, yeast and our pre-ferment.
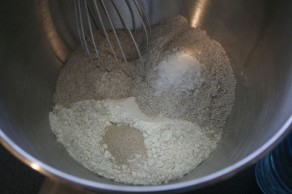
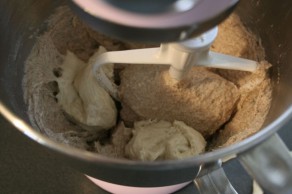
Toss the dry ingredients into the bowl and add the water, mix for about 3 minutes at speed 1.
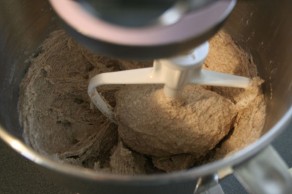
Chunk up your pre-ferment and drop it into the mixer a bit at a time while it mixes. Mix at speed 2 for another 2.5 minutes (I switched to the dough hook at this point).
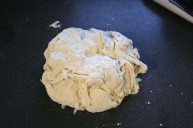
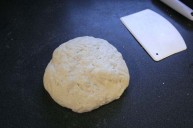
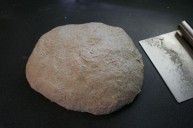
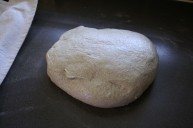
I turned the dough out onto the counter and added just a small handful of flour, maybe two or three tablespoons, as the dough was just a little too sticky. This bit of kneading only took about 2 minutes tops. The center photo shows the dough a little smoother. It now goes into an oiled bowl to bulk proof for 2.5 hours, with a couple of folds, one after every 50 minutes.
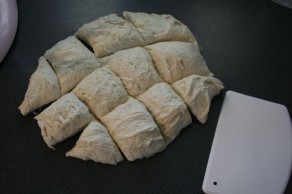
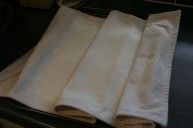
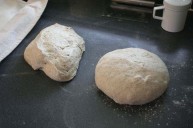
While nearing the end of the bulk proof, I prepped my couche with plenty of rice-and-bread flour. The dough ball is then turned out of the bowl and split into two relatively even pieces. These are then lightly shaped into rounds, covered and allowed to rest for 15-20 minutes.
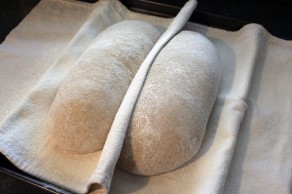
The rounds, after their rest, are shaped into ovals (sort of) and allowed to proof in the couche for 1.25 to 1.5 hours at which point they had about doubled.
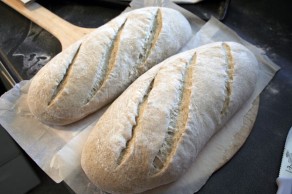 During this final proof, the oven was preheated to 450ºF with a stone. Once the loaves have proofed, they’re transferred from the couche (gently) to an oven peel and slashed. The loaves were a bit fast to open up and flatten a little, so I was worried the dough was too soft. But at this point, there’s naught to do but move ahead anyway.
Into the 450ºF oven they go onto a pre-heated stone. I did not spray the interior of the oven or toss a cup of water into a waiting, scalding hot fry pan.
Instead, I covered these loaves with a large aluminium turkey roasting pan to work as a “cloche”, trapping the inherent humidity of the bread itself to “steam” the loaves and keep the outside supple while they do their oven spring. This allows for much expansion before the crust seizes.
Want so see the result?
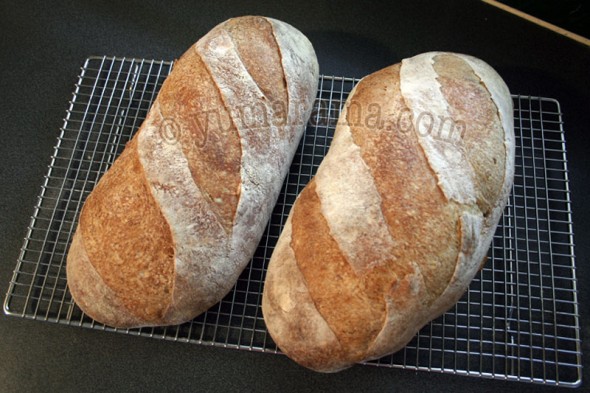
Two quite huge loaves with (pretty mediocre) diagonal slashing. The internal temp, after the minimal 35 (of 35 to 38) minutes Hamelman recommends was 206º so perhaps the loaves should have come out sooner. The bottom is a tad overdone though not burnt. Next time, check the loaves at 30 minutes. Add an extra slash so the space between is smaller and there’s more places for the bread to expand. Perhaps a somewhat more parallel angle, not so diagonal, will avoid the “break”
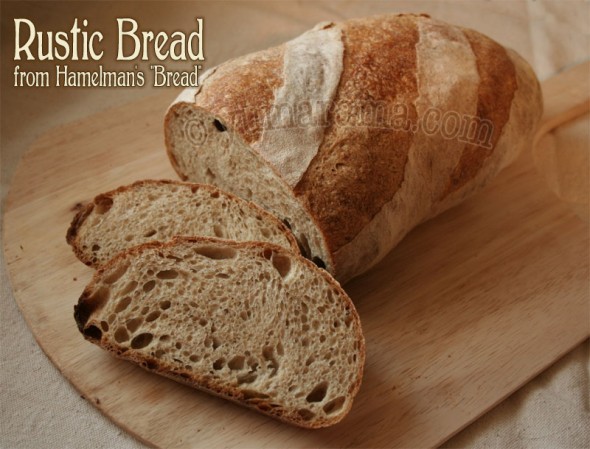
And finally, the Glam or crumb shot.
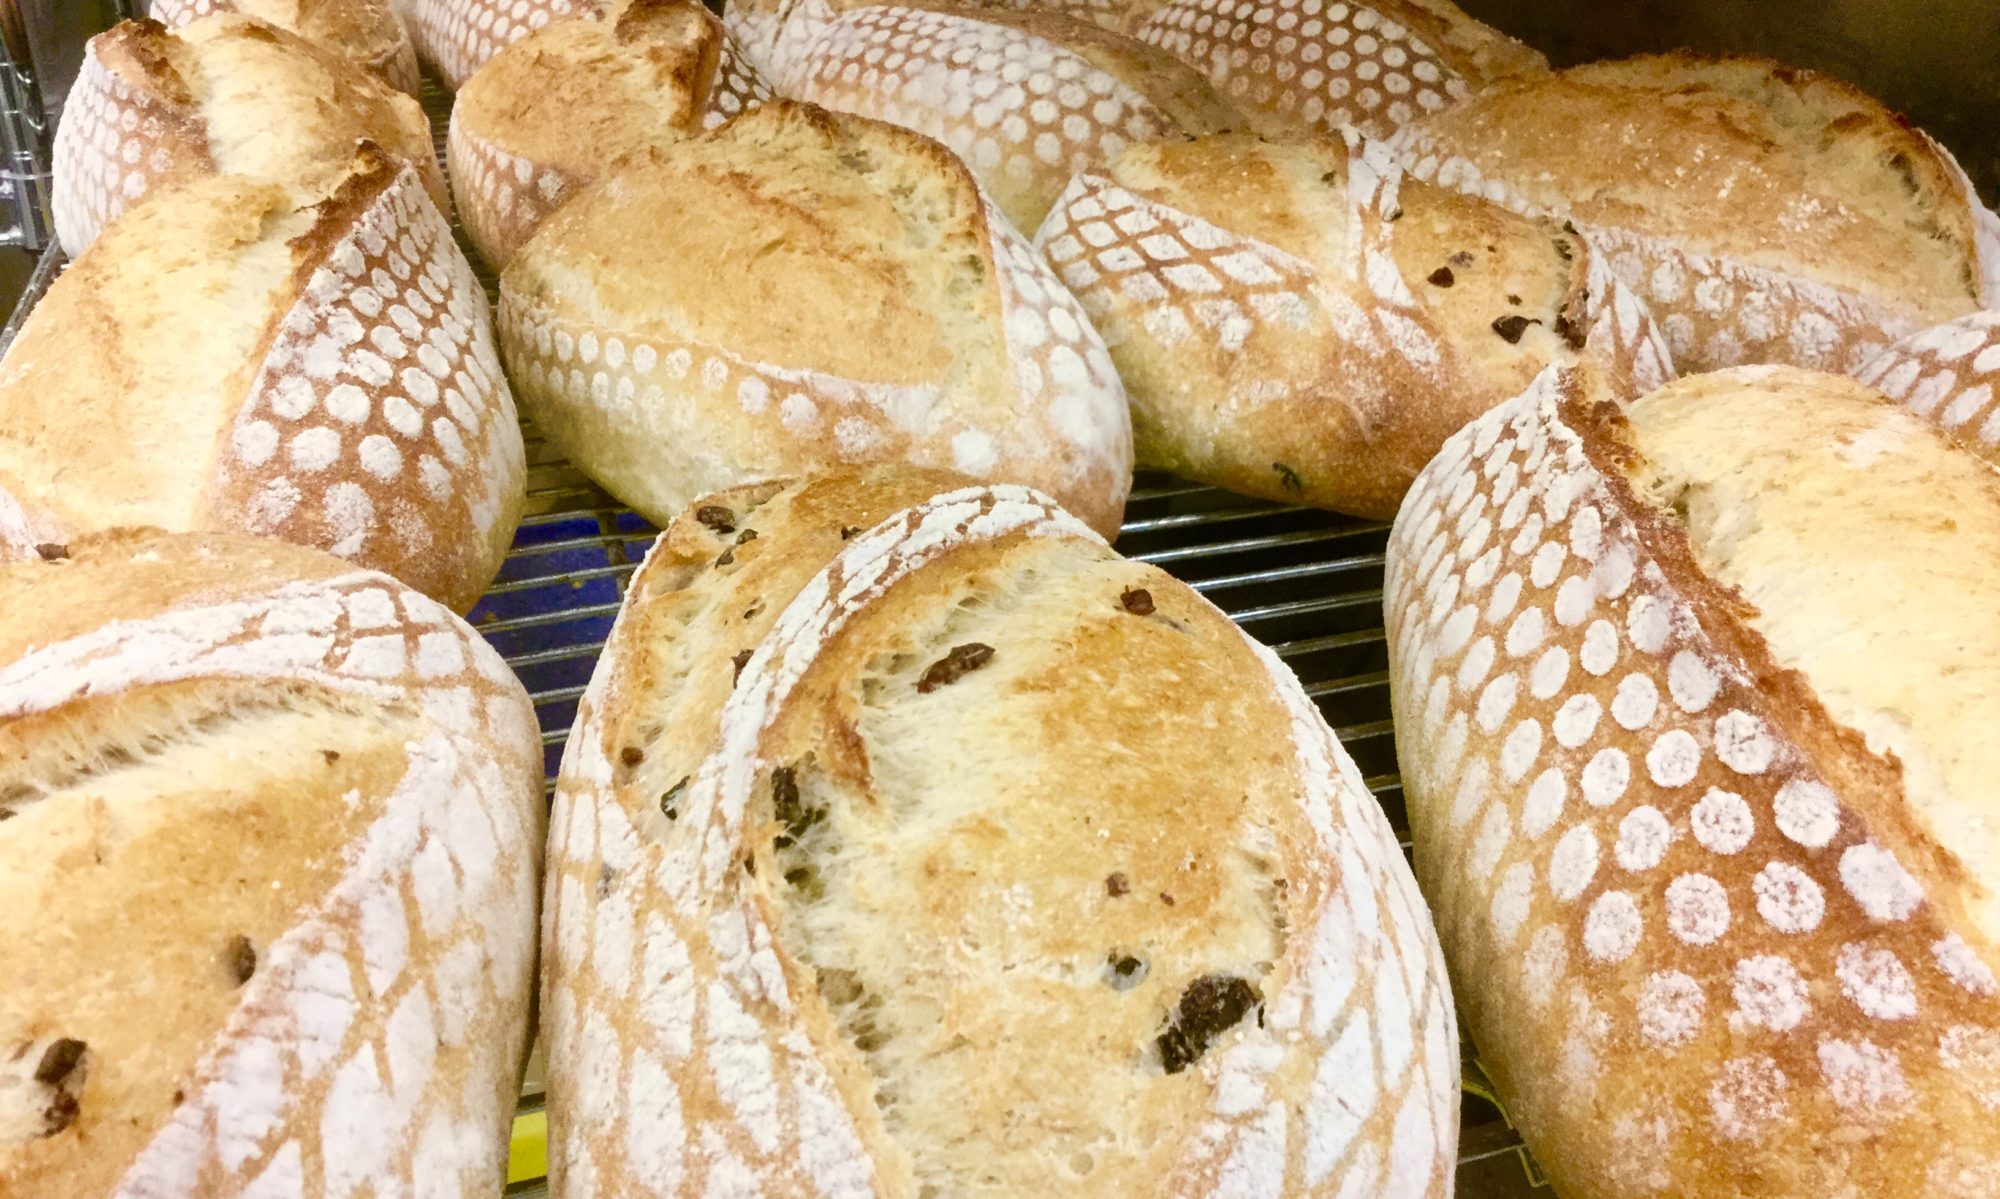
A lovely, slightly nutty bread with somewhat open crumb. Relatively fresh out of the oven, it’s got a nice light crunch to the crust. Definitely one to bake on a regular basis. We’ll see how it fares on day two after being in a plastic bag for a while, it may get even closer to “sliced bread” in crust texture (no, not for me).
And now, the answer to the Pre-Ferment Pop Quiz:
The answer to the above Pop Quiz is B, this a Pâte Fermentée. We know this because:
- It contains salt, which Poolish and Biga do not
- It is at 60% hydration, Poolish is 100% (Biga can be 50-60%)
- “Starter” refers to wild-yeast sourdough, where this is a commercial yeast based pre-ferment.
Others Baking This Bread
Check out the folks beaking this bread over at MellowBakers.com,
Coming up next: Light Rye!
This bread was submitted to YeastSpotting


Great post, Paul! Loved the quiz…. Are you a teacher in “real life”?
I don’t think your slashing was mediocre – the loaves look beautiful and the crumb is great too. I was looking at my bread (now that about half of it is gone, shame on me and my husband, shame shame shame) – and I got the same effect you did: larger bubbles at the outer layer of the bread, slightly tighter in the middle.
must be we handle the dough in similar ways – I still have to find my balance as far as “shaping” and “not degassing too much” – sometimes I tend to leave large bubbles popping on the sides, without knowing exactly how to handle them.
.-= SallyBR’s latest blog post: MELLOW BAKERS: RUSTIC BREAD =-.
Your loaves look wonderful! And I was so proud of myself for getting the quiz answer correct . . . especially because a year ago, I had never heard of any of those terms! =) Thanks for all of the pictures and commentary . . . I find it so helpful when I’m getting ready to bake the bread.
.-= Abby’s latest blog post: BBA #35: Sunflower seed rye =-.
Lovely loaves and so many great, helpful pictures and exposition. You should write a book!
I have looked for the fabled large turkey aluminium throw away pans here, but can’t find anything like it. I bought a saucepan which was ovenproof to 260 C the other day only to find it was too tall for my oven with the lid on. So have yet to try the covered loaf method, I don’t count pullmans!
Thank you, fellow Mellows, for the nice comments.
@ Sally:
Me, a teacher? Well, not exactly. I did do How To training at the local Orange Box Store with initials H.D. for some years, teaching people how to do flooring, painting, tiling, fences, etc., much of it on the fly with just a rough outline of what you need to get across. Doing this bread stuff is a whole lot less stressful AND you get to eat the results. At the box store, you’d just tear down the pseudo-wall or pseudo-fence and have nothing to show for your work. Hardly as tasty.
Slashing, on the other hand, just needs more care, a more determined/less hesitant move and I think slashing for pan-covered loaves may need to be different from slashing for open baking. I was positive I’d get nice ears on a couple of deep angled ones but they expanded so fully they completely flattened right out. I may have to try a covered-not covered side by side test to see what happens. If I think of it at the time.
@ Abby:
Glad to help out! I know that was one thing I liked about BBA, there was (usually) someone like Sally, Gaarp or Oggi forging on to the next bread so I could get a heads up on stuff to look for. Every now and again, you had to be the first one into it but that was cool too.
@ Zeb:
Hey, thanks!
If you find cheap aluminium pans hard to come by, you may need to wait for the next Traditional Feast holiday to come around, that’s when I saw all the stores with giant stacks of them, then they all vanish the day after the holiday. But you may also have luck hitting re-use stores for more solid versions, it doesn’t need to be especially pretty or new, just heat-proof, square-ish and tall enough. Oval ones would seriously impede what shape breads you can do.
Hope you find something handy! Look forward to seeing you baking with one. It’s soooo much easier than spritzing and tossing in cups of water – and I always fear the 500ºF glass door exploding from a stray drop.
Paul, they’re beautiful and nice slashing too.
I like not just the flavor but the the ease of preparation of this rustic bread.
Now I’m wondering why the crust of my loaf is chewy and not crisp.:)
I will try to write and post mine next week.
.-= Oggi’s latest blog post: Pork Belly Sisig =-.
Those loaves look lovely! The kind of bread I love.
Cheers,
Rosa
Mine just came out of the oven. It looks much more rustic than yours, but I hope mine has such a perfect crumb like yours, too.
.-= zorra’s latest blog post: Aus meinem Gelateria-Labor – Bananeneis ohne =-.
Beautiful breads!
Question: Why bother kneading the pre-ferment (excuse me– the pate fermentee) at all–albeit you only kneaded for a brief time? You don’t need to develop gluten at that point. Couldn’t you just mix it up into a rough dough and set it out to ferment? I’m wondering if it would look exactly the same after 18 hours if you called it finished at the point you have the photo of it in the green bowl?
Or is it just nice to get a feel for the dough?
How tall/high are your aluminium trays, I can find big and low but not big and high? What sort of dimensions do you mean Paul? I tried once to bake a bread in a food serving container, only the lid had a handle in it and a sort in indented circle on the flip side, the bread didn’t have enough room to rise 🙂
@ Janknits:
I just did a quick knead to get it together a bit better, it was still a tad shaggy. But it probably would have been fine anyway.
@ zeb:
The pans are 3″ (76 mm) deep and the edges fit handily on the baking pan’s sides, raising it another 20 mm (3/4″). Probably not high enough for a large boulle but I’ve not had issues (yet!) with batards getting too huge.
Thanks for the detailed instructions. I haven’t baked Rustic Bread yet. I’m still working on his Pain au levain, but plan to bake the former as well some time in the near future.
Couple of comments here. First regarding the kneading of the pâte fermentée, I read at Farine‘s that master baker Rubeau kneads his quite a lot even though the two processes are not quite the same.
Regarding the shaping of bâtards, I would also refer to Rubeau here. I tried his technique with Hamelman’s Pain au levain over the weekend and it was just a charm.
Now for the baking. I am currently working on a contraption of mine that would allow me to meet various constraints of sourdough bread: very soft dough that tend to expand a lot, need for steam when baking, need to bake more than one loaf at a time. So, what I am looking into is a roaster, well oiled & floured with rice flour. I had read on one of your posts about baking bread in wooden forms. So, I have added two triangles made of maple (very much home-made) at each end inside the roaster. The batards are gently placed inside the roaster after shaping and allowed to proof inside the roaster, covered with a clean damp dish cloth. A piece of parchment paper placed between the two batards, from one end of one wooden triangle to the next, helps to keep the loaves apart. When ready, the loaves are scored & the roaster is covered & transfered into a very hot oven, on stones. I only have a pizza stone, not large enough for two batards. So, I’ve improvised using a very large tray filled with river pebbles that I bought at the Dollar Store. Very cheap! And they seem to work. The bottom of the loaves are not burnt at all. I think the stones help to diffuse the heat under the roaster more evenly.
Next week, I shall be baking new bread using the same system. I shall try to take some photos & post them here or at Mellow Bakers.
Nice loaves, Paul!
.-= Susan/Wild Yeast’s latest blog post: Stick a Spoon In It =-.
Gene:
I’m definitely interested in seeing this system at work. Please do post on Mellow Bakers as this will share it with lots of other bakers. But add a link to that here too.
Thanks Susan!
Mimi:
I personally envy those who get to play in a bakery as they have endless number of loaves to work on and aren’t limited to two or three every weekend or two. Slash 12 loaves in a row, you’d already be better by loaf #12 and you’ll have a few dozen more after that. Then you get to see the results 30 minutes later and make changes as needed (and your boss telling you how to do it helps, I’m sure).
I will never get the hang of slashing although I am getting better. If you hadn’t mentioned the break, I wouldn’t have noticed, I had to look for it. The loaves look beaufiful to me!!
.-= Mimi’s latest blog post: What do you do when you run out of eggs? =-.
Your loaves look great, Paul! I’m working on this one right now–I’ll keep in mind to watch the baking time & check early. I’ve used the aluminum pan trick before, but mine is only big enough for one loaf, not two, so not this time.
.-= Di’s latest blog post: Confidence =-.
OK, Paul, I’ve posted a follow-up here. Cheers!
Well, doggone it, I was confused by this test, and the difference between pâte fermentée, poolish, and biga in general. I had just read Hamelman last night several times to figure it out, but obviously I still don’t have it right.
I thought that Pâte Fermentée meant ‘old dough’ as in stuff left over from the last attempt. Sort of like the legend of the real ‘Sourdoughs’ who used to carry dough around with them instead of liquid starter – but obviously we are not talking sourdough here.
So, my guess was that this was a poolish, with salt added to give you time to do some household chores. It’s OK, I am comfortable being wrong when I get to eat my mistakes…
Do you have the recipe for the bread, the book isn’t sold on Amazon now. Not that I could find. Thanks in advance.
Hi,
The book is (was?) the first edition which is no longer available at that link. Here’s a link to the newer version with, I believe, 35 more recipes and expanded info.
I’ll try and fix the link above since it doesn’t redirect.