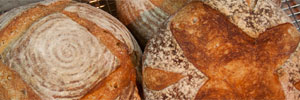
 Same but different. Bread No. 51 for the MellowBakers.com Hamelman Challenge is a slight variation of the last bread I posted, the Pain au Levain. This time around, it includes both a liquid white sourdough starter and a stiff rye sourdough starter. Both were created from my normal 100% hydration white starter, PJ.
Is it worth keeping a liquid white sourdough starter and a whole wheat and a rye one, then maybe even stiff versions of each? Aside from the increased hassle of keeping the feeding schedule for a large number of different sourdough starters, there’s not really a great reason for the home weekend (or two) baker to go to all this trouble. I wrote to Jeffrey Hamelman about the issue of handling multiple starters recently and here’s what he said:
Hello Paul,
Thanks for writing and for asking your astute questions. Feel free to quote me on the answers.
I’ve maintained two starters for a number of years: a firm German-style rye culture (made the third week of August, 1980), and a liquid levain kept at 125% hydration (it’s about a dozen years old). We use the rye for all our rye breads, and the liquid is the base levain for all other breads. We convert this one to stiff or to whole grain as needed, but only for the build(s) that will then be used in a final dough mix, not in order to continue perpetuating stiff or whole grain starters. These methods are practical and not terribly labor intensive, and we use them successfully at the King Arthur Bakery every day. By the way, our starters get two meals a day, seven days a week. On Christmas, New Years, Easter, and other holidays when we are closed, they receive one meal, as a baker is in for a short time on the holidays in order to make preferments and do some other things to enable us to open again next day.
Certainly, for the baking of just a couple of loaves or so, there is no reason to keep more than one starter. While it’s good (and important in my opinion) for today’s ever more skilled bakers to know how to convert a liquid starter to stiff and vice versa, there’s no reason to necessarily do that, because as you pointed out, the amount of mother culture going into the builds is very small. Small adjustments in flour or water will compensate at the time of the build so that levain consistency is correct. And if one maintains just a liquid or a firm white culture, he or she can easily give a couple of meals of rye flour in advance of making rye bread–that will suffice; there’s no need for occasional rye bakers to perpetuate a rye culture.
It is interesting to note that even a constantly baking, high volume baker like Jeffrey finds a minimal number of starters adequate and has no problems switching one starter to another type as needed. So if you’re holding on to numerous starters because you’ve been told only a rye starter should be used in rye bread, you can breathe a sigh of relief. Keep just one and switch it to another grain or another consistency as needed.
You can read the full email from Jeffrey over at MellowBakers.com.
With that said, let’s get going with this bread.
And with that said, let’s stop and rewind to last night when I mixed up the two different levains. The first is a liquid white sourdough at 125% hydration, the second a stiff rye at 83% hydration. Both sat out overnight so they’d be ready to go in the morning. Sorry, no pics, it’s just normal sourdough starter building. OK, NOW we can get going.
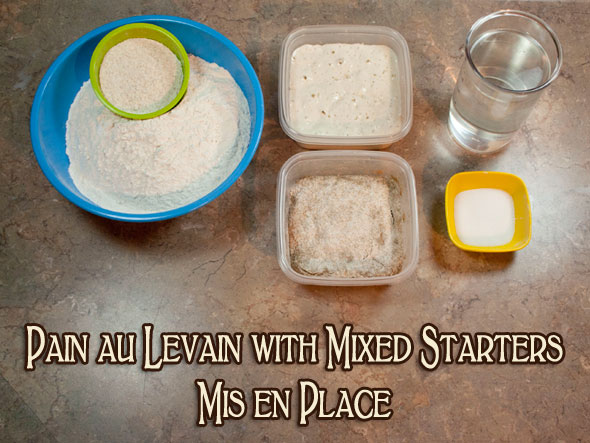
Today’s ingredients are: Bread flour and Whole Wheat flour, the liquid white and stiff rye starters, water and salt. Isn’t it amazing how many different breads you can make with basically the same ingredients?
Oh, just one more quick stop… If you’ve read the last few bread posts, you’ll have noted that I’m now in a new house with a new stove and in a completely different geographical location, on Vancouver Island in the west coast of Canada. I am, in fact in the Pacific. These points seem to have gathered together to throw me a bit of a curve ball and most breads I’ve been making have been of the wet dough variety, even though they weren’t supposed to be. It rains here. A lot. The humidity has decidedly affected the flour. And I’m working with a new stove so I’m still getting to know it’s little foibles. So today’s bread is being made with a concerted effort to try and overcome these little obstacles. Just sayin’ in case things mess up again.
Shall we?
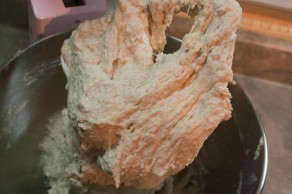
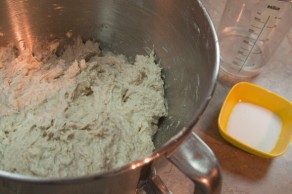
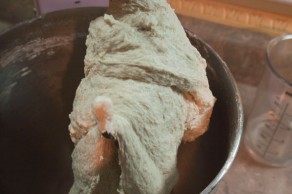
Everything but the salt goes into the mixer and is mixed with the paddle until it forms a shaggy mess. Notice that I’ve kept back about 70 ml of water from the full 567 (2 cups) the recipe called for.
Once we have a shaggy ball, it is left to rest, covered, to autolyse for 20 – 60 minutes. I went for 30 minutes as the starters were getting near their peaks.
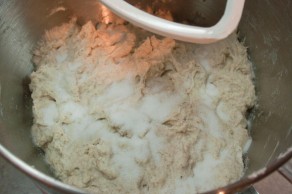
At about that 30 minute mark, I sprinkled the salt over the top of the dough and switched over to the kneading hook. I kneaded the dough for about 5 minutes at speed 2. At that point, I found that the dough was still rather wet and very sticky, even though I’d held off about a quarter cup of the water. So I added a little more flour, probably a half cup in all, kneading for a minute or so after each addition. Eventually, the dough began to feel more like normal bread dough. The windowpane test also passed nicely. Again, no pics of these extra steps as they were somewhat ’emergency’ processes and I was more focussed on tweaking the dough than snapping photos.
Once the dough had reached a good texture, it was placed in an oiled bowl and left to bulk proof for a total of 2.5 hours. There were two Strecth and Folds, at the 50 and 100 minute marks. Back into the bowl to finish proofing.
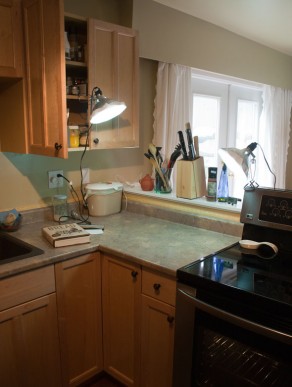 While we’re waiting, I’m going to step back and give you a bit of a view of the “studio” where all the magic happens. The dough is bulk fermenting in the oven which has just the light on to stay cozy warm.
As you can see, the French doors, as large and bright as they are, are somewhat far from the work area. To add more lighting, I use a couple of clip-on lamps which I’ve outfitted with Daylight fluorescent bulb. Not the extremely expensive and probably much better type you might find in a photography supply store, but easily located normal “Daylight Bulbs” from the local Big Orange Box Hardware Store where I also got the lamps. I then wrapped some white paper over the end of the lamp cover to help diffuse the light more and no, there’s not that much heat from a compact fluorescent so no worries about the paper catching fire.
I clip the lamps on the back of the stove and a shelf on the left. This seems to be the easiest way to get acceptable extra light onto the work surface.
If you look at the wall directly under the cabinet on the left, you’ll see harsh shadows from the only actual lighting in the kitchen, an overhead fixture with four halogen bulbs. The problem isn’t with the bulbs but the fact that the fixture is dead centre of the room, so it’s always directly behind you when taking a photo. I toss a lot of pics out because there’s a dark shadow of me halfway across the dough or bread.
Ok, the buzzer goes off and it’s time to get back to the bread.
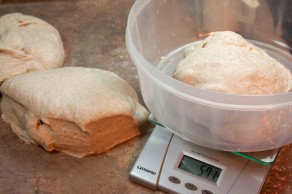
I weigh the bowl and dough and then subtract the weight of the bowl – 123g, as I’ve written in permanent marker on the underside. A quick calculatin’ and I know I need three loaves at 572 grams each. The dough is then divided into pieces of about that size, give or take several grams. Since these are home loaves, no Weights And Measures official will come to check all loaves are the same. “Almost” is therefore good enough.
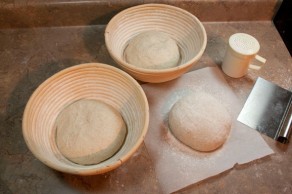
The dough is then shaped into boules and two of these are placed in my two wicker baskets, the third is put on a parchment sheet and will proof out on it’s own. The baskets are placed inside a big bag, the single boule is put under the inverted bowl. These are now left to do the final proof for 2 to 2.5 hours; these took the full 2.5.
Once they looked fully proofed, I did the poke test to check: the indentation from poking my finger slightly into the dough filled back in but just partway and slowly.
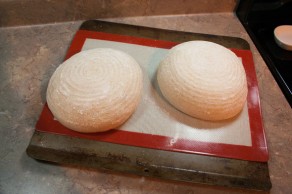
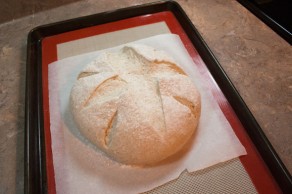
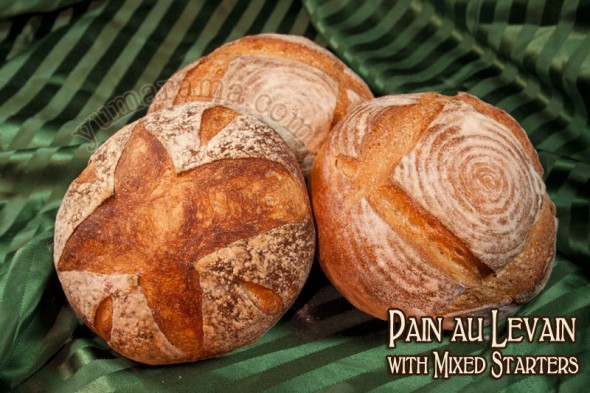
The boules were slashed – I did the box slash on the other two – and popped into a well steamed oven. At this point I was pretty happy with the bread so far; other than the too sticky issue right at the start, it all went quite well from that point. The dough had a good consistency and was handleable. When I turned the baskets out, the dough did not stick so no deflation occurred here. When I slashed, the surface tension was good and the slashes were deep enough to cause good spreading right away. Although not really visible here, the single dough is on two baking pans to avoid excess direct heat from the oven’s bottom element. The larger flat sheet is a double-wall sheet so it is already insulated somewhat. Using the silicone mats under the breads should also avoid overbaking the bottoms. The single boule is on a bit of parchment primarily for easy transport. Pans go into the oven and the timer is set. A couple of sprays of water go onto the oven wall during the first few minutes.
The bread stayed in the oven for 40 minutes. And then it came out:
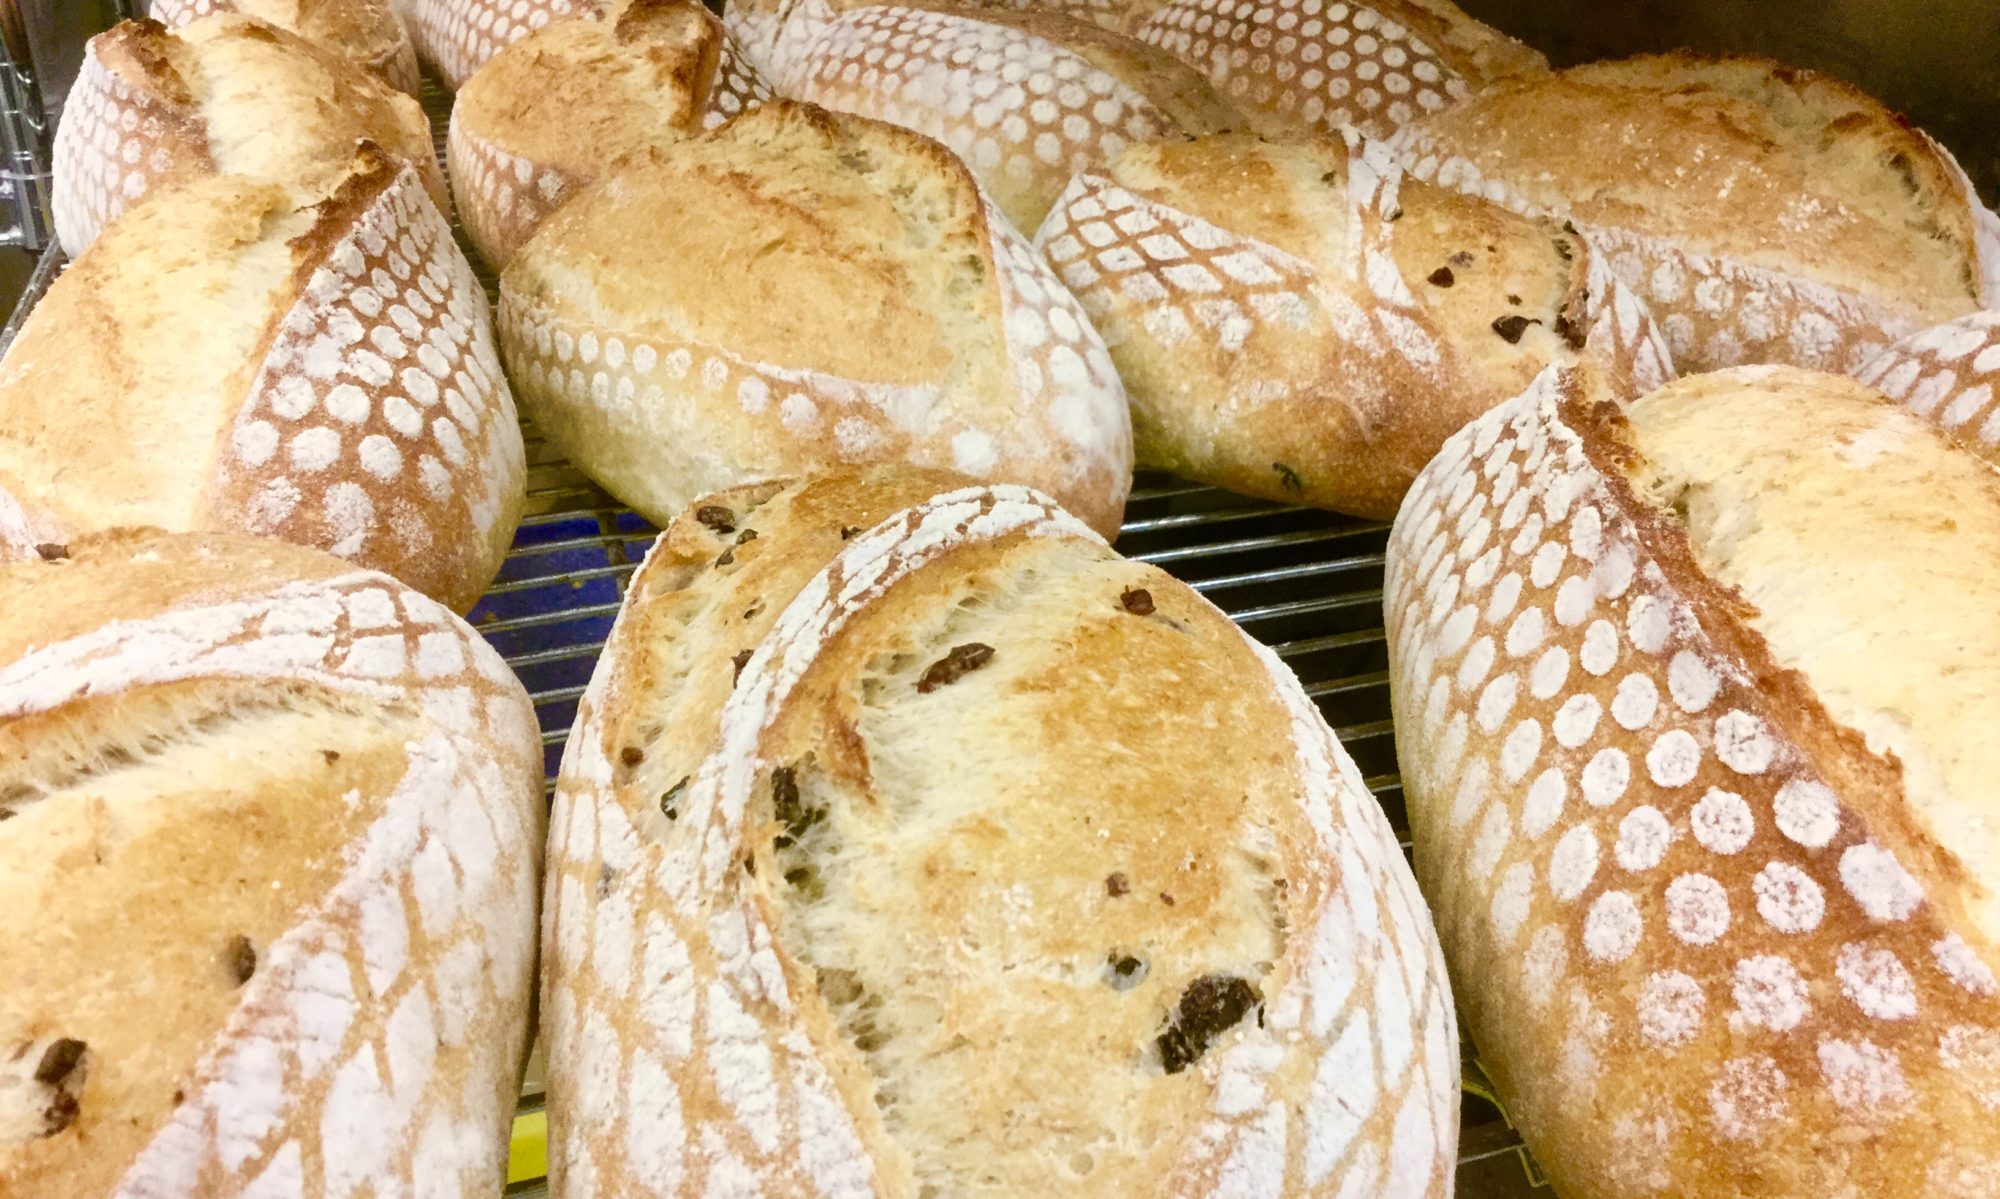
Woot!! The loaves had very good oven spring, the double pans/sheets saved them from excess heat and the bottoms came out lovely. The slashes, as noted, expanded very nicely and the colour is really good.
I haven’t cut into these quite yet so I’ll add a review of the bread itself when i get into it. But I’m happy with these in the looks department. Now I’ve got nice bread to give away at work on Monday.
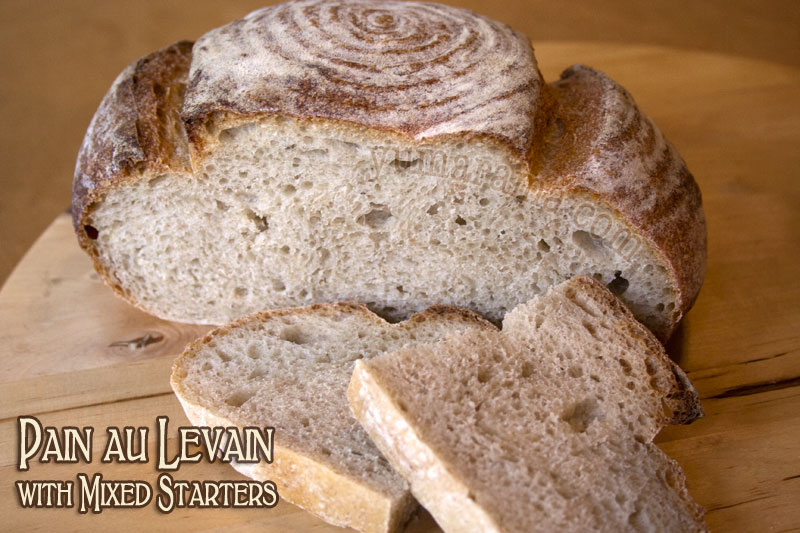
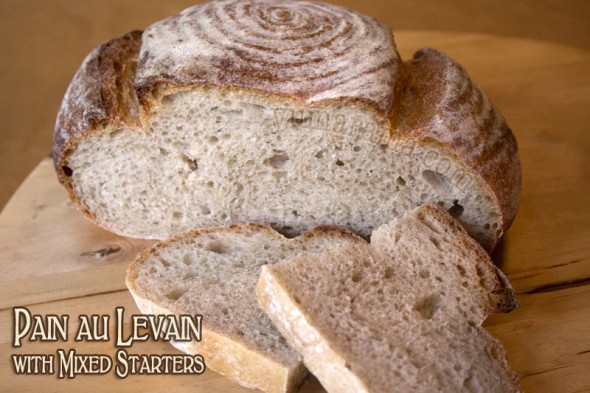
Lastly, the Crumb Shot, now that I’ve had a chance to grab a slice.
The flavour on this one is subtle, maybe even a little sweet, compared to the plain version. That may be the rye kicking in. The crumb is relatively even and not too holey, I’ve managed (yea!!) to keep the bottom light and not too overdone. The crust is nicely browned and adds a soft nutty taste without being too thick and chewy, a definite baking issue I had with my previous loaf.
The gentler tones of this bread would likely be a good base for all manner of spread or sandwich filling. This is decidedly not a “SOUR dough” bread so if anyone in your crew doesn’t care for the usual sour, tangy bread – or has a pre-conceived idea sourdough is bitter or off-tasting – this may be a good candidate to help expand their horizons. And if it doesn’t, no problem. More bread for you.
This bread was submitted to YeastSpotting on the WildYeastBlog.com

Lovely breads!
I really enjoyed reading this post, it went very well with a cup of coffee on a sunny sunday morning while musing about what sort of bread I’m going to put together after I walk the dog :).
I keep just one starter, maintained on half rye flour half whole wheat at about 80% hydration and at 100% if I plan to bake the next day. Works very well for me. I’ve never tried 125%, but I will soon!
Those are just beautiful! I tried again with this one yesterday…still did not go well. Perhaps this recipe and I just don’t get along. =( So glad you figured out your oven and love the glimpse into the “studio”!
Those loaves look really, really, nice!!! Boy, the slashes on that one loaf by itself really opened up. Was that a special/different kind of scoring on the star pattern? Lucky you don’t live in Seattle! That’s where my husband’s from and he says it’s even wetter there!!
Sorry to be dense but I’m a little new to the sour dough scene. By “80 or 100%” hydration are you referring to the ratio of flour to water? I have a beautiful mother starter going that really needs to be fed. How do I create the various hydrations you are referring to? Please forgive questions from a beginner. Thanks!
Hi Pat,
Not a worry. As they say, the only bad question is the one not asked.
When you see mention of “hydration” in bread baking, it’s a very good bet that it is, indeed, the percentage of water to flour. Flour is always your base amount and the water is measured against this. 100% hydration is simply equal amounts of flour and water, whether it’s 20g or 395g or anything else. For every amount of flour, there is 100% of that flour’s weight in water. In 125% hydration, for the total weight of flour, there is 125% of that flour’s weight in water.
So 80% hydration would be 80 grams of water to 100 grams of flour, 40 grams to 50g, 132g water to 165g flour and so forth. If you have total amounts of flour and water but want to know what hydration it is, that last one is easily figured like this: 132 g of water divided by 165 g of flour = .8 which is 80%.
Note these are all by weight, not volume. And I use grams, a system based on 10, which are easy to divide and multiply, as opposed to ounces and pounds, a system based on numerous amounts (16).
As a newbie starter owner, I’d recommend you stick to keeping your starter at 100% hydration since this is the simplest and easiest value to track. If you add 208 grams of starter to a recipe, you know it’s exactly half flour and half water, so 104 grams each. This is easy to calculate as part of your total recipe’s flour and water content. You can, however, choose to keep a stiffer starter, say 80% or a more liquid one, like 125% which Hamelman likes. This is really up to you. As long as YOU know what your starter is, you’ll be fine. And none of them are right and the others ‘wrong’.
As you may note in the Hamelman recipes, most “levain builds” start with a small tablespoon of starter and are built over the next 1 hours to the total that is then added to the final dough. Even if the recipe wants 125% starter, that tablespoon is such a small amount of the total dough that the missing 25% of water in the tablespoon won’t make any discernible difference. A tablespoon of starter is about 30g, so at 100%, that would be 15g flour + 15g water. At 125% hydration, however, that would be 13g flour to 17g of water. The difference of two grams each side, hardly worth worrying about. There will be more fluctuation introduced due to the flour on the counter than these minor amounts. So go ahead and use 100% hydration starter here, it won’t change the final bread any. Or add 2 grams more flour to the lot and you’ll be almost exactly on.
Thanks so much for taking the time to explain. I am familiar with the metric system and this makes perfect sense now that I understand you are just referrring to the composition of the starter. For some reason I kept trying to throw the starter + water+ flour for feeding into the percentages and I couldn’t wrap my head around it. Again…thanks so much for your explanation. My starter is only about a month old but it is doing well and perculating away on the counter right now.
Glad to hear it’s all making sense. It can certainly be a bit confusing at first so you wouldn’t be the first or last to run into fuzzy areas.
And once your starter is a bit more “aged”, in a month or two, do make a point of drying one of your feeds’ excess, caught just as it’s starting to come back down. Follow the instructions on the Drying a Starter page and make a back up then. This will be a life saver (for your sourdough anyway) in case a mishap befalls your yeasties – and trust me, these things do happen, even to seasoned semi-pros.
Keep us posted on your new guy’s progress!
Superb! Those look just perfect – I bet you were pleased to crack the oven/dough mixing issues – are you working with different flours too – so many variables, they can really throw you out. Wonderful happy looking loaves there!
Thanks Joanne.
It was nice to see the loaves expand as expected. This is the same flour I was using back in Ontario, except this small bin came along with us in the motorhome and was exposed to rather moist weather for the last few months. But this was also the lend of this bin.
I just cracked open a sealed bucket of the same flour that was stored better and not exposed to the same humid conditions. It may or may not have thrown a new curve at me as I made the final Levain bread. They’re in the oven now, new post coming shortly.
I have such a long way to go — I manage to do fine when I bake bread most of the time, but goodness. You’ve got amazing bread here. I like your idea for marking the weight of the bowl on the underside. My scale zeros out, but it would save time to just use the same bowl all the time. Beautiful!